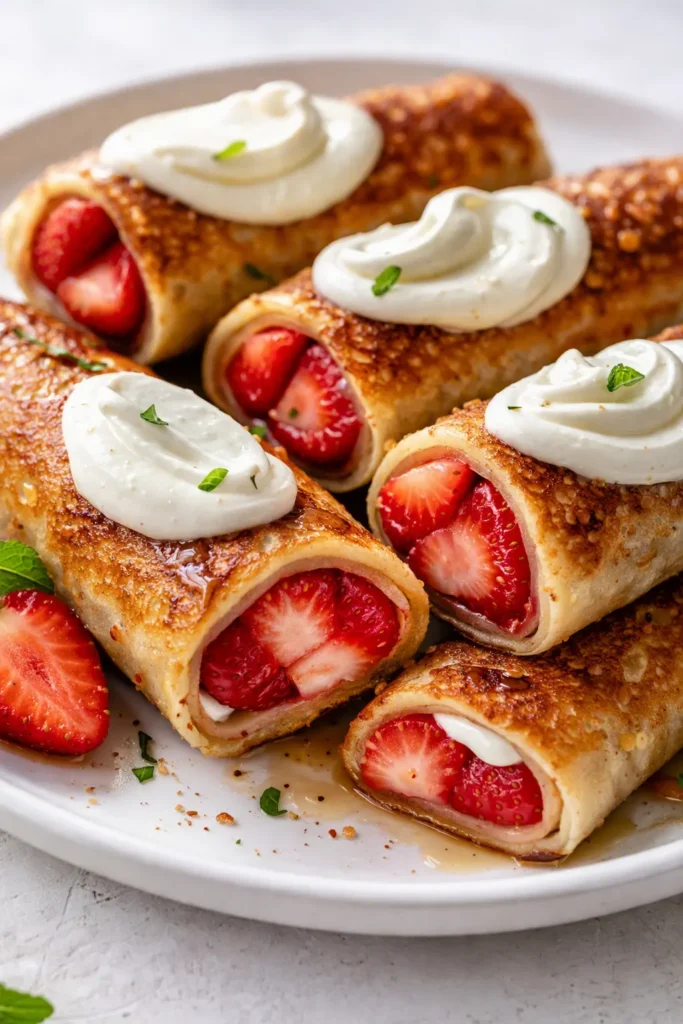
That first bite — where the crispy, buttery edges of the pancake give way to the cold, sweet cream cheese and the bright pop of strawberries — is the exact reason my family stops what they’re doing and hovers around the skillet. I started making these Strawberry Cream Cheese Stuffed Pancake Rolls on weekend mornings when we wanted something that felt like a fancy diner breakfast but didn’t want to leave the house or change out of pajamas. They look like you worked for hours. You didn’t.
The short version: These come together in 30 minutes and taste like a brunch place that charges $16 for the same plate. My kid asks for them by name.
I’ve tested this batter at least a dozen times to get that perfect balance — thin enough to roll up without cracking, sturdy enough to hold a thick, cold cream cheese filling without going soggy. This is the version that finally worked, and I’m not keeping it secret.
- Serves: 4 (makes 8 rolls)
- Hands-On Time: 30 min | Total Time: 30 min
- Difficulty: Easy enough for a Saturday morning with the kids helping at the counter
- Cost per serving: ~$2.50
- Calories: ~420 per serving (2 rolls)
- Dietary Notes: Contains dairy, gluten, and eggs. Can be made dairy-free and gluten-free with swaps listed below.
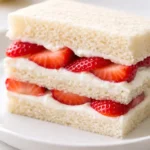
(Photo above: Overhead shot of the pancake rolls sliced diagonally on a white ceramic plate, showing the swirl of cream cheese and diced strawberries, finished with a dusting of powdered sugar and a small pitcher of maple syrup off to the side in soft morning window light.)
The Trick That Keeps These From Getting Soggy
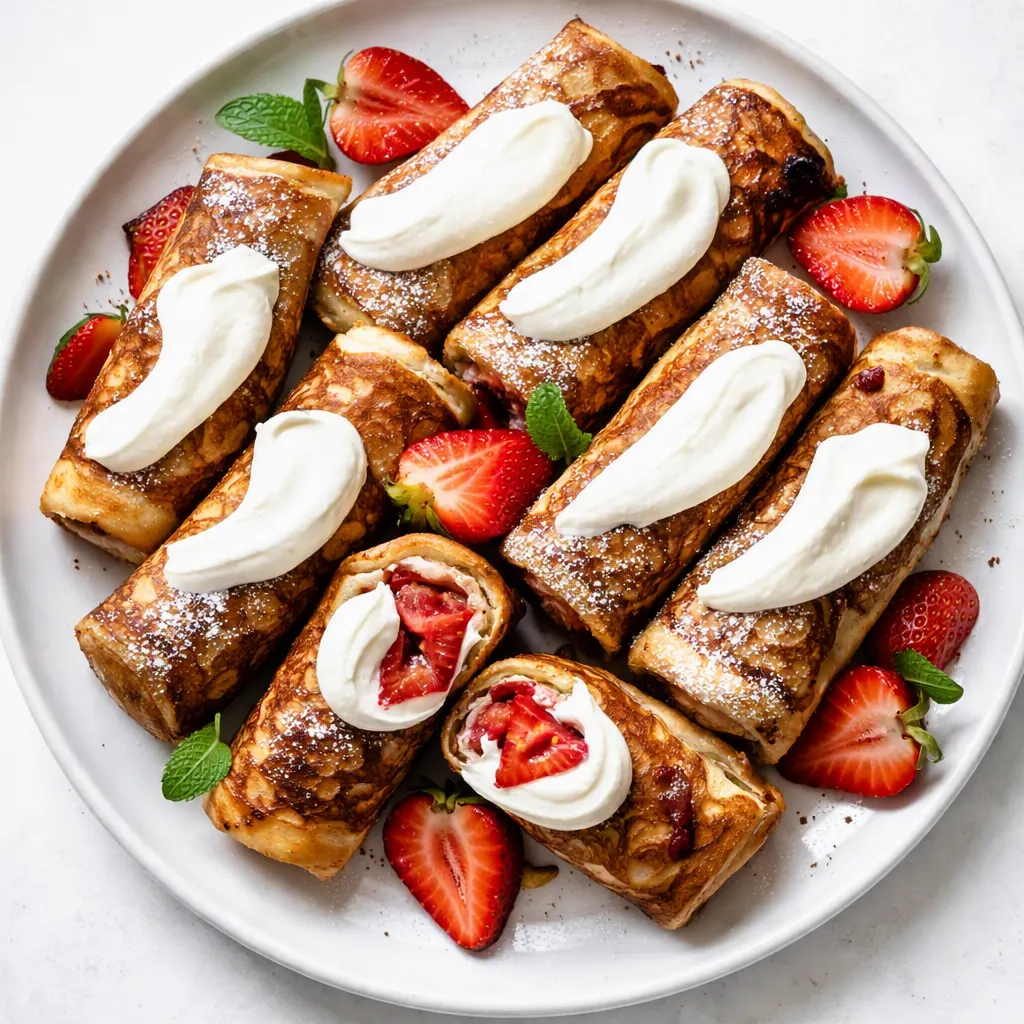
The biggest mistake people make with stuffed pancake rolls is treating them like regular pancakes. Regular pancakes are thick and fluffy. These need to be slightly thinner — more like a crepe that’s been married to a pancake. That thinness is what lets them roll up without breaking and stay crisp when they hit the butter.
The second piece is the filling. The cream cheese needs to be cold and thick, not whisked into oblivion. A runny filling will soak straight into the warm pancake and turn everything into a sad, doughy mess. I learned this the hard way after making a version that tasted like a sweet grilled cheese that had given up on itself.
The final step — rolling them up and giving them a quick pan-fry in butter — is non-negotiable in my kitchen. It transforms them from a soft crepe situation into these golden, slightly crispy rolls that have a real texture contrast. That crunch on the outside, the cool creamy middle, and the burst of strawberry? That’s the whole magic. It’s what makes them taste like something you’d order at a place with exposed brick and a chalkboard menu.
What Goes In (Plus a Note on the Strawberries)
- For the Pancakes:
- 1 cup all-purpose flour: Just regular flour. It gives them just enough structure to hold the roll. Don’t use self-rising flour here — the baking powder ratio will be off and they’ll puff up too much to roll cleanly.
- 2 tablespoons granulated sugar: A touch of sweetness in the pancake itself. My daughter Simone says the pancake should taste good on its own, even before the filling. She’s not wrong.
- 2 teaspoons baking powder: Gives them a little lift. Not a lot. Just enough so they’re not floppy.
- 1/4 teaspoon salt: Balances the sweet and keeps them from tasting flat.
- 1 cup whole milk: This is where the “thin” part happens. Whole milk gives it a richer taste. If you only have 2% or oat milk, that works too, just know the texture will be slightly less tender.
- 1 large egg: Binds everything together.
- 1 teaspoon vanilla extract: Adds that warm, bakery smell to the whole house.
- For the Filling:
- 8 oz brick-style cream cheese, softened: This is non-negotiable, y’all. The tub stuff is too soft and whipped, and it will turn into soup when it hits the warm pancake. Use the brick. Let it sit on the counter for 20 minutes before you start.
- 1/2 cup powdered sugar: Melts right into the cream cheese and gives it that smooth, diner-style sweetness.
- 1 teaspoon vanilla extract: Same as the batter. It rounds everything out.
- 1 cup finely diced fresh strawberries: Here’s the thing — if strawberries are in season, fresh is the only answer. If they’re not, good-quality strawberry preserves work in a pinch. Simone says fresh is better 9 times out of 10, and she’s an 8-year-old with very strong opinions about fruit.
- 2 tablespoons butter, for frying: The crisping step. Don’t skip it.
What to Pull Out Before You Start
- A large non-stick skillet or griddle for the pancakes — if you don’t have non-stick, a well-seasoned cast iron works beautifully.
- A medium mixing bowl and a whisk.
- A rubber spatula for spreading the filling.
- Another large skillet for the final crisping step.
- A sharp knife and a cutting board for slicing the rolls.
That’s it. Nothing fancy. This is a breakfast-for-dinner kind of recipe, not a production.
Let’s Make These Pancake Rolls, Step by Step
This goes fast once you get going, so read through once before you start. Trust me, it’s a rhythm — batter, cook, fill, roll, crisp, eat.
Make the batter: In a medium bowl, whisk together the flour, sugar, baking powder, and salt. Make a well in the center and add the milk, egg, and vanilla. Whisk until smooth. The batter should be slightly thinner than a regular pancake batter — it should pour easily off the whisk and settle flat in the pan.
- Cook the pancakes: Heat your skillet over medium heat. Lightly butter the pan if it’s not non-stick. Pour about 1/4 cup of batter into the pan, swirling it around to spread it thin. Cook for 2 to 3 minutes, until bubbles form on the surface and the edges look set. Flip and cook for another minute on the second side.
(📸 Photo tip: You’re looking for a light golden brown — not too dark, since they’re going back in the pan later for a second cook.) - Stack and cool: Transfer the cooked pancakes to a plate. Make sure they’re not overlapping, or they’ll stick together. Let them cool completely before you add the filling. This is the step everyone rushes, and it’s the one that keeps the cream cheese from melting instantly.
- Make the filling: While the pancakes cool, beat the softened cream cheese, powdered sugar, and vanilla together until smooth. Use a hand mixer or just a strong spoon — a little elbow grease works fine. Fold in the finely diced strawberries gently.
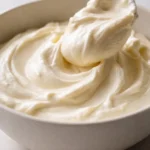
(📸 Photo tip: The filling should be thick and spreadable, like a frosting. If it’s too runny, pop it in the fridge for 10 minutes.)
This is the step where my daughter always asks to “taste test” the filling. Every. Single. Time. I always let her. - Assemble the rolls: Lay a cooled pancake flat. Spread a generous tablespoon of the cream cheese mixture evenly across the surface, leaving a small border around the edges. Roll it up tightly, but not so tight that the filling squishes out the ends. Set it seam-side down on a plate.
- Crisp the rolls: Heat the 2 tablespoons of butter in a clean skillet over medium heat. Carefully place the rolls in the skillet, seam-side down. Cook them in batches if you need to — don’t crowd the pan. Cook, turning occasionally, until they’re golden brown and crispy on all sides, about 2 to 3 minutes total.
(📸 Photo tip: You want them to look like little golden sausages — crispy and browned on all sides, not just one spot.)
If you’re really tired on a Saturday, you can skip this step and eat them like soft crepes. They’re still good. But this butter crisp is what makes them *special*, so try not to skip it. - Slice and serve: Remove them from the pan and let them rest for a minute on the cutting board. Slice each roll diagonally into two or three pieces so you can see that beautiful swirl. Dust with powdered sugar and serve warm.
How I Meal Prep These for the Week
I make a double batch of the pancakes and the filling on Sunday afternoon while I’m already in the kitchen doing other meal prep. We eat them twice during the week, and it makes school mornings feel like a special occasion without actually having to do anything before 7am. My secret is prepping everything up to the final crisping step.
- Fridge: Assemble the rolls, but don’t crisp them. Store them in an airtight container in the fridge for up to 3 days. When you’re ready to eat, just crisp them in a buttered skillet for a few minutes.
- Freezer: Yes, you can freeze them! Freeze the un-crisped rolls in a single layer on a baking sheet. Once they’re frozen solid, transfer them to a freezer bag. They’ll keep for up to 2 months. No need to thaw — just go straight to the skillet with a little less time.
- Reheat: The skillet is the only way to go if you want them crispy. The microwave makes them soft and a little sad — it works in a pinch for a rushed morning, but know that you’re getting a completely different texture. Oven at 350°F for 8 minutes also works if you’re doing a big batch.
Things I Wish I’d Known the First Time
- The pan temperature is the whole ballgame: If your pan is too hot, the pancakes brown too fast and turn rubbery in the middle. Medium heat is your friend. Give the pan a minute to come to temperature before you pour the batter. I know it feels like patience isn’t possible on a hungry morning, but it makes a real difference.
- Don’t overfill the rolls: It’s tempting to stuff them like burritos. I promise you, it backfires. A thin, even layer of filling — about a tablespoon — is what allows them to actually roll and stay sealed. If you overfill, the filling pushes out the ends and makes a mess in the pan. I’ve made this mistake more times than I want to admit.
- Chill the filling if it softens up: If you’re working in a hot kitchen or you let the cream cheese sit out too long, the filling can get too soft to spread cleanly. Pop it in the fridge for 10 minutes. It’ll firm up right away and make the rolling step so much easier.
- Even if you mess up a roll, it’s still going to taste incredible: I’ve eaten many “deconstructed” pancake rolls standing over the kitchen sink. The flavors work. The texture works. They’re just pretty. So if one breaks on you, don’t panic — serve it with a fork and a wink.
Swaps That Actually Work (From My Kitchen to Yours)
- Dairy-Free: Use a good dairy-free brick-style cream cheese, like Kite Hill or Miyoko’s. In the pancake batter, swap the whole milk for oat milk or almond milk, and use plant-based butter for crisping. I’ve tested this with my lactose-intolerant sister-in-law, and she gave it a firm thumbs up.
- Gluten-Free: Swap the all-purpose flour for a 1:1 gluten-free baking flour, like Bob’s Red Mill. The batter will be slightly grainier, but it cooks up fine. Just be gentle when rolling — gluten-free pancakes are a little more delicate.
- Different Fruit: Blueberries, raspberries, or sliced bananas all work beautifully here. If you’re using bananas, toss them with a teaspoon of lemon juice first to keep them from turning brown. A chopped peach or nectarine in the middle of summer is also incredible.
- Tart Strawberries: If your strawberries are a bit too tart for your liking, mash them with a teaspoon of sugar and let them sit for five minutes before folding them into the cream cheese. It draws out their juice and makes them taste jammy.
- Fancy Guest Version: Drizzle the finished rolls with a little melted white chocolate or a spoonful of strawberry syrup. It’s over the top, but it’s a showstopper for a bridal brunch or a holiday morning.
The Pancake Roll Questions I Keep Getting Asked
Q: Why did my pancake rolls turn out soggy?
A: Ugh, I’ve been there. It usually means the batter was too thick or the filling was too warm. Make sure you’re using brick cream cheese that’s just softened, not melted, and spread it in a thin layer. Also, don’t skip the final crisping step — that butter fry is what saves us all. If they’re still soggy, try cooking the pancakes on a higher heat for a shorter time so they keep a little more structure.
Q: Can I make these ahead of time for a brunch party?
A: Yes, absolutely. Assemble the rolls the night before, keep them covered in the fridge, and then crisp them up in butter right before your guests arrive. You’ll get all the credit for spending hours in the kitchen, but really, you were just relaxing and having a glass of wine. It’s my favorite kind of hosting move.
Q: How long do these last in the fridge?
A: Uncrisped, they’ll last about 3 days in an airtight container. Crisped, they’re honestly best eaten right away — the texture of the crispy exterior really fades if you refrigerate them. If you have leftovers that are already crisped, reheat them in a skillet to bring back some of the crunch. Microwave works in a pinch but definitely changes the texture.
Q: What do you serve with these for a full breakfast spread?
A: We love them with a side of crispy bacon or some sausage links. Sometimes I’ll throw together a handful of fresh arugula tossed in lemon and olive oil to cut through the sweetness — it sounds weird, but it’s so good. My kids just want extra syrup and a glass of cold milk. On special occasions, I’ll serve it with a little pitcher of warmed maple syrup on the side.
More Recipes My Family Makes on Repeat
If you liked this one, here are a few others that get the same reaction at our table:
- [INTERNAL LINK PLACEHOLDER: My Grandmother’s Fluffy Buttermilk Pancakes] — The pancakes I grew up on in New Orleans — tall, tender, and perfect for lazy Sunday mornings when the whole house smells like vanilla.
- [INTERNAL LINK PLACEHOLDER: Easy Strawberry Freezer Jam] — Done in about 25 minutes and tastes like summer in a jar. Use it in these rolls when fresh berries aren’t in season.
- [INTERNAL LINK PLACEHOLDER: The Best Cream Cheese Danish] — For when you want that bakery case feel without leaving the house. Flaky, creamy, and so much easier than you’d think.
These rolls are what Saturday mornings were made for in my house. If you make them for your family, drop a comment below and tell me how they liked them — I genuinely love reading about which versions you tried. And if you’re a Pinterest person like me, save this one for your next family breakfast.
📌 Strawberry Cream Cheese Stuffed Pancake Rolls that stay crispy and golden — save this easy 30-minute recipe for your next weekend brunch at home.
Strawberry Cream Cheese Stuffed Pancake Rolls
Equipment
- Large Non-Stick Skillet or Griddle
- Medium Mixing Bowl
- Whisk
- Rubber spatula
- Second Large Skillet
- Sharp knife
- Cutting Board
Ingredients
For the Pancakes
- 1 cup all-purpose flour
- 2 tablespoons granulated sugar
- 2 teaspoons baking powder
- 1/4 teaspoon salt
- 1 cup whole milk
- 1 large egg
- 1 teaspoon vanilla extract
For the Filling
- 8 oz brick-style cream cheese, softened
- 1/2 cup powdered sugar
- 1 teaspoon vanilla extract
- 1 cup finely diced fresh strawberries
- 2 tablespoons butter, for frying
Instructions
- Whisk together the flour, sugar, baking powder, and salt in a medium bowl. Make a well in the center and add the milk, egg, and vanilla. Whisk until smooth. The batter should be slightly thinner than regular pancake batter and pour easily off the whisk.
- Heat a large skillet or griddle over medium heat. Lightly butter the pan if it is not non-stick. Pour about 1/4 cup of batter into the pan and swirl it around to spread it thin. Cook for 2 to 3 minutes, until bubbles form on the surface and the edges look set. Flip and cook for another minute.
- Transfer the cooked pancakes to a plate without overlapping. Let them cool completely before filling — this keeps the cream cheese from melting.
- Beat the softened cream cheese, powdered sugar, and vanilla together until smooth. Fold in the finely diced strawberries gently. The filling should be thick and spreadable, like a frosting.
- Lay a cooled pancake flat. Spread a generous tablespoon of the cream cheese mixture evenly across the surface, leaving a small border around the edges. Roll it up tightly, but not so tight that the filling squishes out the ends. Set seam-side down.
- Heat the 2 tablespoons of butter in a clean skillet over medium heat. Place the rolls seam-side down and cook in batches if needed, turning occasionally, until golden brown and crispy on all sides, about 2 to 3 minutes total.
- Let the rolls rest for a minute, then slice each one diagonally into two or three pieces. Dust with powdered sugar and serve warm.