
I’ve been making pancakes since I was tall enough to reach the stove, and for years mine were fine. Edible. But not the kind that made Simone ask for “the fluffy ones, Mama.” These are the fluffy ones. The trick isn’t a secret ingredient — it’s how you treat the batter.
The short version: These come together in one bowl, cook up golden and tender, and my eight-year-old has declared them “perfect” — which is the highest praise she gives.
I’ve tested these more times than I can count, playing with the liquid ratio and the mixing time until they turned out exactly right every single time. No fuss. Just really good pancakes.
- Serves: 4 (makes 8–10 pancakes)
- Hands-On Time: 10 min | Total Time: 20 min
- Difficulty: Easy enough for a Tuesday morning
- Cost per serving: ~$0.75
- Calories: ~350 per serving (with butter and real maple syrup)
- Dietary Notes: Vegetarian. Adaptable for dairy-free and gluten-free.
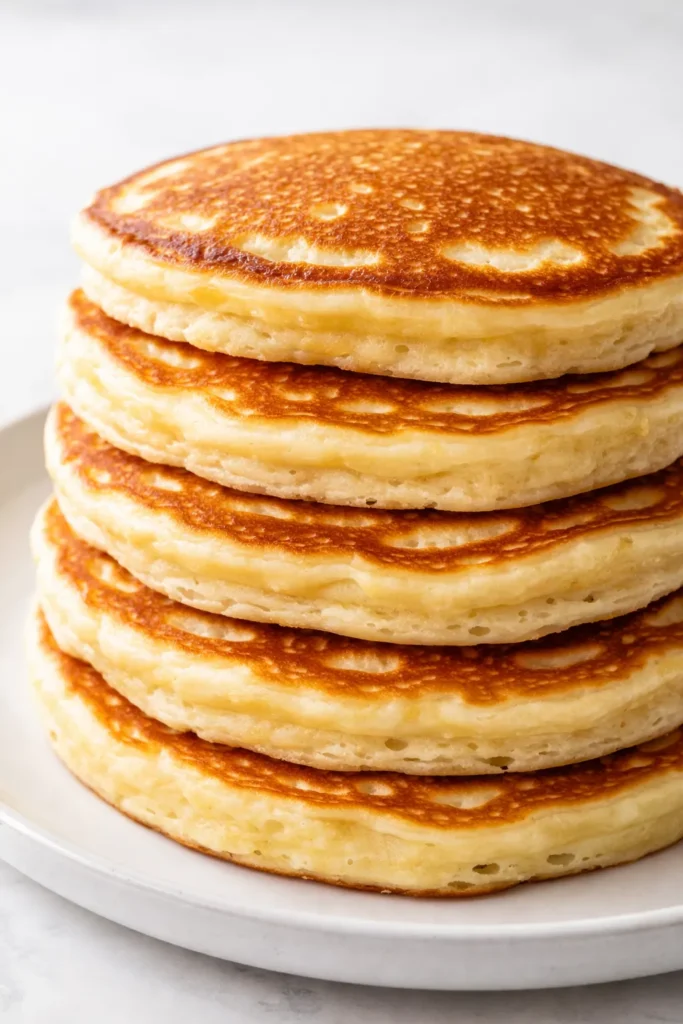
(Photo above: A stack of three golden-brown pancakes on a blue ceramic plate, steam still rising, with a pat of melting butter on top and warm maple syrup pooling at the edges. Natural morning light from the side.)
What Makes These Pancakes Actually Fluffy (Not Dense)
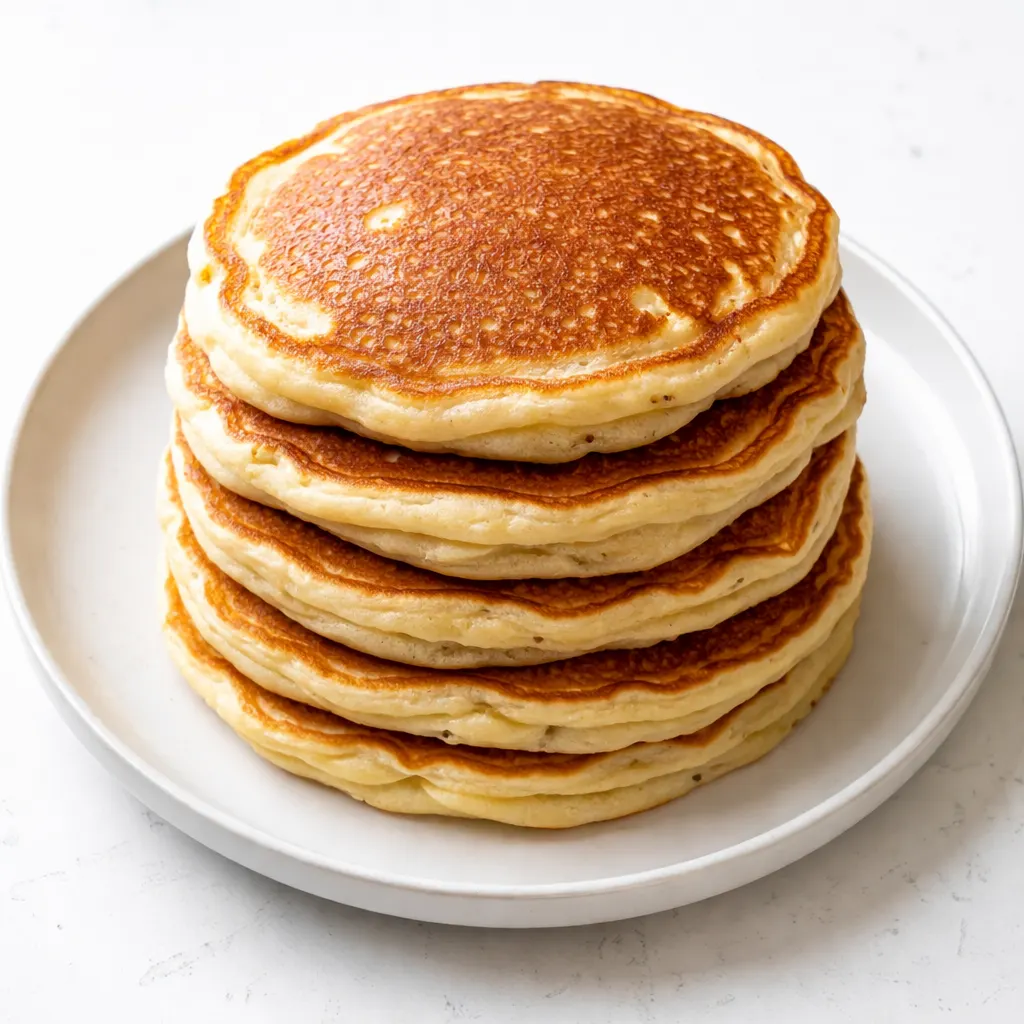
The biggest mistake people make is overmixing. I get it — you want the batter smooth. But lumps are your friend here. Overmixing develops the gluten, and gluten makes them tough. We want them tender.
The second trick is letting the batter rest for five minutes before you cook. This gives the baking powder time to activate and the flour time to fully hydrate. It’s the one quiet step everyone wants to skip, but it makes all the difference.
The result is a pancake that’s crisp on the edges, soft in the middle, and sturdy enough to hold up to syrup without turning into a soggy mess.
Ingredients Worth Talking About
- 1 ½ cups all-purpose flour: Spoon it into the cup and level it off. Scooping directly compacts it and gives you too much flour, which leads to dry pancakes. I know it feels fussy, but do it once and you’ll feel the difference in the batter.
- 1 cup buttermilk: This is the real MVP. The acidity tenderizes the gluten and reacts with the baking soda for extra lift. No buttermilk? Add a tablespoon of lemon juice or vinegar to regular milk and let it sit for 5 minutes. It works perfectly — I do it all the time when I forget to buy buttermilk.
- 2 tablespoons sugar: Just enough sweetness that the pancakes don’t need syrup to be edible. Simone eats hers with a light dusting of powdered sugar, and these hold up beautifully.
- 1 large egg: Room temp if you remember, straight from the fridge if you don’t. The batter will just need a few seconds longer to rest.
- 3 tablespoons melted butter (plus more for the pan): Butter in the batter gives richness. Butter in the pan gives those crispy golden edges. Don’t skip the pan butter. My grandmother Celestine would say “bless the pan” before each pour — I still do it.
- 1 teaspoon vanilla: It rounds out the flavor and makes the whole kitchen smell like Saturday morning.
What You’ll Need
- A large mixing bowl and a whisk (or a fork — I won’t judge)
- A non-stick skillet or well-seasoned griddle
- A ¼-cup measuring cup to pour the batter (keeps them uniform)
- A spatula — thin metal or silicone works best for flipping
Let’s Make Pancakes (Start to Finish)
This goes fast, so read through once before you start. The batter comes together in about 5 minutes.
- Whisk the dry ingredients: In a large bowl, whisk together the flour, sugar, baking powder, baking soda, and salt. Make sure there are no lumps. (📸 Photo tip: The flour mixture should look powdery and uniform without any chunks of baking powder.)
- Add the wet ingredients: Pour the buttermilk, egg, melted butter, and vanilla into the dry ingredients. Stir with a fork or whisk until just combined — a few small lumps are fine. Do NOT keep stirring trying to get it perfectly smooth. I promise, lumps are okay! The batter should look thick and shaggy, not silky.
- Let the batter rest: Set the bowl aside for 5 minutes. This is the magic step. The batter will puff up slightly and get bubbly. While it rests, heat your pan. (📸 Photo tip: After resting, the batter should look aerated and slightly thicker. You’ll see tiny bubbles on the surface.)
- Heat the pan: Place your skillet over medium heat. Add a pat of butter and let it melt, swirling to coat the bottom. The butter should sizzle gently — if it browns immediately, your heat is too high. Lower it a bit.
- Pour the batter: Use the ¼-cup measure to pour batter into the pan. Leave about 2 inches between pancakes so they have room to spread. Cook until bubbles form on the surface and the edges look set, about 2-3 minutes.
- Flip and finish: Slide the spatula under the pancake and flip in one quick motion. Cook for another 1-2 minutes, until golden brown on the bottom. When I’m really tired, I use the edge of the spatula to peek underneath — it’s the easiest way to check without guessing.
- Keep warm and repeat: Transfer the cooked pancakes to a plate and tent loosely with foil. Add another pat of butter to the pan for the next batch. Repeat with the remaining batter.
Make-Ahead Pancakes (For Busy Mornings)
I make a double batch on Sundays and we’re set for the week. It’s the only way we get a hot breakfast on school days without losing our minds.
- Fridge: Stack cooled pancakes in an airtight container with parchment paper between layers. They’ll keep for 4-5 days.
- Freezer: Lay the pancakes in a single layer on a baking sheet and freeze for 30 minutes, then transfer to a freezer bag. They keep for 2 months. Write the date on the bag with a sharpie — otherwise you’ll find a mystery bag in March and wonder.
- Reheat: Pop them in the toaster for a quick reheat — it crisps the edges back up better than the microwave ever could! Or microwave for 30 seconds if you’re in a rush.
Things I Wish I’d Known the First Time
- Don’t press down on the pancake after flipping: I know it’s tempting to smash it flat with the spatula. Don’t. You’re pressing out all the air that makes it fluffy. Let it be.
- The first pancake is always the test pancake: It never comes out perfect. That’s fine. Eat it while you cook the rest. Consider it quality control.
- Low and slow is better than hot and fast: If the pancakes are browning too quickly, lower the heat. The inside needs time to cook through without the outside burning. Medium-low is usually the sweet spot on my stove.
- Add mix-ins carefully: Chocolate chips and blueberries are great, but fold them in gently at the end to avoid turning the batter purple or streaky. My kids can smell the difference when I skip this, I’m not joking.
Make It Yours (Easy Variations)
- Dairy-Free: Use almond milk or oat milk + 1 tablespoon lemon juice (let it sit for 5 minutes to sour). Swap the melted butter for coconut oil or a neutral vegetable oil. I make this version for my neighbor’s daughter who can’t do dairy — she loves them.
- Whole Wheat: Swap half the all-purpose flour for whole wheat flour. Add an extra tablespoon of milk to loosen the batter — whole wheat absorbs more liquid.
- Kid-Friendly Fun: Pour the batter into fun shapes using a squeeze bottle, or drop in a few chocolate chips and a sprinkle of cinnamon. Simone loves “rainbow pancakes” with a few drops of food coloring mixed in.
- Gluten-Free: Use a 1:1 gluten-free baking flour blend. Let the batter rest for 10 minutes instead of 5 to give the gluten-free flours time to hydrate.
Questions I Get About This Recipe All the Time
Q: Why did my pancakes turn out tough and rubbery?
A: Ugh, I’ve been there. That’s almost always from overmixing. Next time, stop stirring as soon as the flour disappears. Lumps are actually your friend here — they’ll cook out, I promise.
Q: Can I make these without buttermilk?
A: Yes! Add 1 tablespoon of lemon juice or white vinegar to a cup of regular milk and let it sit for 5 minutes. It thickens and sours perfectly. I do this all the time when I don’t have buttermilk in the fridge.
Q: How long do these last? Can I freeze them?
A: They’ll keep in the fridge for 4-5 days in an airtight container. And yes, they freeze beautifully — just pop them in the toaster to reheat. I always make a double batch for the freezer so we have them ready for busy mornings.
Q: What do you serve with these?
A: We love them with crispy bacon or sausage links on the side, a pile of fresh fruit, and warm maple syrup. My kids also love them with a scoop of vanilla yogurt and a drizzle of honey for a slightly healthier version.
More Recipes My Family Makes on Repeat
If you loved these pancakes, here are a few others that get the same reaction at our table:
- [INTERNAL LINK PLACEHOLDER: Easy & Fluffy Waffles] — The same great texture, but in a waffle iron. Crispy on the outside, tender inside.
- [INTERNAL LINK PLACEHOLDER: Simple Buttermilk Biscuits] — Flaky, buttery, and perfect for breakfast sandwiches or slathered with jam.
- [INTERNAL LINK PLACEHOLDER: One-Bowl Banana Bread] — The best way to use up ripe bananas, and it makes the whole house smell amazing.
These pancakes have gotten us through countless school mornings and lazy weekends. They’re the recipe I send to friends who say they can’t cook breakfast. Give them a try — I think they’ll become a staple in your kitchen too.
If you make them, drop a comment below and let me know how it went! Or tag me on Pinterest so I can see your stack.
📌 Easy & fluffy pancake recipe that stays tender and golden — save it for your next Saturday morning breakfast with the family.
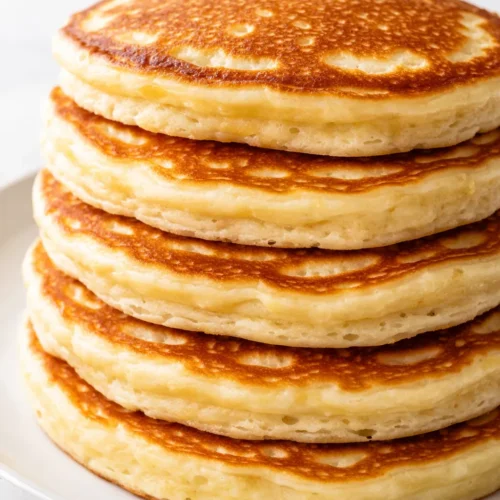
Easy & Fluffy Pancakes
Equipment
- Large Mixing Bowl
- Whisk
- Non-Stick Skillet or Griddle
- 1/4-Cup Measuring Cup
- Spatula
Ingredients
- 1 1/2 cups all-purpose flour
- 1 cup buttermilk
- 2 tablespoons sugar
- 1 large egg
- 3 tablespoons melted butter (plus more for the pan)
- 1 teaspoon vanilla extract
- 2 teaspoons baking powder
- 1/2 teaspoon baking soda
- 1/2 teaspoon salt
Instructions
- Whisk the dry ingredients: In a large bowl, whisk together the flour, sugar, baking powder, baking soda, and salt. Make sure there are no lumps.
- Add the wet ingredients: Pour the buttermilk, egg, melted butter, and vanilla into the dry ingredients. Stir with a fork or whisk until just combined – a few small lumps are fine. Do NOT keep stirring trying to get it perfectly smooth.
- Let the batter rest: Set the bowl aside for 5 minutes. This is the magic step. The batter will puff up slightly and get bubbly. While it rests, heat your pan.
- Heat the pan: Place your skillet over medium heat. Add a pat of butter and let it melt, swirling to coat the bottom. The butter should sizzle gently – if it browns immediately, your heat is too high.
- Pour the batter: Use the 1/4-cup measure to pour batter into the pan. Leave about 2 inches between pancakes. Cook until bubbles form on the surface and the edges look set, about 2-3 minutes.
- Flip and finish: Slide the spatula under the pancake and flip in one quick motion. Cook for another 1-2 minutes, until golden brown on the bottom.
- Keep warm and repeat: Transfer the cooked pancakes to a plate and tent loosely with foil. Add another pat of butter to the pan for the next batch. Repeat with the remaining batter.
Notes
Related posts:
 Baked Protein Pancake Bowls That Don’t Taste Like Cardboard — Finally
 Easy High-Protein Philly Cheesesteak Mac That Beats Takeout Every Time (30 Minutes)
 Italian Sausage Orzo That’s a One-Pot Weeknight Savior (Ready in 45 Minutes)
 Creamy Tuscan Gnocchi That Tastes Like a Slow Sunday in Italy — in Under 30 Minutes