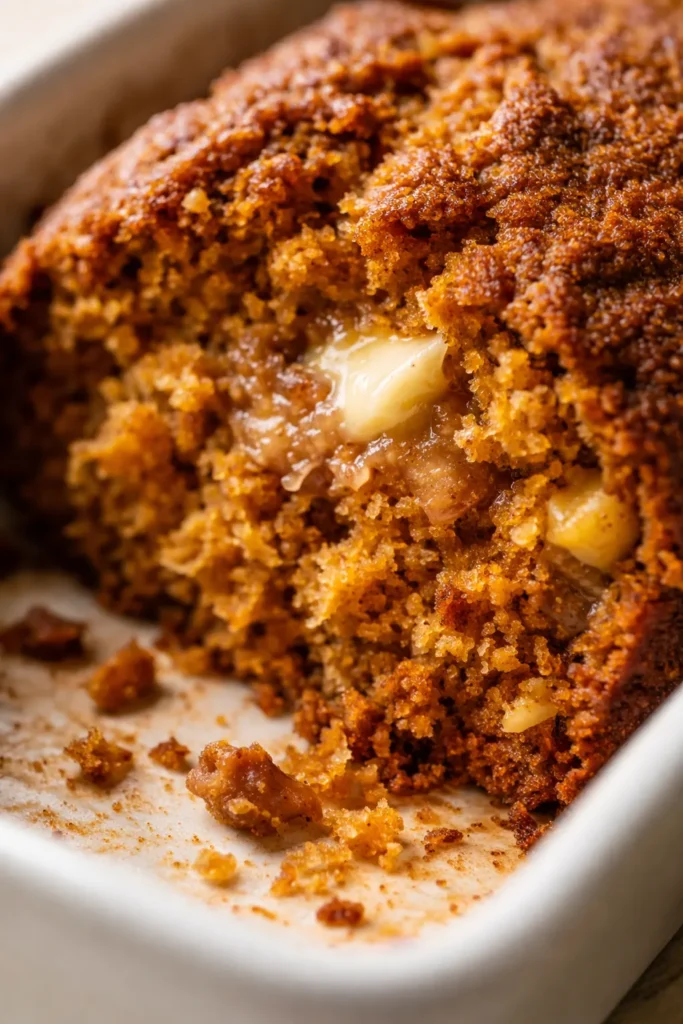
Every year, around the first crisp day of fall, I start testing quick bread recipes that celebrate the season. I’ve tried dozens of versions — the classic ones, the trendy ones with cream cheese swirls, the whole-wheat health kicks. And every single year, I come back to this particular method. Why? Because it delivers the loaf that disappears. It gets requested for Thanksgiving breakfast, for after-school snacks, for “just because” with a mug of coffee. It’s not fussy or complicated — it’s simply, perfectly right. Moist without being gummy, warm with spice, and sporting that signature crackly top that makes it look straight out of a bakery window.
I won’t pretend I nailed it on the first bake. My early loaves looked beautiful on the outside but had a dense, gummy streak running right through the center. It drove me slightly crazy. I adjusted the temperature, the baking time, the pan size — nothing seemed to fix it. Finally, I realized the problem wasn’t the oven or the pan. It was my mixing. I was overworking the gluten. The fix was embarrassingly simple: fold the dry ingredients in by hand and stop the moment the flour streaks disappear. That single change transformed the texture. The final test batch came out with a light, even crumb, a deep golden-brown crust, and that iconic crack down the middle that tells you it’s absolutely, undeniably done.
- Serves: 1 loaf (10-12 slices)
- Hands-On Time: 10 min | Total Time: 75 min
- Difficulty: Easy enough for a brand new baker
- Cost per serving: ~$2.50 per loaf
- Nutrition Estimate: 285 Calories, 4g Protein, 42g Carbs, 12g Fat, 1.5g Saturated Fat, 2g Fiber, 280mg Sodium per serving
- Dietary Notes: Naturally vegetarian and dairy-free. Freezes beautifully.
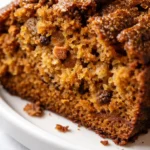
(Photo above: An overhead shot of the golden pumpkin bread cooling on a wire rack, with one slice already cut to reveal the moist, dark orange crumb. Warm morning light streams from the left, highlighting the crackly crust. A small ceramic pumpkin and a few fallen leaves sit in the background for seasonal warmth.)
Before I landed on this exact combination, I baked through a minor obsession. I tried swapping butter for oil, adjusting sugar ratios, adding yogurt, sour cream, even applesauce. Some loaves were too dense, others too crumbly. One memorable failure came out looking beautiful but tasted oddly flat — I’d forgotten the salt. Another batch, I used pumpkin pie filling by mistake and ended up with a weirdly sweet, artificially spiced brick. It took twenty-something attempts before I found the sweet spot: a balance of moisture from the oil, lift from the baking soda reacting with the pumpkin’s acidity, and that unmistakable crackly top that comes from the right sugar-to-flour ratio. This recipe is the result of all that trial and error — and it’s the only one I trust now.
Why Oil Makes This Loaf Unforgettably Moist
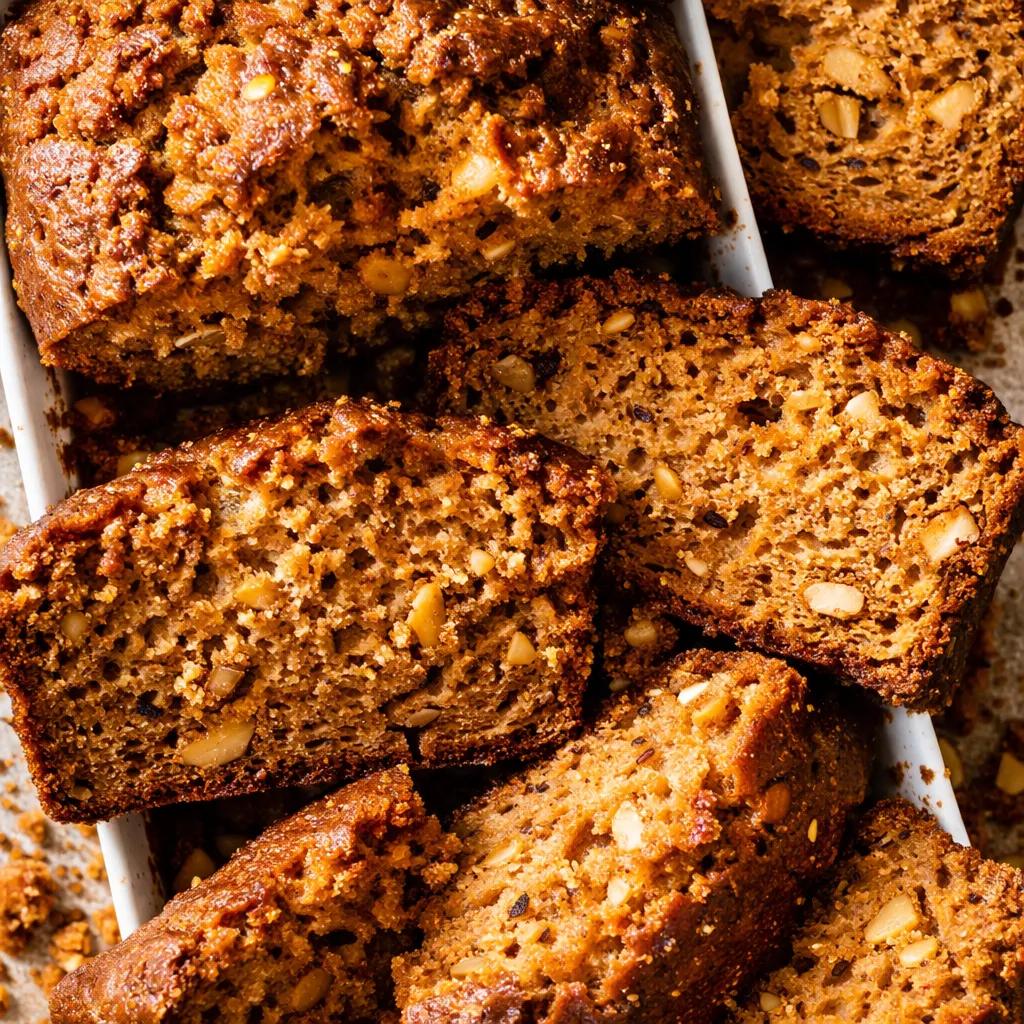
Butter adds flavor, but oil guarantees moisture. Because oil stays liquid at room temperature, it keeps the crumb incredibly tender and soft for days, not just hours. This recipe uses a full half-cup of oil, which might sound like a lot, but it’s the secret to that melt-in-your-mouth texture that keeps people asking for the recipe. The structure comes from the eggs and flour, so the oil freely does its job without making the bread greasy.
The Full Can of Pumpkin: Non-Negotiable
I’ve tested this with less pumpkin, more flour, adjusted the liquids — trust me, I’ve been down every rabbit hole. None of it worked as well as simply using the whole 15-ounce can. It provides the perfect amount of moisture and flavor, plus it means you don’t have a half-empty can of pumpkin languishing in the fridge until it goes bad. According to USDA nutritional data, pumpkin is packed with Vitamin A, which makes this treat feel a little less guilty.
Everything You Need: My Honest Ingredient Notes
- 1-2/3 cups all-purpose flour: The backbone of the bread. Spoon it into your measuring cup and level it off — don’t scoop directly, or you’ll pack it down and end up with a dense loaf.
- 1-1/2 cups sugar: Granulated sugar provides sweetness and, importantly, helps create that gorgeous crackly top. Don’t swap this for brown sugar unless you want a softer, denser crust.
- 1 teaspoon baking soda & 1/2 teaspoon baking powder: The dynamic leavening duo. Baking soda reacts with the acidity of the pumpkin for lift, while baking powder provides extra insurance for a light crumb.
- 1 teaspoon ground cinnamon, 1/2 teaspoon nutmeg, 1/4 teaspoon cloves: The ultimate fall spice blend. Make sure your spices are fresh — stale spices are the number one reason for bland pumpkin bread.
- 3/4 teaspoon salt: Don’t skip it. Salt sharpens the sweetness and makes the spices taste more vibrant.
- 2 large eggs (room temperature): Room-temperature eggs blend into the batter smoothly, creating a better emulsion. Cold eggs can seize the oil and make the batter lumpy and stiff.
- 1 cup canned pumpkin: Be absolutely certain this is 100% pure pumpkin, not pumpkin pie filling. The filling has added sugar and spices that will mess up the chemistry.
- 1/2 cup canola oil: A neutral oil like canola, vegetable, or light olive oil is perfect. Extra virgin olive oil has too strong a flavor.
- 1/2 cup water: This might seem strange, but the water creates steam that keeps the loaf incredibly moist during the long bake. It’s a simple trick that makes a huge difference.
- 1/2 cup chopped walnuts & 1/2 cup raisins (optional): Add texture and little bursts of sweetness. I love the combination, but you can swap them for chocolate chips or leave them out entirely.
What to Pull Out Before You Start
- Oven preheated to 350°F
- Two medium mixing bowls (one for dry, one for wet)
- Whisk
- Rubber spatula or wooden spoon
- 9×5-inch loaf pan (greased or lined with parchment)
- Toothpick or digital thermometer for testing doneness
- Wire rack for cooling
- A sharp knife for slicing (once it’s cool, I know it’s hard to wait!)
Let’s Bake It: Step-by-Step to a Perfect Loaf
This recipe comes together in about 10 minutes of active time. The hardest part is waiting for it to finish baking.
- Preheat: Set your oven to 350°F. Position a rack in the center. Grease a 9×5-inch loaf pan thoroughly with butter or non-stick spray.
- Whisk Dry Ingredients: In your first bowl, combine the flour, sugar, baking soda, cinnamon, salt, baking powder, nutmeg, and cloves. Whisk until everything is evenly distributed.
- Mix Wet Ingredients: In the second bowl, whisk together the eggs, canned pumpkin, canola oil, and water. Make sure it’s smooth and fully combined.
- Combine (The Critical Step): Pour the wet ingredients into the dry ingredients. Stir with a spatula or wooden spoon just until moistened. Stop as soon as the flour streaks disappear. A few tiny lumps are perfectly okay — overmixing is what makes quick bread tough.
- Fold in Add-Ins: If you’re using walnuts and raisins, gently fold them in now. A few turns of the spatula is all it takes.
- Bake: Pour the batter into the prepared loaf pan and spread it even. Bake for 65 to 70 minutes. The loaf is done when a toothpick inserted into the center comes out clean, or a digital thermometer registers 200°–205°F in the center. The edges will pull away from the pan, and the top will be a deep golden brown with a crack down the middle.
- Cool in Pan: Let the bread cool in the pan on a wire rack for exactly 10 minutes. This allows it to set so it doesn’t fall apart when you remove it.
- Remove from Pan: Run a thin knife along the edges of the pan to loosen any sticky bits. Gently shake the pan to release the bread. Turn it out onto the wire rack, right side up.
- Cool Completely: Let the loaf cool completely on the wire rack before slicing. This is absolutely crucial — slicing too early will make the bread crumble and seem gummy. It usually takes about 1-2 hours.
My Meal Prep Secrets for a Stress-Free Week
This loaf is a lifesaver for weekend hosting or making sure you have something delicious for breakfast. I love baking it on a Sunday evening so it’s ready to go for the week ahead.
- Fridge: Wrap the cooled loaf tightly in plastic wrap or store it in an airtight container at room temperature for up to 4 days. The refrigerator can actually dry it out, so I avoid it unless I’m storing it for longer than a week.
- Freezer: Pumpkin bread freezes like a dream. Wrap the fully cooled loaf (or individual slices) tightly in plastic wrap, then a layer of foil, and freeze for up to 3 months. It’s so nice to pull out a slice whenever a craving hits.
- Reheat: Pop individual slices in the toaster for a slightly crispy edge, or microwave them for about 15-20 seconds for a soft, warm treat. For frozen slices, unwrap and let them come to room temperature, or warm them directly in the toaster.
Troubleshooting Your Loaf
Even with a foolproof recipe, things can go sideways. Here are the most common issues I’ve encountered — and exactly how to fix them next time.
- Gummy, dense streak in the center? This is almost always from overmixing. Stir the batter only until the flour disappears — a few small lumps are fine. Also check oven temperature: if it’s too low, the bread bakes too slowly and the middle stays wet.
- Bread sank in the middle after baking? This usually means it was underbaked. Use a thermometer to confirm internal temp reaches 200°F. If the top is getting too dark but the center isn’t done, tent loosely with foil for the last 15 minutes.
- Top didn’t crack? The crack is caused by the sugar crust setting before the loaf expands fully. Make sure you’re using granulated sugar (not brown) and the oven is fully preheated. A hot oven is key.
- Batter seemed too thick or too thin? Pumpkin brands vary slightly in water content. If your batter looks overly thick, add an extra tablespoon of water; if it seems runny, add a tablespoon of flour. Trust your eyes.
- Bread stuck to the pan? Grease the pan generously with butter or baking spray, or line it with parchment paper with a two-inch overhang on the long sides for easy lifting.
Swaps and Variations That Actually Work
- Chocolate Chip Pumpkin Bread: Swap the walnuts and raisins for 1 cup of semi-sweet chocolate chips. Add them right after the flour is incorporated. It’s absolutely irresistible.
- Dairy-Free: This recipe is already naturally dairy-free! Just be sure to use a dairy-free spread if you’re buttering your slice.
- Nut-Free: Omit the walnuts entirely. Add an extra 1/4 cup of raisins or dried cranberries for texture, or just leave it plain.
- Gluten-Free: Use a good quality 1:1 gluten-free all-purpose flour blend. The texture will be slightly more delicate, so let it cool completely in the pan before slicing for the best results.
This recipe has earned a permanent spot in my fall baking rotation — and I hope it does in yours too. Whether you’re a first-time baker or a seasoned pro, I genuinely believe this will give you that perfect loaf you’re after. The deep, warm scent of cinnamon and cloves filling the kitchen, the crackle of that sugar-crusted top, the first bite of tender, spiced crumb … it’s worth every step. Go ahead and preheat that oven.
The Only Pumpkin Bread Recipe You’ll Ever Need (Moist, Easy, and Foolproof)
Equipment
- Oven
- Two medium mixing bowls
- Whisk
- Rubber spatula or wooden spoon
- 9×5-inch Loaf Pan
- Toothpick or digital thermometer
- Wire rack
- Sharp knife
Ingredients
For the Bread
- 1-2/3 cups all-purpose flour
- 1-1/2 cups granulated sugar
- 1 teaspoon baking soda
- 1/2 teaspoon baking powder
- 1 teaspoon ground cinnamon
- 1/2 teaspoon ground nutmeg
- 1/4 teaspoon ground cloves
- 3/4 teaspoon salt
- 2 large eggs room temperature
- 1 cup canned pumpkin 100% pure pumpkin
- 1/2 cup canola oil or other neutral oil
- 1/2 cup water
- 1/2 cup chopped walnuts optional
- 1/2 cup raisins optional
Instructions
- Preheat: Set your oven to 350°F. Position a rack in the center. Grease a 9×5-inch loaf pan thoroughly with butter or non-stick spray.
- Whisk Dry Ingredients: In your first bowl, combine the flour, sugar, baking soda, cinnamon, salt, baking powder, nutmeg, and cloves. Whisk until everything is evenly distributed.
- Mix Wet Ingredients: In the second bowl, whisk together the eggs, canned pumpkin, canola oil, and water. Make sure it’s smooth and fully combined.
- Combine (The Critical Step): Pour the wet ingredients into the dry ingredients. Stir with a spatula or wooden spoon just until moistened. Stop as soon as the flour streaks disappear. A few tiny lumps are perfectly okay — overmixing is what makes quick bread tough.
- Fold in Add-Ins: If you’re using walnuts and raisins, gently fold them in now. A few turns of the spatula is all it takes.
- Bake: Pour the batter into the prepared loaf pan and spread it even. Bake for 65 to 70 minutes. The loaf is done when a toothpick inserted into the center comes out clean, or a digital thermometer registers 200°–205°F in the center. The edges will pull away from the pan, and the top will be a deep golden brown with a crack down the middle.
- Cool in Pan: Let the bread cool in the pan on a wire rack for exactly 10 minutes. This allows it to set so it doesn’t fall apart when you remove it.
- Remove from Pan: Run a thin knife along the edges of the pan to loosen any sticky bits. Gently shake the pan to release the bread. Turn it out onto the wire rack, right side up.
- Cool Completely: Let the loaf cool completely on the wire rack before slicing. This is absolutely crucial — slicing too early will make the bread crumble and seem gummy. It usually takes about 1-2 hours.