
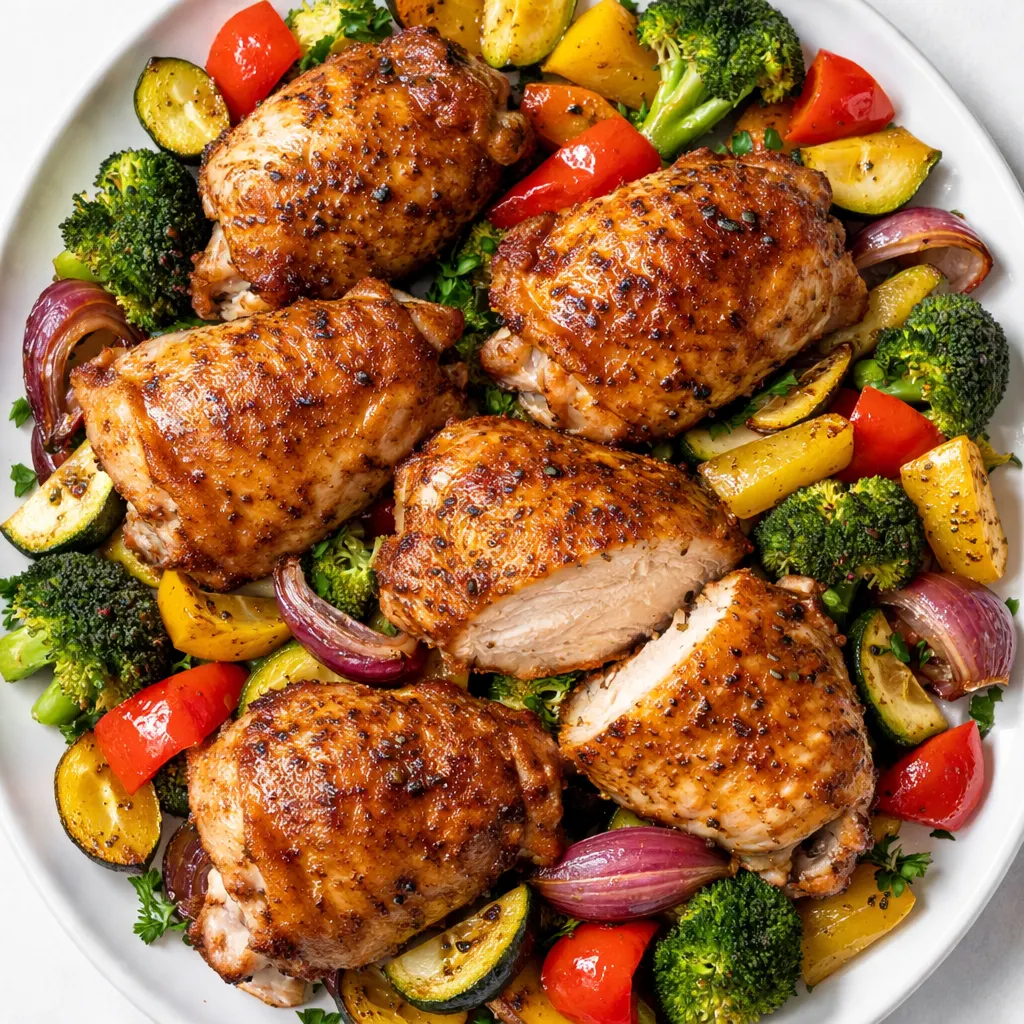
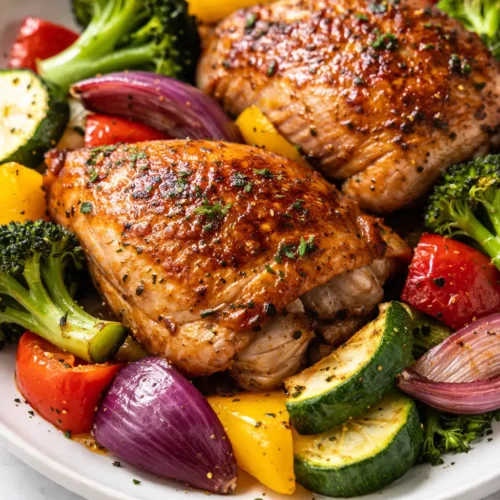
The first time I made chicken and veggies in the air fryer, I pulled out a tray of dry chicken and limp broccoli. Simone took one look and asked for cereal. Fair. But I knew the air fryer could do better — it just needed a little Southern ingenuity. This version? The chicken stays juicy with these golden, almost-crispy edges, and the veggies caramelize instead of steaming. It’s been our Tuesday night staple for months now.
The short version: Juicy chicken and perfectly roasted veggies in 25 minutes — no sad, soggy bits here.
I’ve tested this about 12 times to get the timing and seasoning just right. My family ate a lot of mediocre air fryer experiments so you don’t have to.
- Serves: 4 as a main
- Hands-On Time: 15 min | Total Time: 25 min
- Difficulty: Easy enough for a busy weeknight
- Cost per serving: ~$4.50
- Calories: ~420 per serving
- Dietary Notes: Naturally gluten-free, adaptable for dairy-free
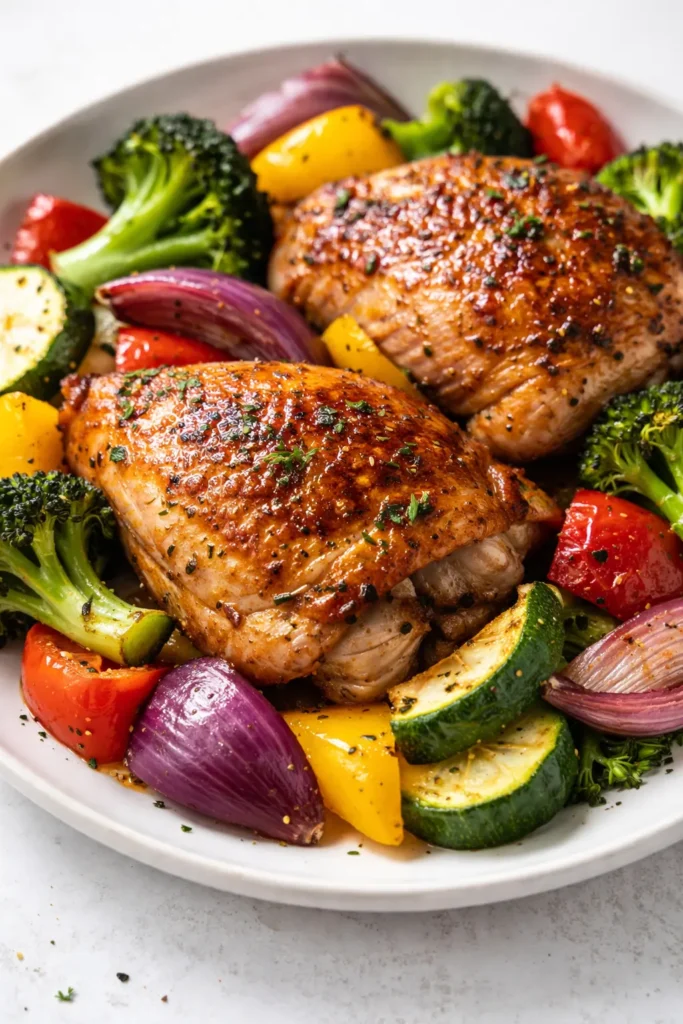
(Photo above: A wide shot of the air fryer basket pulled out halfway, showing golden-brown chicken thighs nestled among bright green broccoli florets and red bell pepper strips, with a slight char on the edges. Natural overhead light, wooden trivet underneath.)
The Simple Trick That Keeps Everything From Getting Soggy
The secret is cornstarch. A light dusting on the chicken and the veggies pulls out surface moisture, so the air fryer can crisp instead of steam. It’s the same logic as a good fried chicken dredge — just way less work and way less mess.
The other thing? Don’t crowd the basket. Air needs to hit every surface to get that caramelization instead of just steaming everything into submission. If your basket is too small, that’s your sign to cook in two batches. I know it’s annoying, but it makes the difference between golden edges and a sad, limp pile.
This method gives you chicken that’s tender all the way through and veggies that actually taste roasted — not microwaved.
Everything You’ll Need (Plus My Honest Notes)
- 1 ½ lbs boneless, skinless chicken thighs (or breasts, see note below)
- 1 medium head of broccoli, cut into florets — Make sure they’re about the same size so they cook evenly.
- 2 bell peppers, sliced into 1-inch strips — Any color works. I use red and yellow for sweetness.
- 1 small red onion, cut into wedges — Through the root end so they hold together in the basket.
- 2 tbsp olive oil, divided
- 1 ½ tbsp cornstarch, divided
- The Seasoning Blend:
- 1 tsp smoked paprika (this is the backbone)
- 1 tsp garlic powder
- 1 tsp onion powder
- ½ tsp dried oregano
- Salt and black pepper to taste
On chicken: I use thighs here because they stay juicier in the high heat. If you use breasts, pound them to even thickness first so they don’t dry out on one end while the other catches up. My husband Marcus prefers breasts, so I do this all the time — it works perfectly.
What to Pull Out Before You Start
- A 5-6 quart air fryer — that’s the standard basket size. If yours is smaller, plan to cook in two batches.
- Large mixing bowl — or two, if you want to keep the chicken and veggie prep separate.
- Tongs — for flipping halfway through.
- Instant-read thermometer — this is your best friend for juicy chicken. I use mine every single time.
That’s it. Nothing fancy needed here.
Let’s Make It — Start to Finish
This goes fast, so get everything chopped and measured before you turn the air fryer on. Set yourself up for success here.
Preheat: Set your air fryer to 400°F. Let it preheat for at least 3 minutes while you get the ingredients ready.
- Pat the chicken dry: Use paper towels and really get in there. Less moisture on the surface means better browning. (📸 Photo tip: You should see the paper towels coming away dry-ish. If they’re soaked, pat again. This step is worth repeating.)
- Season the chicken: In a bowl, toss the chicken with 1 tablespoon of olive oil. Sprinkle over 1 tablespoon of cornstarch and half of the seasoning blend. Toss until fully coated.
- Season the veggies: In a separate bowl, toss the broccoli, peppers, and onion with the remaining 1 tablespoon of olive oil. Sprinkle with the remaining ½ tablespoon of cornstarch and the remaining seasoning blend. Toss to coat.
- Arrange in the basket: Place the chicken in the air fryer basket in a single layer — don’t overlap. Add the veggies around and on top of the chicken, spreading them out as much as possible. (📸 Photo tip: The veggies look crowded but shouldn’t be stacked more than an inch high in any spot. If they are, pull some out for a second batch.)
- Cook: Air fry at 400°F for 10 minutes. Open the basket and use your tongs to flip the chicken and toss the veggies. Cook for another 5 to 8 minutes, until the chicken reaches 165°F on the instant-read thermometer and the veggies are tender with some charred edges.
- Rest: Let everything sit in the basket for 2 minutes after cooking. This lets the juices redistribute into the meat instead of running out onto your plate.
How I Batch Prep This for the Week
I make a double batch of the seasoning blend on Sundays. Then on Tuesday, dinner takes about 15 minutes of hands-on time. I also chop the veggies the night before and keep them in a zip-top bag in the fridge.
- Fridge: Store cooked chicken and veggies in an airtight container for up to 4 days. I separate the chicken from the veggies if I’m feeling ambitious — it helps them reheat better.
- Freezer: Not recommended. The veggies get mushy when thawed, and the chicken loses its texture.
- Reheat: Air fry at 350°F for 3 to 4 minutes. The microwave works in a pinch but the veggies won’t be crispy. I do the air fryer method if I have the extra 4 minutes.
Things I Wish Someone Had Told Me the First Time
- Don’t skip the cornstarch: I know it seems like an extra step and a dirty bowl. But it’s literally the difference between crispy, golden edges and steamed, bland chicken. I’ve tested both ways. The cornstarch wins every single time.
- Cut your veggies uniform: If your broccoli florets are huge and your pepper strips are tiny, they won’t finish at the same time. Aim for 1-inch pieces all around. I learned this after my third batch of burnt pepper edges and underdone broccoli. Even if you mess this part up a little, it’ll still taste good — I’ve done it.
- Use a thermometer: The air fryer runs hot and fast. Pulling the chicken at exactly 165°F gives you juicy meat. At 170°F, it starts to dry out. I got a cheap instant-read thermometer and it’s the single best tool in my kitchen. No more guessing.
- Don’t overcrowd the basket: I know you want to fit it all in one batch. If the basket is packed, the steam has nowhere to go and your veggies will be limp. Cook in two batches if you need to. The extra 10 minutes are worth having crispy edges.
Ways to Make This Your Own
- Swap the protein: Diced chicken breast, salmon fillets, or even cubed firm tofu work great here. Adjust the cooking time for salmon (usually 8 to 10 minutes total) and check tofu at 10 minutes.
- Different veggies: Zucchini, yellow squash, asparagus, or Brussels sprouts all work. Just cut them to a similar size so they cook evenly. I’ve done a spring version with asparagus and snap peas — Simone loved it.
- Spice it up: Add ½ teaspoon of cayenne pepper or red pepper flakes to the seasoning blend if you like heat. I do this on the nights Marcus is home — he wants everything spicy.
- Kid-friendly version: Simone prefers her veggies separate from the chicken. I just toss them in a little olive oil and garlic powder and cook them on a different rack or in a second batch. She eats every single piece.
- Dairy-free: This recipe is already dairy-free as written. No swaps needed.
The Questions I Get About This All the Time
Q: Why did my chicken come out dry?
A: Ugh, I’ve been there. Two most common reasons: you overcooked it (use a thermometer — I’m serious about this one) or you cut the pieces too small. Aim for even 6-ounce portions. If you’re using chicken breasts, pound them to an even thickness first.
Q: Can I use frozen chicken or frozen veggies?
A: Yes but there’s a catch. Thaw the chicken first and pat it very dry — frozen chicken releases a ton of water as it cooks and you’ll get steam instead of crisp. For frozen veggies, add 2 to 3 minutes to the cook time and expect them to be a little softer. They still taste good but they won’t have the same caramelized edges.
Q: How do I reheat leftovers without them getting soggy?
A: Air fryer at 350°F for 3 to 4 minutes. That’s the best way to bring back the crispy edges. The microwave works in a pinch for the chicken but the veggies go limp. I do the air fryer method if I have the extra minutes.
Q: What’s the best air fryer size for this recipe?
A: I use a 6-quart and it fits a pound and a half of chicken plus vegetables in a single layer. If yours is smaller, cook in two batches. It adds a few minutes but the result is way better than a crowded basket.
More Recipes My Family Makes on Repeat
If you liked this one, here are a few others that get the same reaction at our table:
- [INTERNAL LINK PLACEHOLDER: Sheet Pan Lemon Herb Salmon and Potatoes] — Comes together in 20 minutes and Simone actually asks for seconds
- [INTERNAL LINK PLACEHOLDER: One-Pot Black Bean Soup] — The perfect Sunday meal prep and it freezes beautifully
- [INTERNAL LINK PLACEHOLDER: Quick Skillet Cornbread with Buttermilk] — The only cornbread recipe my whole family agrees on
This air fryer chicken and veggies recipe is the reason I actually look forward to Tuesday nights. It’s fast, it’s forgiving, and it finally gives you those golden, crispy edges without drying out the chicken. I hope it becomes a regular in your weeknight rotation too.
If you try it, drop a comment below — I’d love to hear how it goes for your family.
📌 Air fryer chicken and veggies recipe that stays juicy and crispy every time — save it for your busiest weeknight dinners.
Air Fryer Chicken and Veggies That’s Actually Crispy (Not Steamed) — In 25 Minutes
Equipment
- 5-6 quart air fryer
- Large Mixing Bowl
- Tongs
- Instant-read thermometer
Ingredients
- 1 1/2 lbs boneless, skinless chicken thighs
- 1 medium head broccoli, cut into florets
- 2 bell peppers, sliced into 1-inch strips
- 1 small red onion, cut into wedges
- 2 tbsp olive oil, divided
- 1 1/2 tbsp cornstarch, divided
For the Seasoning Blend
- 1 tsp smoked paprika
- 1 tsp garlic powder
- 1 tsp onion powder
- 1/2 tsp dried oregano
- Salt and black pepper to taste
Instructions
- Preheat your air fryer to 400°F for at least 3 minutes.
- Pat the chicken dry with paper towels to remove surface moisture.
- In a bowl, toss the chicken with 1 tablespoon olive oil, 1 tablespoon cornstarch, and half of the seasoning blend until fully coated.
- In a separate bowl, toss the broccoli, peppers, and onion with remaining 1 tablespoon olive oil, remaining 1/2 tablespoon cornstarch, and remaining seasoning blend.
- Place the chicken in the air fryer basket in a single layer. Add the veggies around and on top, spreading them out as much as possible — don’t overcrowd.
- Air fry at 400°F for 10 minutes. Flip the chicken and toss the veggies, then cook another 5 to 8 minutes until chicken reaches 165°F and veggies are tender with charred edges.
- Let rest in the basket for 2 minutes before serving. This lets the juices redistribute.