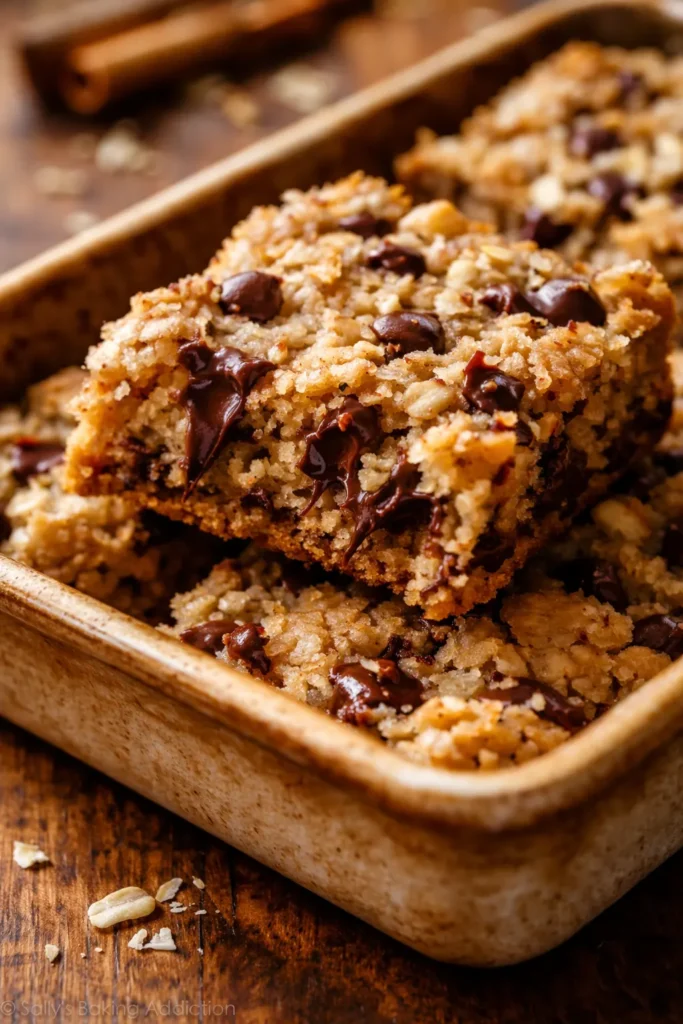
The very first time I made these, I walked away feeling like a hero — until I cut into them and they practically crumbled into dust. I’d overbaked them by about four minutes, and that was all it took to ruin the texture. Batch two was a flat, greasy puddle that spread too thin. The butter was too soft and I didn’t press the dough firmly into the pan. By batch three, I learned to start checking at 22 minutes, press the dough down with real authority, and let them cool completely before slicing. That batch was the one. Thick, chewy centers, slightly crisp golden edges, and exactly the kind of oatmeal chocolate chip bars that make people ask for the recipe before they’ve even finished one.
Why Quick Oats and the Right Butter Temperature Make All the Difference
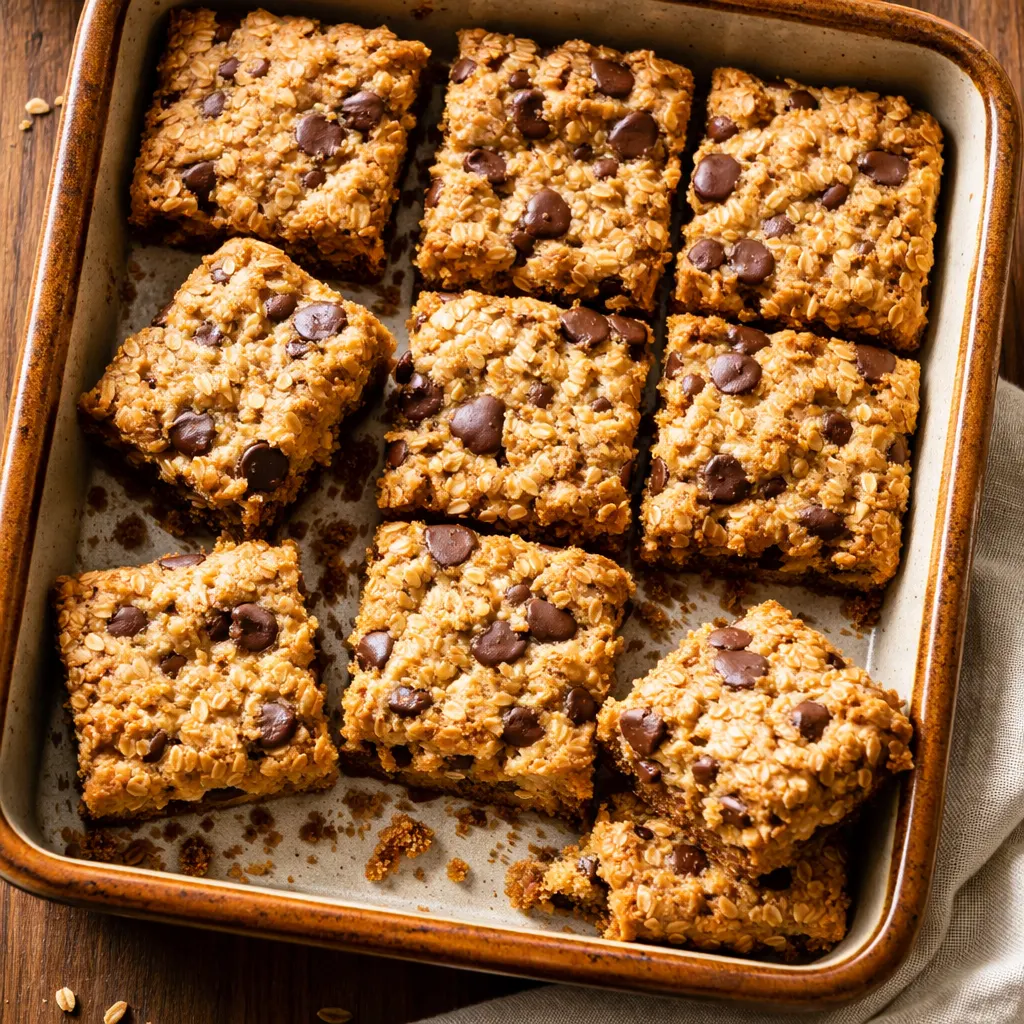
Quick oats are the secret to a soft, uniform bar. They absorb moisture evenly and blend seamlessly into the dough, creating a cohesive crumb that’s tender without being overly dense. Old-fashioned oats work in a pinch, but they give a much heartier, rustic texture that some people love and some find too chewy.
Fourteen tablespoons of butter is the exact sweet spot. It’s just shy of two full sticks, and that extra two tablespoons over a standard stick-and-a-half recipe makes these bars rich without being greasy. One test batch I under-buttered came out dry by day two. This version stays soft for the full week.
The 350°F oven temperature does two things at once. It’s hot enough to brown the edges and set the center in exactly 25 minutes without drying out the oats. Most bakers find that temperatures above 375°F cook the edges too fast, leaving the middle underdone. This even temperature gives you that consistent, bakery-quality bar every time.
Everything You Need (Plus My Honest Notes)
- 1 1/2 cups all purpose flour: Standard all-purpose gives the best structure here. Bread flour will make them slightly tougher; cake flour is too delicate. Stick with AP.
- 1 teaspoon baking soda: This is your leavener. Make sure it’s fresh — expired baking soda is the number one reason bars turn out dense and flat.
- 1/2 teaspoon salt: Balances the sweetness. If you use salted butter, cut this to 1/4 teaspoon.
- 1 teaspoon cinnamon: Don’t skip it. It brings out the natural warmth of the oats without making the bars taste spiced. It’s the note people can’t quite identify but miss when it’s gone. USDA nutritional data confirms that cinnamon is a low-calorie way to add antioxidants, and oats provide a great source of dietary fiber.
- 14 tablespoons unsalted butter: Softened to room temperature — cool to the touch but gives slightly when you press it. Too warm and your bars will spread into a thin pancake.
- 3/4 cup packed brown sugar: This is what keeps the bars moist and tender. Pack it firmly into the cup for the right measurement.
- 1/2 cup granulated sugar: Adds just enough structure and helps the edges get that beautiful golden-brown crisp.
- 2 large eggs: Room temperature eggs are non-negotiable here. Cold eggs can seize the butter and make the dough stiff and hard to press into the pan.
- 1 teaspoon vanilla extract: Pure vanilla, not imitation, if you have it. It adds a floral warmth that plays beautifully with the oats and chocolate.
- 3 cups quick cook oats: The backbone of the bar. Old-fashioned oats will work but will give a chewier, more textured result. Do not use instant oatmeal packets.
- 1 cup milk chocolate chips: Milk chocolate melts into sweet, creamy pockets that complement the oat flavor. Semi-sweet, dark, or even butterscotch chips all work beautifully depending on your mood.
What to Pull Out Before You Start
- 9 x 13 inch baking pan — metal or glass both work, but metal gives slightly crispier edges
- Cooking spray or a little butter for greasing
- Medium bowl for the dry ingredients
- Large bowl for the wet ingredients (or the bowl of a stand mixer)
- Whisk for the flour mixture
- Electric mixer — hand mixer or stand mixer with the paddle attachment
- Spatula or stiff stirring tool for folding in the oats and chips
- Airtight container for storage — these keep beautifully for up to two weeks
Let’s Make These Oatmeal Chocolate Chip Bars (Step by Step)
This comes together quickly, so measure everything out before you start. I promise it makes the process feel effortless.
- Preheat and prep: Set your oven to 350°F and lightly spray your 9 x 13 inch pan with cooking spray. If you want the cleanest slices, line the pan with parchment paper, leaving a little overhang on two sides to use as a sling later.
- Whisk the dry ingredients: In a medium bowl, whisk together the flour, baking soda, salt, and cinnamon. This ensures the leavening and spice are evenly distributed so you don’t get a pocket of baking soda in one bite.
- Cream the butter and sugars: In a large bowl, beat the butter, brown sugar, and granulated sugar together until the mixture is light and fluffy — about 3 to 4 minutes with a hand mixer. It should look pale and slightly airy. This step is crucial for the texture, so don’t rush it.
- Add the eggs and vanilla: Beat in the eggs one at a time, making sure each is fully incorporated before adding the next. Then beat in the vanilla extract. The mixture should look smooth and glossy.
- Add the dry ingredients: Pour the flour mixture into the wet ingredients. Beat on low speed just until the flour disappears into the batter, then increase the speed for a few seconds until everything is evenly combined. Overmixing at this stage will develop too much gluten and make the bars tough.
- Fold in the oats and chips: Gently stir in the quick oats and milk chocolate chips with a spatula until they’re evenly distributed. The dough will be thick and a little stiff. Press the batter evenly into the prepared baking dish. I use a flat-bottomed measuring cup or my hands (lightly greased) to press it firmly into the corners. This prevents air pockets and gives you a uniform bar.
- Bake to golden perfection: Bake for 25 minutes, or until the edges are a deep golden brown and the center looks set and slightly puffed. A toothpick inserted into the center should come out with a few moist crumbs, not wet batter. If you see wet batter, give it another 2 to 3 minutes.
- Cool, cut, and enjoy: Let the bars cool completely in the pan on a wire rack. This is the hardest step — I know — but warm bars will crumble when you cut them. Once cool, slice them into squares or rectangles. Store in an airtight container for up to two weeks.
How I Keep These on Hand for Busy Weeks
These oatmeal chocolate chip bars are my secret weapon for school lunches and afternoon chaos. I usually bake a batch on Sunday evening, let them cool overnight, and slice them first thing Monday morning. They stay fresh in an airtight container on the counter, and my kids grab one on the way out the door without even asking.
- Fridge: Store in an airtight container at room temperature for up to 2 weeks. If your kitchen runs warm, the fridge will keep them fresh even longer, but let them come to room temp before serving for the best texture.
- Freezer: Yes! Freeze the whole baked and cooled slab wrapped tightly in plastic wrap and foil, or freeze individual bars in a freezer-safe bag for up to 3 months. They thaw in about 30 minutes on the counter.
- Reheat: 10 seconds in the microwave brings back that just-baked softness. For a crispier edge, pop them in a 300°F oven for 5 minutes.
Troubleshooting: Why Did My Oatmeal Chocolate Chip Bars Turn Out Dry?
Q: Why did my bars turn out dry and crumbly?
A: This usually means they were overbaked or the flour was overmeasured. Spoon your flour into the measuring cup and level it off with a knife — don’t scoop directly from the bag, which packs the flour down. Next time, start checking for doneness at 22 minutes and pull them as soon as the center looks set.
Q: Can I use old-fashioned oats instead of quick oats?
A: Yes, you absolutely can. The bars will be chewier and have a more pronounced oat texture. I actually prefer old-fashioned oats when I’m going for a heartier, more rustic bar. Just know that the texture will be noticeably different from the soft, tender crumb you get with quick oats.
Q: How do I know when the bars are fully baked?
A: Look for three signs: the edges are a deep golden brown, the top is set and lightly puffed, and a toothpick inserted into the center comes out with a few moist crumbs (not wet batter). If the toothpick is clean, they’re overdone. If it’s goopy, they need more time.
Q: Can I make these vegan?
A: Yes, with a few tweaks. Use a flax egg (1 tablespoon ground flax mixed with 3 tablespoons water per egg, let sit for 5 minutes) in place of the eggs, and use a solid vegan butter and dairy-free chocolate chips. The texture will be slightly less tender but still very good.
Can You Freeze Oatmeal Chocolate Chip Bars?
Q: How long do these bars last, and how should I store them?
A: They keep beautifully for up to 2 weeks in an airtight container at room temperature. If you stack them, place a sheet of parchment paper between layers so the chocolate doesn’t stick together.
Q: Can I make them ahead of time or freeze them?
A: Yes, both! You can freeze the entire baked slab or individual bars for up to 3 months. Wrap tightly in plastic wrap, then foil, and place in a freezer bag. Thaw at room temperature for 30 minutes. They taste just as fresh as the day you baked them.
Q: What’s the best way to reheat them?
A: The microwave is the quickest — 10 to 15 seconds makes the chocolate gooey and softens the oat crumb perfectly. If you prefer a slightly crispy edge, reheat them in a 300°F oven for about 5 minutes. I wouldn’t recommend the toaster oven unless you watch them closely, as the tops can burn before the centers warm through.
Q: What do you serve with these bars?
A: Obviously, a tall glass of cold milk is the classic pairing. But I also love them crumbled over vanilla ice cream for an easy dessert, or served alongside a hot cup of coffee for an afternoon pick-me-up. My youngest likes to spread a thin layer of peanut butter on top of a leftover bar for an after-school snack — it’s unexpectedly perfect.
Whether you’re packing school lunches, looking for a bake sale hero, or just need a batch of something sweet on the counter that doesn’t require scooping cookies, these oatmeal chocolate chip bars are the ones I come back to again and again. They’re forgiving, adaptable, and genuinely stay soft for days.
If you try them, drop a comment below and let me know how they turned out — I love hearing about your baking wins!
📌 Save this recipe for later: These soft and chewy oatmeal chocolate chip bars stay fresh for over a week — pin it for your next family snack prep or bake sale!
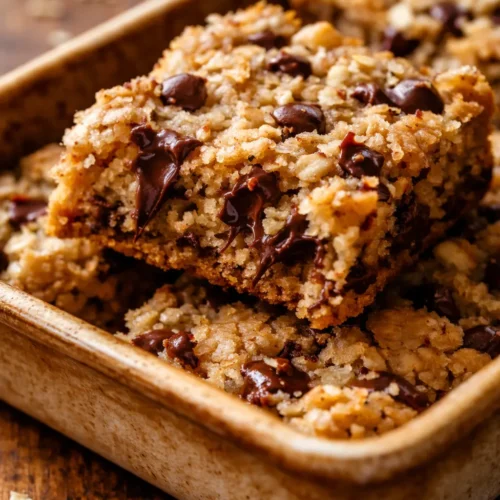
Oatmeal Chocolate Chip Bars That Stay Soft for a Week — Ready in 30 Minutes
Equipment
- 9 x 13 inch baking pan
- Cooking spray
- Medium Bowl
- Large Bowl
- Whisk
- Electric Mixer
- Spatula
- Airtight container
Ingredients
Ingredients
- 1 1/2 cups all-purpose flour Standard all-purpose gives the best structure.
- 1 teaspoon baking soda Make sure it’s fresh.
- 1/2 teaspoon salt If using salted butter, cut to 1/4 tsp.
- 1 teaspoon cinnamon Don’t skip; brings out oat flavor.
- 14 tablespoons unsalted butter Softened to room temperature.
- 3/4 cup brown sugar Pack firmly.
- 1/2 cup granulated sugar Helps edges crisp.
- 2 large eggs Room temperature.
- 1 teaspoon vanilla extract Pure vanilla preferred.
- 3 cups quick cook oats Quick oats give soft texture.
- 1 cup milk chocolate chips Milk chocolate recommended, but any works.
Instructions
- Preheat and prep: Set your oven to 350°F and lightly spray your 9 x 13 inch pan with cooking spray. If you want the cleanest slices, line the pan with parchment paper, leaving a little overhang on two sides to use as a sling later.
- Whisk the dry ingredients: In a medium bowl, whisk together the flour, baking soda, salt, and cinnamon. This ensures the leavening and spice are evenly distributed so you don’t get a pocket of baking soda in one bite.
- Cream the butter and sugars: In a large bowl, beat the butter, brown sugar, and granulated sugar together until the mixture is light and fluffy — about 3 to 4 minutes with a hand mixer. It should look pale and slightly airy. This step is crucial for the texture, so don’t rush it.
- Add the eggs and vanilla: Beat in the eggs one at a time, making sure each is fully incorporated before adding the next. Then beat in the vanilla extract. The mixture should look smooth and glossy.
- Add the dry ingredients: Pour the flour mixture into the wet ingredients. Beat on low speed just until the flour disappears into the batter, then increase the speed for a few seconds until everything is evenly combined. Overmixing at this stage will develop too much gluten and make the bars tough.
- Fold in the oats and chips: Gently stir in the quick oats and milk chocolate chips with a spatula until they’re evenly distributed. The dough will be thick and a little stiff. Press the batter evenly into the prepared baking dish. I use a flat-bottomed measuring cup or my hands (lightly greased) to press it firmly into the corners. This prevents air pockets and gives you a uniform bar.
- Bake to golden perfection: Bake for 25 minutes, or until the edges are a deep golden brown and the center looks set and slightly puffed. A toothpick inserted into the center should come out with a few moist crumbs, not wet batter. If you see wet batter, give it another 2 to 3 minutes.
- Cool, cut, and enjoy: Let the bars cool completely in the pan on a wire rack. This is the hardest step — I know — but warm bars will crumble when you cut them. Once cool, slice them into squares or rectangles. Store in an airtight container for up to two weeks.