
The first time I made gluten-free banana bread for Simone’s friend who has celiac, I braced for the usual crumbly disappointment. You know the one—gummy on the inside, dry on the edges, that slightly gritty texture that reminds you you’re eating a compromise. This loaf? Deeply chocolatey. Tender. That perfect pull-apart slice that makes you completely forget it’s gluten-free. My daughter ate two slices before I could even tell her there was a difference. That’s the standard I hold this recipe to.
The short version: One bowl, 15 minutes of hands-on work, and it comes out perfectly tender and rich every single time.
- Serves: 8–10 (as breakfast or snack)
- Hands-On Time: 15 min | Total Time: 1 hr 30 min
- Difficulty: Easy enough for a Sunday morning—just don’t skip the rest time
- Cost per serving: ~$1.20
- Calories: ~320 per slice
- Dietary Notes: Gluten-free, nut-free option, dairy-free adaptable
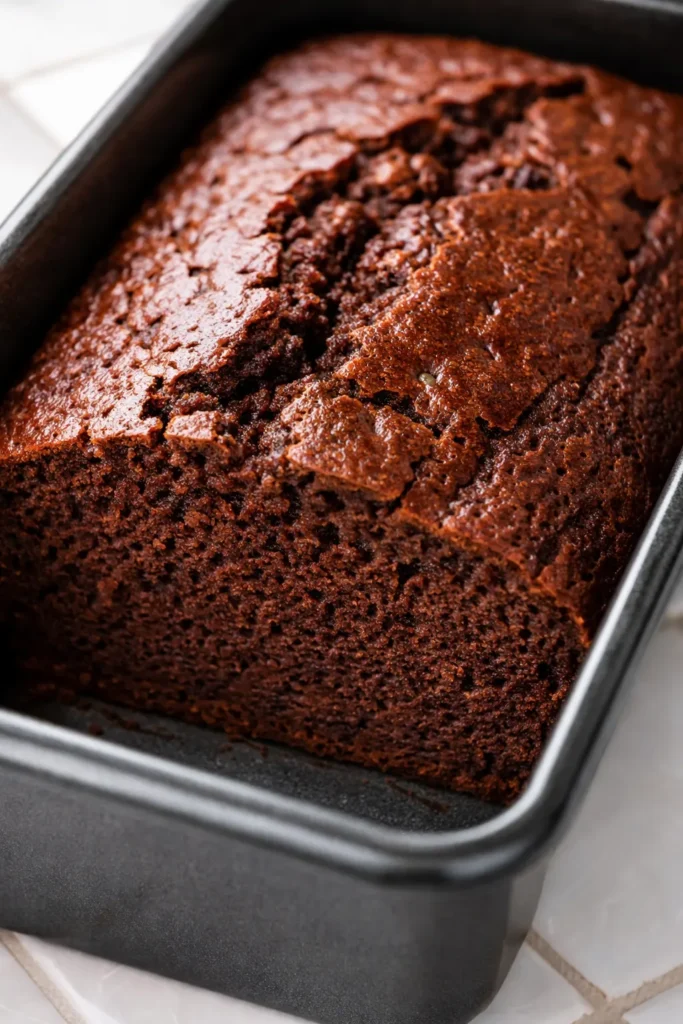
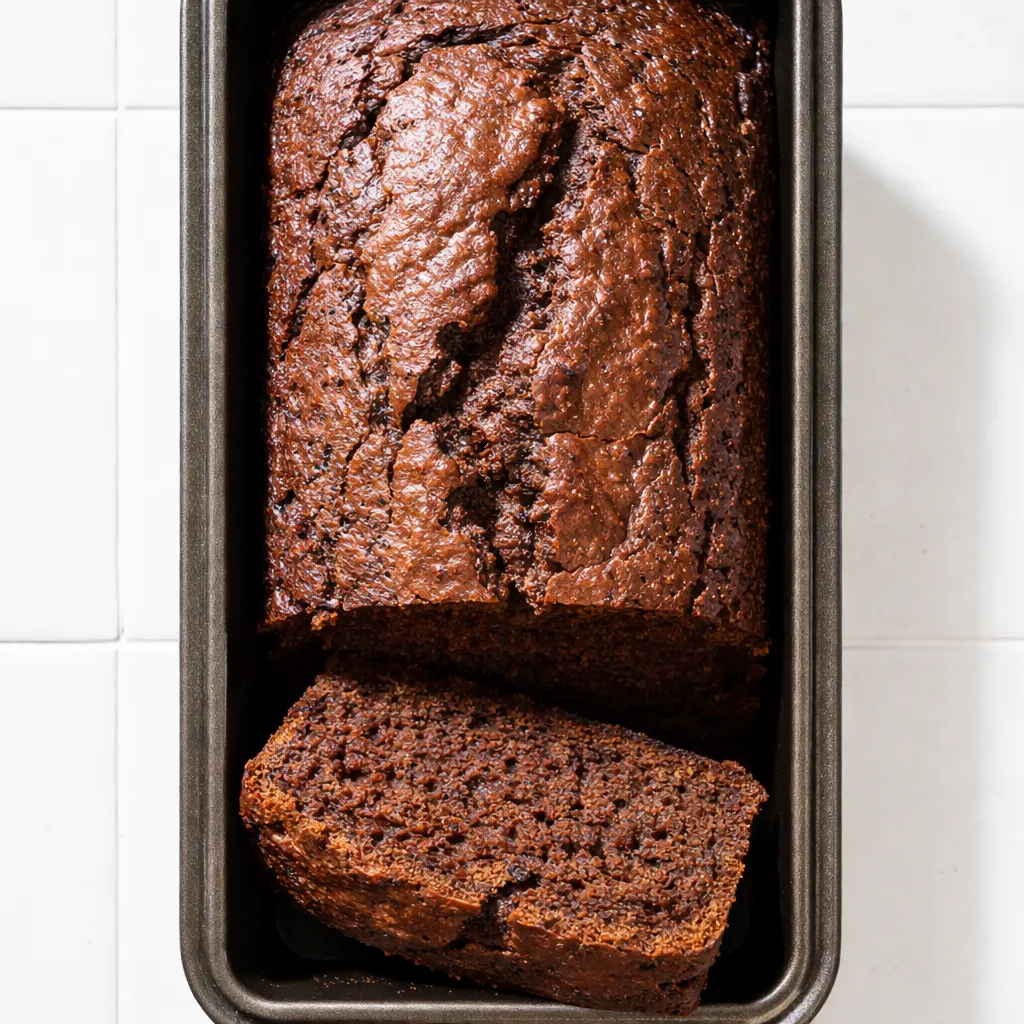
(Photo above: an overhead shot of a finished loaf on a wooden cutting board, sliced in half to reveal the dark, moist crumb and a few glossy chocolate chips. A small pat of butter melting on top, natural morning light from the kitchen window. One slice pulled away slightly, showing a perfect tender interior.)
What Makes This Loaf So Tender (It’s Not Just the Bananas)
I’ve tested this recipe about thirty times now—for neighbors with dietary restrictions, for school bake sales, and for my own Sunday morning coffee. It’s the gluten-free recipe I trust most because it doesn’t taste like a substitution. It tastes like a really good chocolate banana bread that happens to be gluten-free.
The secret is in the balance. Ripe bananas and oil keep it moist longer than butter ever could. A little bit of yogurt adds tenderness and a slight tang that plays off the chocolate. And the rest time? That’s the step everyone wants to skip—it’s the twenty minutes the flour needs to hydrate so you don’t end up with that sandy texture that gives GF baking a bad name.
This bread doesn’t crumble when you slice it. It doesn’t dry out by day two. It holds together like a proper banana bread should, and it tastes better than most wheat versions I’ve had.
Everything You Need — Plus My Honest Notes
- 1 ¾ cups (220g) gluten-free 1-to-1 flour blend, spooned and leveled: I use Bob’s Red Mill 1-to-1 Baking Flour (the blue bag) or King Arthur Measure for Measure. These already have xanthan gum, so you don’t need to add it. If your blend doesn’t have it, add ½ teaspoon. Don’t scoop directly from the bag—you’ll compact the flour and end up with too much.
- ⅓ cup (30g) Dutch-process cocoa powder: Dutch-process gives you a darker, richer chocolate flavor. If you only have natural unsweetened, that works fine—the color won’t be as deep but it’ll still taste great.
- 2 tablespoons hot coffee or water: Blooming the cocoa in hot liquid deepens the chocolate flavor and keeps the bread from tasting flat. I use leftover morning coffee. Simone doesn’t know she’s eating coffee cake and I’m not telling her.
- 3 medium very ripe bananas (about 1 ½ cups mashed): The riper the better. If your bananas aren’t covered in brown spots, this loaf won’t be as sweet or as moist. They should be soft enough to mash with a fork without any effort.
- ½ cup (100g) granulated sugar + ¼ cup (50g) packed light brown sugar: The brown sugar adds a little extra moisture and a warm note that pairs beautifully with the chocolate.
- ⅓ cup (75ml) neutral oil: Avocado, grapeseed, or melted coconut oil all work. We use oil here instead of butter because it keeps gluten-free bakes tender for days.
- ¼ cup (60g) plain Greek yogurt or sour cream: This is my non-negotiable for moisture. A little bit of yogurt does things for GF baking that water alone cannot do.
- 2 large eggs, at room temperature: Room temperature eggs mix in more evenly. If you forget to set them out, place them in a bowl of warm water for five minutes.
- 1 teaspoon vanilla extract: Don’t skip it. It rounds out the chocolate.
- ¾ cup (130g) dark chocolate chips: I use dark chocolate because it’s less sweet and the bitterness contrasts nicely with the bananas. Semi-sweet works beautifully too.
The Setup (Tools You’ll Actually Need)
- 9×5-inch loaf pan — metal or glass both work, but metal gives a slightly nicer crust
- Parchment paper — let it hang over the long sides like handles, so you can lift the loaf out cleanly
- Large mixing bowl — glass, ceramic, or stainless steel
- Whisk and rubber spatula
- Cooling rack
How I Make This GF Loaf (Start to Finish)
Set your oven to 350°F and move a rack to the middle position. Line your loaf pan with parchment paper, letting it hang over the two long sides.
- Bloom the cocoa: In a large mixing bowl, whisk the cocoa powder with the hot coffee or water until it forms a smooth paste. It should smell intensely chocolatey. (📸 Photo tip: The paste should be thick and glossy, not runny.)
- Add the wet ingredients: To the bowl with the bloomed cocoa, add the mashed bananas, both sugars, oil, yogurt, eggs, and vanilla. Whisk until smooth. A few small banana lumps are fine.
- Add the dry ingredients: Sprinkle the GF flour blend, baking soda, and salt over the wet mixture. Fold gently with your rubber spatula until just combined—no streaks of flour remaining. Overmixing can make the bread tough.
- Fold in the chocolate chips: Reserve about a tablespoon of chips for the top, then fold the rest into the batter. (📸 Photo tip: The batter should be thick and scoopable, not runny or pourable. If it’s too stiff, add one tablespoon of milk.)
- Rest the batter (crucial step): Pour the batter into the lined loaf pan and smooth the top. Sprinkle the reserved chocolate chips on top. Let it sit at room temperature for 20 minutes. Do not skip this—it gives the GF flour time to hydrate and prevents a gritty texture.
- Bake: Place the pan in the oven and bake for 55–65 minutes. At the 40-minute mark, loosely tent the loaf with aluminum foil to prevent the top from over-browning. The bread is done when a toothpick inserted into the center comes out clean or with a few moist crumbs—not wet batter.
- Cool: Let the bread cool in the pan on a wire rack for 15 minutes, then lift it out using the parchment handles and let it cool completely before slicing. Cutting it warm is tempting, but it will be too tender to hold together properly.
How I Meal Prep These for the Week
I usually make a double batch. One loaf disappears within hours. The second one I wrap tightly in plastic wrap and store for the days when we need breakfast or an after-school snack that doesn’t require any effort.
- Fridge: Wrap tightly in plastic wrap or store in an airtight container. Keeps for 4–5 days.
- Freezer: Yes! I slice the cooled loaf and wrap each slice individually in parchment paper, then store them in a freezer bag. They thaw in about 30 minutes at room temperature.
- Reheat: 10–15 seconds in the microwave brings it back to just-baked tenderness. Or toast a slice in a buttered pan—the edges get crispy and the inside stays soft.
Mistakes I Made So You Don’t Have To
- Don’t skip the rest time. I know it sounds like one of those annoying extra steps that doesn’t matter, but it’s the difference between a tender slice and a gritty one. The flour needs those 20 minutes to absorb the liquid. Trust me on this one—I’ve tested it both ways.
- Measure your flour correctly. Scooping straight from the bag compacts the flour and you’ll end up with too much, which makes the bread dry. Spoon it into the measuring cup and level it off with a knife. Or better yet, weigh it—220 grams for most 1-to-1 blends.
- Use a toothpick to check for doneness. Gluten-free breads often look done on the outside before they’re done in the middle. A toothpick should come out clean or with moist crumbs. If it’s wet, give it another 5-7 minutes even if the top is dark.
- Cool before slicing. I know the smell is incredible and you want to dive in. Let the loaf cool completely. Cutting it warm will give you a gummy, crumbly mess. The texture really sets as it cools.
Swaps That Actually Work
- Dairy-Free: Use dairy-free yogurt (plain coconut or soy yogurt) and dairy-free chocolate chips. I’ve tested this with Kite Hill plain unsweetened yogurt and it worked beautifully.
- Nut-Free: This recipe is naturally nut-free if your flour blend and chocolate chips are processed in a nut-free facility. Most major brands like Bob’s Red Mill and King Arthur label for allergens.
- Less Sweet: Reduce the granulated sugar to ¼ cup and use unsweetened chocolate chips. The bananas will still provide plenty of sweetness.
- Extra Indulgent: Swirl in ¼ cup of peanut butter or Nutella before baking. I drop spoonfuls on top and drag a knife through to create streaks.
Questions I Get About This Recipe All the Time
Q: Why is my gluten-free banana bread gummy in the center?
A: Ugh, I’ve been there. It usually means the loaf is underbaked. Gluten-free batters need a full 55–65 minutes in the oven. Check your oven temperature with an oven thermometer—I’ve had ovens run 25 degrees too hot or too cold. Also, let it rest the full 20 minutes before baking so the flour can hydrate evenly.
Q: Can I make this without chocolate?
A: Sure! Swap the cocoa powder for an additional ¼ cup of GF flour blend. Keep the chocolate chips, or swap them for walnuts or dried cherries. It becomes a classic gluten-free banana bread with a tender, buttery crumb.
Q: How long does this last on the counter?
A: I store it wrapped tightly on the counter for up to 3 days. By day 4, I move it to the fridge. It stays moist for a full week if wrapped properly—just reheat slices in the microwave for 10 seconds to bring back that fresh-baked texture.
Q: What do you serve with this?
A: Honestly, it’s perfect on its own. But my favorite way to eat it is toasted with a little salted butter and a cup of strong coffee. My kids love it with a glass of cold milk. For dessert, I’ve been known to warm a slice, add a scoop of vanilla ice cream, and drizzle with caramel sauce.
More Recipes My Family Makes on Repeat
If you liked this one, here are a few others that get the same reaction at our table:
- [INTERNAL LINK PLACEHOLDER: My Go-To Gluten Free Banana Bread (Classic Version)] — The original loaf, without chocolate, that started my obsession with GF baking.
- [INTERNAL LINK PLACEHOLDER: Dark Chocolate Avocado Muffins (Gluten Free)] — The richest chocolate muffins I’ve ever made, and somehow they’re actually good for you.
- [INTERNAL LINK PLACEHOLDER: Simone’s Favorite Double Chocolate Zucchini Bread] — A whole loaf’s worth of vegetables hidden in a chocolate bread she begs for every week.
If you’ve been searching for a gluten-free chocolate banana bread that doesn’t taste like a compromise, this is the one. My family doesn’t know the difference, and honestly? I don’t either. It’s just really good banana bread.
I’d love to hear how it turns out for you! Drop a comment below or tag me on Pinterest so I can see your loaf.
📌 Moist gluten-free chocolate banana bread that stays tender for days—save this one-bowl recipe for your next weekend baking session!
My Go-To Moist Gluten Free Chocolate Banana Bread (It’s the Only GF Loaf I Make)
Equipment
- 9×5-inch Loaf Pan
- Parchment Paper
- Large Mixing Bowl
- Whisk
- Rubber spatula
- Cooling rack
Ingredients
- 1 3/4 cups gluten-free 1-to-1 flour blend, spooned and leveled
- 1/3 cup Dutch-process cocoa powder
- 2 tablespoons hot coffee or water
- 3 medium very ripe bananas, mashed (about 1 1/2 cups)
- 1/2 cup granulated sugar
- 1/4 cup packed light brown sugar
- 1/3 cup neutral oil (avocado, grapeseed, or melted coconut)
- 1/4 cup plain Greek yogurt or sour cream
- 2 large eggs, at room temperature
- 1 teaspoon vanilla extract
- 1 teaspoon baking soda
- 1/2 teaspoon salt
- 3/4 cup dark chocolate chips
Instructions
- Preheat oven to 350°F. Line a 9×5-inch loaf pan with parchment paper, letting it hang over the long sides.
- In a large mixing bowl, whisk the cocoa powder with the hot coffee or water until smooth and fragrant.
- Add the mashed bananas, both sugars, oil, yogurt, eggs, and vanilla. Whisk until smooth.
- Sprinkle the GF flour, baking soda, and salt over the wet mixture. Fold with a rubber spatula until just combined.
- Fold in the chocolate chips, reserving about a tablespoon for the top.
- Pour batter into the lined pan, smooth the top, and sprinkle reserved chips. Let rest at room temperature for 20 minutes. Do not skip.
- Bake for 55–65 minutes, tenting with foil at 40 minutes. Toothpick should come out clean.
- Cool in pan for 15 minutes, then lift out and cool completely before slicing.