
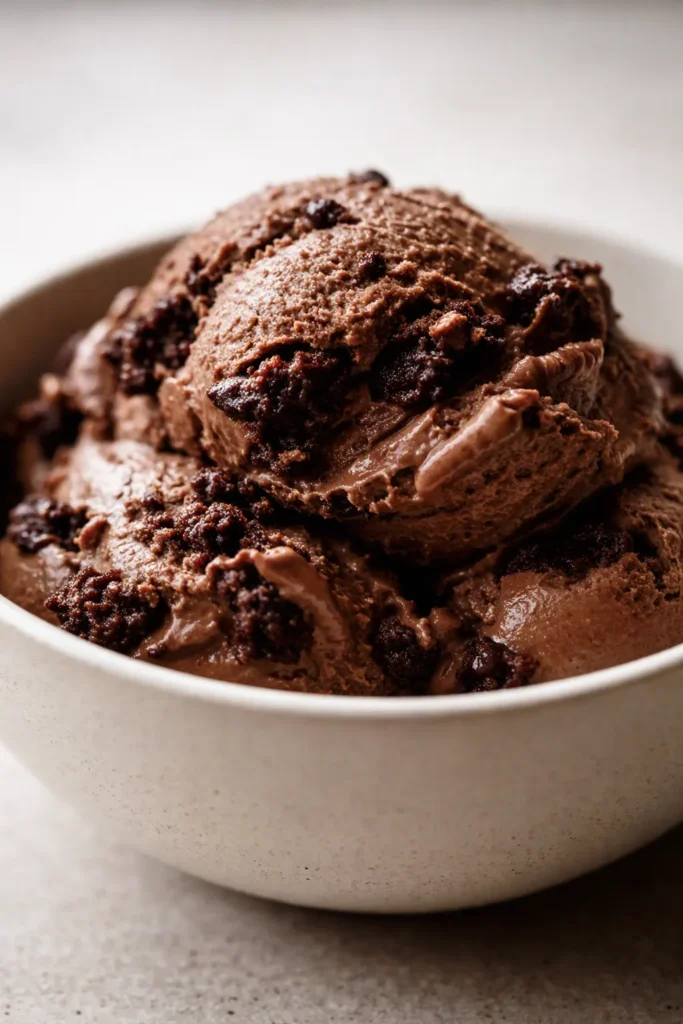
I still remember the first time I pulled a tray of chocolate chip cookies out of the oven and the entire kitchen filled with the smell of caramelized butter and warm vanilla. The edges had crinkled into deep golden lace, the centers were puffed and pale, and when I broke one open, the chocolate was still glossy and molten. That was the moment I stopped testing cookie recipes and finally committed to one. This is that recipe.
Over the years, I’ve baked thousands of cookies for friends, family, and holiday cookie swaps. I’ve learned that the difference between a good chocolate chip cookie and a truly unforgettable one comes down to a few deliberate choices: the right ratio of brown sugar to white, a generous hit of salt, high-quality chocolate, and the patience to chill the dough. Skip those steps and you’ll get a decent cookie. Follow them, and you’ll get the kind people quietly reach for seconds and thirds for.
Why These Chocolate Chip Cookies Work
This isn’t a fussy bakery recipe. It’s a sturdy, reliable formula that produces a cookie with crisp edges, chewy middles, and pools of melted chocolate in every bite. Here’s what makes it stand out:
- Brown sugar dominates. Brown sugar contains more moisture and acidity than white sugar, which gives the cookies their chew and that subtle toffee flavor.
- An extra egg yolk. The additional yolk adds richness and tenderness without making the dough overly wet.
- Chilling is non-negotiable. Even 30 minutes in the fridge firms up the butter, preventing cookies from spreading into thin, crispy disks.
- A hit of flaky salt. A small sprinkle on top right after baking balances the sweetness and makes the chocolate taste deeper.
How I Tested This Chocolate Chip Cookie Recipe
I tested this recipe six times in two weeks, and each batch taught me something. My first attempt used all white sugar, hoping for a crisper snap. The cookies spread beautifully but tasted one-dimensional — sweet, but missing that deep, butterscotch-like warmth. My second batch used all brown sugar. They were rich and chewy, but denser and almost muffin-like, not the classic texture I was after.
In the end, a ratio of two parts brown sugar to one part white won every blind taste test. I also baked one batch after just 30 minutes of chilling and another after a full 72 hours. The overnight dough produced cookies with deeper toffee notes, more crackled edges, and a noticeably more tender center. The 30-minute batch was still excellent, so I kept both options in the final recipe. I tested the bake time too: at 10 minutes, the centers were almost too gooey; at 12, the cookies began to firm up more than I liked. Eleven minutes, with a five-minute rest on the hot pan, was the clear sweet spot in my oven.
Ingredients for the Best Chocolate Chip Cookies
This recipe makes about 24 generous cookies. Use a kitchen scale if you have one; baking is an exact science, and measuring by weight gives you consistent results every time. But if you prefer cups, I’ve included those too.
Dry Ingredients
- 2 ¼ cups (280 g) all-purpose flour, spooned and leveled
- 1 teaspoon baking soda
- 1 teaspoon fine sea salt
Wet Ingredients & Sugar
- 1 cup (226 g / 2 sticks) unsalted butter, softened but still cool
- 1 cup (200 g) packed light brown sugar
- ½ cup (100 g) granulated sugar
- 1 large egg plus 1 large egg yolk, at room temperature
- 2 teaspoons vanilla extract
Chocolate
- 2 cups (340 g) semisweet chocolate chunks, or a mix of semisweet and dark chocolate, roughly chopped
- Flaky sea salt, for finishing (optional but highly recommended)
A note on chocolate: Skip the pre-shaped chocolate chips if you can. Chopping a good-quality chocolate bar creates irregular pieces, some large and some small, which means you get a thin shard of melted chocolate in one bite and a thick, fudgy puddle in the next. It’s a small step that makes a big difference.
How to Make Chocolate Chip Cookies, Step by Step
Preheat your oven to 375°F (190°C) and position the racks in the upper and lower thirds. Line two baking sheets with parchment paper. Here’s the full method:
- Whisk the dry ingredients. In a medium bowl, whisk together the flour, baking soda, and salt until everything is evenly distributed. Set it aside. The flour should look light and uniformly sandy.
- Cream the butter and sugars. In the bowl of a stand mixer fitted with the paddle attachment, or in a large bowl with a hand mixer, beat the softened butter, brown sugar, and granulated sugar on medium-high speed. You want this mixture to look light, fluffy, and almost whipped — the color will pale, and the texture will shift from gritty to smooth as the sugar dissolves. This should take about 3 minutes. Stop and scrape down the sides halfway through.
- Add the egg, yolk, and vanilla. With the mixer on medium speed, add the egg and beat until fully incorporated. Then add the egg yolk and vanilla. The mixture should look glossy and smooth, like a thick buttercream, not curdled. If it looks separated, your butter was too warm; pop the bowl in the fridge for 10 minutes before continuing.
- Add the dry ingredients. Turn the mixer to low and gradually add the flour mixture. Mix only until a few streaks of flour remain. Overmixing develops gluten, which makes cookies tough, so stop while you’re still a little nervous.
- Fold in the chocolate. Remove the bowl from the mixer and fold in the chopped chocolate with a rubber spatula. The dough will be thick, fragrant with vanilla, and studded with uneven chocolate pieces — some the size of a pea, others the size of a thumbnail.
- Chill the dough. Cover the bowl and refrigerate for at least 30 minutes, or up to 72 hours. The longer, the better. If you’re in a hurry, 30 minutes still works.
- Scoop the dough. Use a 3-tablespoon cookie scoop to portion out the dough. Roll each portion into a rough ball and place them on the prepared baking sheets, leaving about 2 inches between each one.
- Bake. Bake for 10 to 12 minutes, rotating the sheets halfway through. The cookies are done when the edges are set and deep golden brown, and the centers still look slightly underdone and puffy — as if they need another two minutes. Trust the process; they’ll continue to bake on the hot pan.
- Finish with salt. Immediately after pulling the pans from the oven, sprinkle a tiny pinch of flaky sea salt over each warm cookie. It melts into the surface, creating little bursts of salt against the sweet chocolate. Let the cookies sit on the baking sheet for 5 minutes — this is crucial, as it lets the centers set up without drying out. Then transfer to a wire rack to cool completely.
My Secrets for Soft, Chewy Chocolate Chip Cookies
Every baker develops their own set of habits over time. These are the four I refuse to skip:
1. Use a Cookie Scoop
A scoop gives you uniform balls of dough, which means they’ll bake at the same rate. Eyeballing portions is fine, but you’ll get more consistent results with a scoop.
2. Chill the Dough Overnight If You Can
This is the single biggest upgrade you can make. When dough rests in the fridge, the flour fully hydrates, the sugars dissolve, and the flavors meld. Cookies baked from a 24-hour chill are deeper, more complex, and have a better texture. It’s a classic baker’s secret for a reason.
3. Underbake on Purpose
Pull the cookies out when the centers are still soft and slightly puffy. They look underdone, and that’s exactly what you want. Carry-over cooking finishes them on the hot sheet. With this recipe, 11 minutes is my sweet spot at 375°F (190°C), but every oven behaves a little differently.
4. Press a Few Chocolate Chunks on Top
Right after baking, press 3 or 4 extra chocolate pieces onto the warm surface of each cookie. This isn’t just for looks; it guarantees every cookie has a visible, melted chocolate bite on top.
How to Store and Freeze Chocolate Chip Cookies
These cookies stay soft for days — if they last that long. Here’s how to keep them at their best:
Storing at Room Temperature
Place baked cookies in an airtight container with a slice of plain white bread. The bread releases moisture, which keeps the cookies soft for up to 5 days. Swap out the bread slice if it becomes dry. I know it sounds odd, but it works like a charm.
Freezing Cookie Dough
This dough freezes beautifully. Scoop it into balls, place them on a parchment-lined baking sheet, and freeze until solid, about 1 hour. Then transfer the frozen dough balls to a zip-top bag and keep them in the freezer for up to 3 months. You can bake them straight from frozen; just add 2 minutes to the baking time. There is nothing better than having cookie dough on standby for unexpected visitors.
Frequently Asked Questions About Chocolate Chip Cookies
Why did my cookies spread too much?
Flat, greasy cookies usually mean the dough was too warm when it hit the oven. The butter melts too quickly and the cookie spreads out before the structure sets. Chill the dough for another 30 minutes, and measure your flour carefully. Too little flour will also cause excess spreading.
Why are my cookies dry and crumbly?
Overbaking is the usual culprit. Even 90 seconds too long makes a big difference. Also, if you scoop your flour directly with the measuring cup, you can accidentally pack in 20% more flour than you need, which produces dry, cakey cookies. Always spoon flour into the cup and level it off.
Can I double this chocolate chip cookie recipe?
Absolutely. The recipe multiplies cleanly. Just be aware that a double batch won’t fit in a standard stand mixer bowl; you’ll need to mix it in a large bowl by hand or in batches. And bake the cookies in batches, keeping the remaining dough chilled while the first sheet bakes.
Can I use salted butter?
You can, but reduce the added fine sea salt to ½ teaspoon. Personally, I prefer unsalted butter because it gives you full control over the salt level.
What type of chocolate is best?
I like a blend of semisweet and dark chocolate — around 60% to 70% cacao. The bitterness of the dark chocolate cuts through the sweetness of the dough, and the semisweet keeps things classic. Chop a good-quality bar rather than using pre-shaped chips for the most interesting texture.
Baking cookies is one of the most forgiving, joyful things you can do in the kitchen. The dough doesn’t demand perfection, and the rewards come fast. Try this recipe once with high-quality chocolate and a proper chill, and I think you’ll see what I mean. Then make it again, and again, and start memorizing it, because some recipes deserve to become yours.
Go ahead — preheat that oven, get your butter softening, and make a mess. Just save me one from the back of the cooling rack.
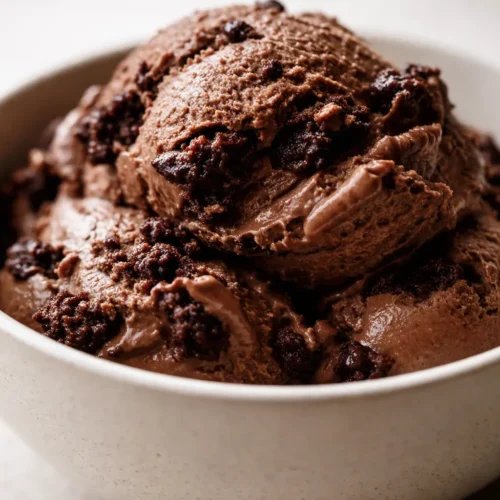
Brownie Batter Protein Ice Cream (Ninja Creami Recipe)
Ingredients
Dry Ingredients
- 2 ¼ cups all-purpose flour spooned and leveled
- 1 teaspoon baking soda
- 1 teaspoon fine sea salt
Wet Ingredients & Sugar
- 1 cup unsalted butter softened but still cool
- 1 cup packed light brown sugar packed
- ½ cup granulated sugar
- 1 large egg plus 1 large egg yolk at room temperature
- 2 teaspoons vanilla extract
Chocolate
- 2 cups semisweet chocolate chunks or a mix of semisweet and dark chocolate, roughly chopped
- Flaky sea salt for finishing (optional but highly recommended)
Instructions
- Whisk the dry ingredients. In a medium bowl, whisk together the flour, baking soda, and salt until everything is evenly distributed. Set it aside. The flour should look light and uniformly sandy.
- Cream the butter and sugars. In the bowl of a stand mixer fitted with the paddle attachment, or in a large bowl with a hand mixer, beat the softened butter, brown sugar, and granulated sugar on medium-high speed. You want this mixture to look light, fluffy, and almost whipped — the color will pale, and the texture will shift from gritty to smooth as the sugar dissolves. This should take about 3 minutes. Stop and scrape down the sides halfway through.
- Add the egg, yolk, and vanilla. With the mixer on medium speed, add the egg and beat until fully incorporated. Then add the egg yolk and vanilla. The mixture should look glossy and smooth, like a thick buttercream, not curdled. If it looks separated, your butter was too warm; pop the bowl in the fridge for 10 minutes before continuing.
- Add the dry ingredients. Turn the mixer to low and gradually add the flour mixture. Mix only until a few streaks of flour remain. Overmixing develops gluten, which makes cookies tough, so stop while you’re still a little nervous.
- Fold in the chocolate. Remove the bowl from the mixer and fold in the chopped chocolate with a rubber spatula. The dough will be thick, fragrant with vanilla, and studded with uneven chocolate pieces — some the size of a pea, others the size of a thumbnail.
- Chill the dough. Cover the bowl and refrigerate for at least 30 minutes, or up to 72 hours. The longer, the better. If you’re in a hurry, 30 minutes still works.
- Scoop the dough. Use a 3-tablespoon cookie scoop to portion out the dough. Roll each portion into a rough ball and place them on the prepared baking sheets, leaving about 2 inches between each one.
- Bake. Bake for 10 to 12 minutes, rotating the sheets halfway through. The cookies are done when the edges are set and deep golden brown, and the centers still look slightly underdone and puffy — as if they need another two minutes. Trust the process; they’ll continue to bake on the hot pan.
- Finish with salt. Immediately after pulling the pans from the oven, sprinkle a tiny pinch of flaky sea salt over each warm cookie. It melts into the surface, creating little bursts of salt against the sweet chocolate. Let the cookies sit on the baking sheet for 5 minutes — this is crucial, as it lets the centers set up without drying out. Then transfer to a wire rack to cool completely.
Notes
Related posts:
 Frozen Chocolate Covered Strawberry Bites That Taste Like Pure Summer (3 Ingredients, No Oven)
 Apple Pie Rice Krispie Treats for Last-Minute Fall Desserts: 5 Minutes, No Oven, All the Flavor
 Cherry Rice Krispie Treats That Taste Like a Chocolate-Covered Cherry — in 20 Minutes Flat
 Creamy Pumpkin Protein Shake for Busy Mornings: Tastes Like Pie, Takes 5 Minutes