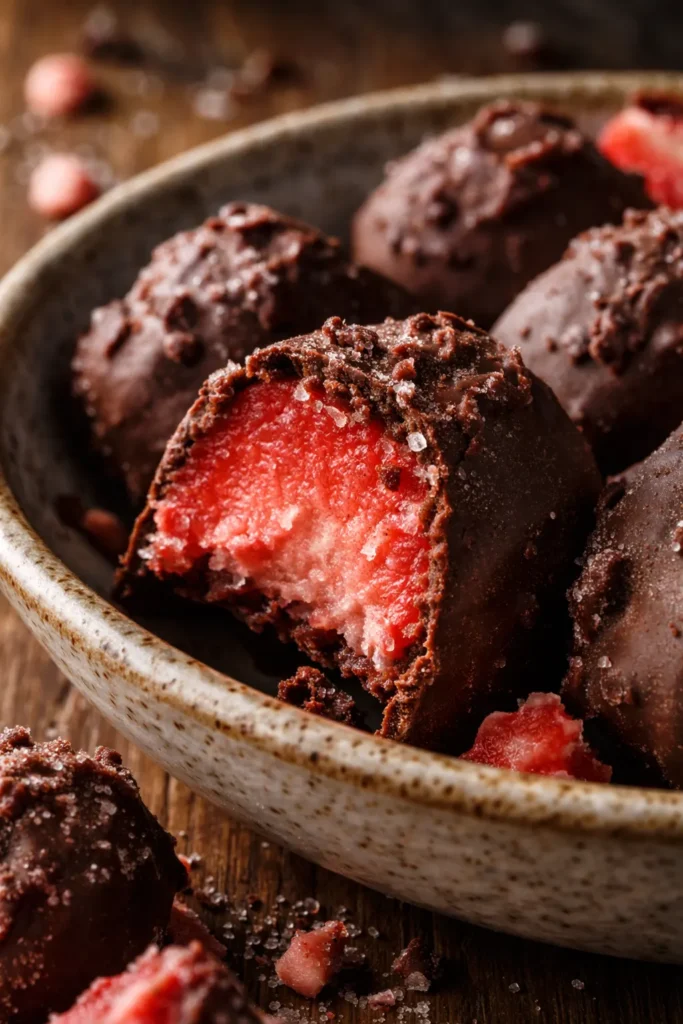
The first time I made these frozen chocolate covered strawberry bites, I was desperately trying to save a flat of berries that was about to turn. My grandmother used to make something similar, though she called them “strawberry nibbles” and kept a secret stash in her deep freezer for surprise grandkid visits. That first bite—icy, creamy, intensely strawberry, wrapped in a perfect shell of melted chocolate—took me right back to her kitchen. These aren’t just a dessert; they’re a time machine. And the best part? They only need three ingredients, zero oven time, and about ten minutes of actual hands-on work. Whether you need a cool treat for a blazing hot afternoon or a make-ahead dessert for a gathering, these little clusters deliver every single time. I’ve been making them for years now, and they disappear faster than almost anything else in my freezer.
The first batch I ever attempted was, to be perfectly honest, a bit of a disaster. I used whole frozen strawberries thinking it would save time, and the chocolate slid right off the icy fruit into a puddle on my parchment paper. Batch two taught me that mashing the berries into a chunky puree with a little sugar created a sorbet-like texture that held its shape and gave the chocolate something to actually cling to. I also learned the hard way that melting the candy coating too quickly seizes it up into a thick, unworkable mess. Low and slow in the microwave is the only way to go. The final version you see here is the one that has earned a permanent spot in my summer dessert rotation. It’s the one my kids ask for by name, the one I bring to block parties, and the one I turn to when I need something special but don’t want to spend hours in the kitchen.
I Tested Three Methods for Making Frozen Chocolate Covered Strawberry Bites—Here’s What Worked
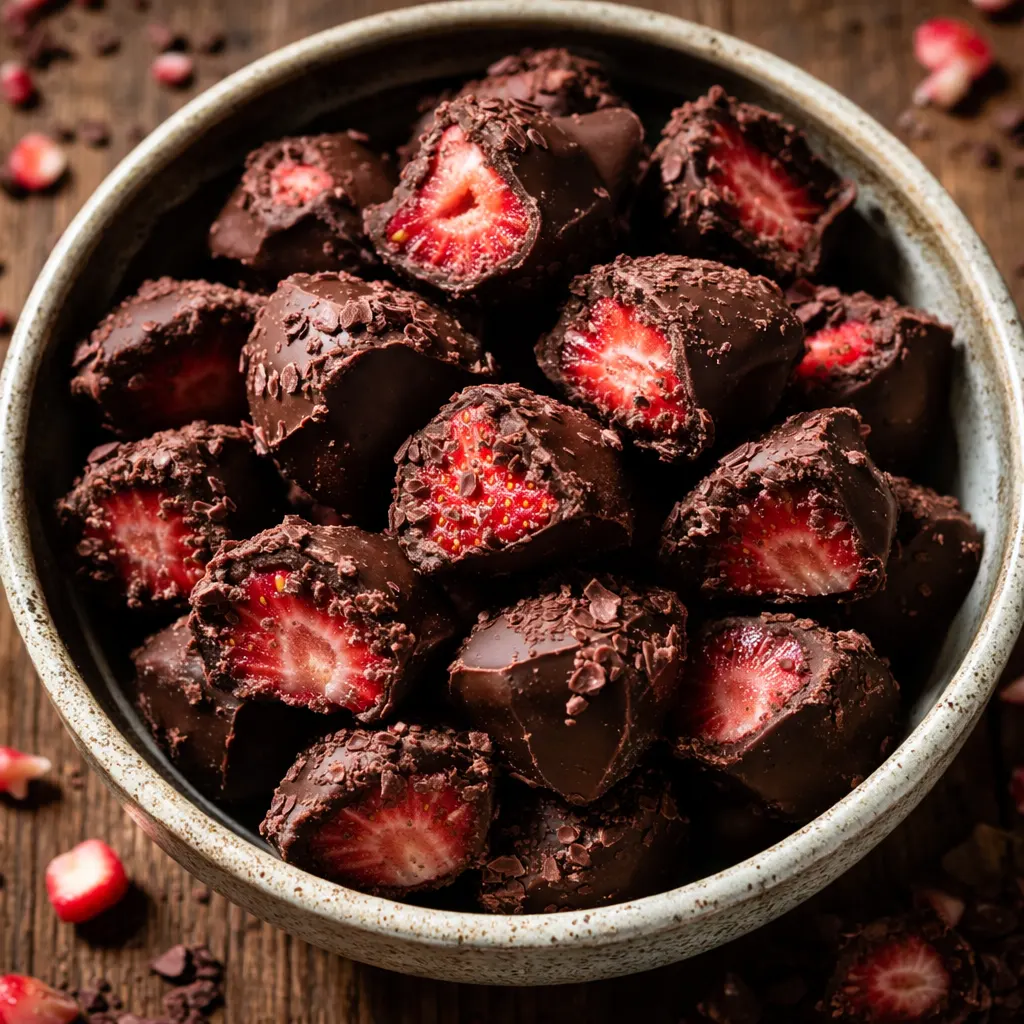
Before I landed on this foolproof approach, I tested three very different methods over the course of a week. My first attempt used whole frozen strawberries dipped directly into melted chocolate. The result was a sad, slippery mess—the chocolate refused to stick, and what did cling cracked the moment I touched it. My second test involved slicing the berries into thick rounds and freezing them before dipping. Better, but the chocolate still pooled unevenly around the flat surfaces, and the centers thawed too quickly for my liking. The third method—mashing the berries into a chunky puree with sugar, freezing them in flat discs, then dipping—was the clear winner. The texture was creamy rather than icy, the chocolate adhered beautifully, and each bite had that perfect contrast between a snappy shell and a soft, sorbet-like interior. If you’re tempted to skip the mashing step, I hope this testing saves you the same frustration I went through.
Why Mashing the Berries Is the Secret to Perfect Results
If you’ve ever tried dipping a whole frozen strawberry into melted chocolate, you know exactly what I’m talking about. The chocolate beads up, slides right off, or cracks because of the moisture on the icy surface. It’s frustrating, and it makes a beautiful mess. Mashing the strawberries with sugar and freezing them in flat clusters solves every single one of those problems in one fell swoop. First, the sugar does something magical—it draws out the natural juices and helps the berries freeze into a smooth, scoopable, sorbet-like texture instead of a hard, icy rock. Second, the flat disc shape gives the melted chocolate a stable surface to cling to, so you get a perfect, even coating every single time. The result is a flawless bite: a creamy, intensely fruity center wrapped in a snap of rich chocolate. And according to general USDA nutritional data, strawberries are naturally low in calories and high in vitamin C, making this a dessert you can feel genuinely good about serving to your family.
- Serves: 6 (makes 6 generous clusters)
- Hands-On Time: 10 min | Total Time: 3 hr 30 min (includes freezing)
- Difficulty: Easy—if you can mash a berry and dip it in chocolate, you’ve got this
- Cost per serving: ~$2.00
- Nutrition Estimate: 220 Calories, 2g Protein, 28g Carbs, 12g Fat, 7g Saturated Fat, 2g Fiber, 25mg Sodium per serving
- Dietary Notes: Naturally gluten-free, can be made dairy-free and vegan with the right chocolate
(Photo above: An overhead shot of perfectly dipped frozen strawberry clusters resting on rustic parchment paper. The chocolate is matte and cracked slightly where a bite has been taken, revealing a vibrant, icy magenta strawberry center flecked with tiny seeds. A small handful of fresh strawberries and a glass of cold milk frame the shot, with soft, natural window light coming from the left.)
Everything You Need (And a Few Honest Notes From My Kitchen)
- 16 oz fresh strawberries: The heart of the whole operation. Please don’t use frozen berries here—they release too much water when they thaw, which makes the filling icy and bland. You want ripe, fragrant, sweet berries. If they don’t smell like strawberries at the store, they won’t taste like them at home. If your berries are a bit tart, add an extra half tablespoon of sugar to balance them out.
- 1 tablespoon sugar: This tiny amount makes a huge difference. It’s not just about sweetness—sugar actually lowers the freezing point of the berries, giving you that creamy, scoopable texture instead of a hard, crunchy ice cube. Trust me on this one, don’t skip it. Your freezer will thank you.
- 16 oz chocolate candy coating: I use almond bark or Candiquik for convenience. It melts smoothly and hardens with a beautiful snap without needing to be tempered, which is a huge time-saver. If you want to use real chocolate, you’ll need to temper it properly or it may bloom in the freezer. I’ve done it, but candy coating is the foolproof route for busy home cooks.
What to Pull Out Before You Start
- Mixing bowl: Any medium-sized bowl you have on hand will work perfectly.
- A fork: For mashing the berries. A potato masher works too if you want to feel extra efficient.
- Parchment paper: Non-negotiable. It prevents sticking and makes cleanup an absolute breeze.
- Freezer-safe baking sheet or plate: Make sure it fits flat in your freezer. A sturdy dinner plate works beautifully if you’re short on baking sheets.
Let’s Make Them (Step by Step)
I promise, if you can mash a berry and dip it in chocolate, you can absolutely nail this recipe. Here’s exactly how I do it in my own kitchen.
- Mash the berries: Toss your 16 oz of fresh strawberries and 1 tablespoon of sugar into a medium bowl. Use a fork to mash them until they form a chunky puree. I like to leave a few small chunks for texture—it feels more like eating real fruit when there’s a little something to bite into. You’re looking for a consistency similar to a loose, rustic jam.
- Scoop and shape: Spoon 2-tablespoon-sized piles of the strawberry mixture onto your parchment-lined baking sheet. You should get exactly 6 even piles. Use the back of the spoon to gently shape them into round, flat-ish discs. A flat shape means a much better chocolate coating later, so take an extra second here to flatten them out a bit.
- Freeze until solid: Pop the baking sheet into your freezer (set to 0°F or below) and let them freeze for 3-4 hours. Don’t rush this step. They need to be completely frozen solid all the way through. If you try to dip semi-frozen berries, the chocolate will slide right off into a puddle, and you’ll be right back where I started with my first batch.
- Melt the chocolate: When your berries are rock-solid, it’s time to melt your chocolate candy coating. Follow the package directions, but generally, this means microwaving in 30-second bursts at 50% power, stirring well between each burst. Patience here is absolutely key. Overheating the chocolate will make it thick and gloppy and impossible to work with.
- Dip and coat: Working one at a time, drop a frozen strawberry cluster into the melted chocolate. Use a fork to gently turn it and coat it completely. Lift it out, letting the excess chocolate drip back into the bowl, then place it back on the parchment paper. Don’t worry if it’s not perfect—the rustic look is part of the charm.
- Harden and enjoy: Once all 6 clusters are dipped, return the baking sheet to the freezer. Let the chocolate harden completely, which usually takes about 15-20 minutes. They’re ready to eat immediately, or you can transfer them to an airtight container for long-term storage. I won’t judge if you eat one right there over the sink.
How I Keep a Stash in the Freezer All Summer Long
These are my go-to summer dessert because they’re practically designed for meal prepping. I make a double batch on Sunday afternoon, and we have cold, sweet treats ready for the entire week. It’s honestly one of the best decisions I make all summer.
- Fridge: Don’t store these in the fridge! They’ll soften, get messy, and lose their perfect texture. The freezer is their home.
- Freezer: Once the chocolate has fully hardened, transfer the clusters to an airtight container or a zip-top freezer bag. Separate the layers with a piece of parchment paper so they don’t stick together. They’ll stay perfect for up to 3 months this way.
- Serve: Eat them straight from the freezer for the best texture. If you let them sit on the counter for 2-3 minutes, the center softens up slightly and gets almost fudgy. I like them both ways, depending on my mood.
Things I Wish I’d Known the First Time
- Patience is a virtue (especially with the chocolate): Melting the candy coating at too high a temperature will absolutely ruin it. Keep your microwave power at 50% and stir every 30 seconds. It should be smooth and liquid, like warm honey. If it seizes up on you, you’ll have to start over with fresh coating.
- Work in batches if it’s hot out: If your kitchen is warm—above 75°F or so—the frozen berries will start to sweat immediately. Only take 2-3 out of the freezer at a time to dip. Keep the rest in the freezer until they’re up next. This keeps the berries nice and solid for a clean dip.
- Flatten them out before freezing: The flatter your strawberry piles are, the easier they are to dip and the more evenly they’ll freeze. Think “puck” or “medallion” instead of “ball.” A flat shape gives the chocolate more surface area to grip onto, which means less sliding and cracking.
- Use ripe, fragrant berries: This is the one ingredient you really can’t compromise on. If your strawberries are pale and hard, they won’t have much flavor. Let them sit on the counter for a day or two until they’re deep red and smell amazing before you make this recipe.
- Don’t stress about perfection: Even if your clusters aren’t perfectly round or your chocolate coating is a little uneven, they’re going to taste incredible. I’ve made dozens of batches, and the slightly messy ones are always the first to disappear.
Swaps That Actually Work
- Dairy-free / Vegan: Use dairy-free chocolate chips or a vegan candy coating. The recipe is naturally gluten-free, so that’s one less thing to worry about.
- Spicy Kick: Sprinkle a tiny pinch of cayenne pepper or chipotle powder onto the strawberry piles before you freeze them. The heat + cold + chocolate combo is absolutely incredible and always gets people talking.
- Fancy Toppings: While the chocolate is still wet, sprinkle the clusters with flaky sea salt, crushed freeze-dried strawberries, toasted shredded coconut, or finely chopped pistachios. It makes them look extra special with almost no effort.
- Mixed Berry: Swap half the strawberries for raspberries, blackberries, or blueberries. You’ll get a beautiful multi-berry flavor and a gorgeous deep purple color.
- Peanut Butter Drizzle: Melt a tablespoon of peanut butter with the chocolate for a subtle nutty flavor, or drizzle it on top after dipping for a classic chocolate-peanut butter combo.
Troubleshooting Common Issues with Frozen Chocolate Covered Strawberry Bites
Why Did My Chocolate Slide Off the Berries?
This is the most common issue, and I’ve been there myself. It usually means one of two things: your berries weren’t frozen solid enough (pop them back in the freezer for another hour to be safe), or your chocolate was too thick (reheat it gently, adding a teaspoon of coconut oil to thin it out). A flat shape also really helps the chocolate grip onto the fruit.
Can I use frozen strawberries instead of fresh?
I honestly wouldn’t recommend it. Frozen strawberries release a ton of water when they thaw, which makes your clusters icy and bland. Fresh, ripe berries are the way to go for that intense, creamy strawberry flavor that makes this recipe so special.
How do I know when the chocolate is perfectly melted?
It should be smooth, glossy, and completely liquid. If you dip a spoon in and lift it up, the chocolate should flow off in a steady, even stream. If it’s thick and gloppy, it’s too cold. If it’s dull and stiff, it’s seized—you’ll need to add a splash of oil and stir vigorously, or just start over with fresh coating.
Can I make this with sugar substitutes like stevia or monk fruit?
You can try, but I’ll be honest with you—the texture changes significantly. Sugar helps create that soft, sorbet-like texture by lowering the freezing point. Sugar substitutes don’t do this the same way, so your clusters will be much harder and icier. I suggest using the real sugar here, or try a small test batch first to see if you like the texture.
Storage and Make-Ahead Tips for Parties
How long do these last in the freezer?
They’ll be at their peak quality for about 3 months in an airtight container. After that, they might start to develop freezer burn or pick up odors from your freezer. I recommend labeling your container with the date so you know exactly when you made them.
Can I make these ahead of time?
Absolutely. In fact, I prefer them made at least a day in advance. It gives the flavors time to meld together and the chocolate time to fully set up. They’re the perfect make-ahead dessert for summer parties, barbecues, or holiday gatherings.
What’s the best way to serve these?
Straight from the freezer is my favorite way. Let them sit on the counter for 2-3 minutes if you want a slightly softer, almost fudgy center. They’re fantastic on their own, or you can serve them alongside a scoop of vanilla ice cream for an extra-decadent treat that everyone will love.
What do you serve with these?
They’re wonderful on a summer dessert board alongside fresh fruit, nuts, and cookies. For a fun party idea, serve them with a pot of warm hot fudge or caramel sauce for dipping—double-dipping never tasted so good. I also love to pair them with a glass of cold milk or a cup of hot coffee for a quick afternoon pick-me-up.
I hope these frozen chocolate covered strawberry bites become a staple in your summer dessert rotation like they have in mine. They’re proof that the simplest recipes—the ones that rely on ripe, seasonal fruit and a little bit of patience—are often the ones we come back to year after year. There’s something so satisfying about pulling a batch out of the freezer on a hot afternoon and knowing you made something beautiful with your own two hands.
If you make this recipe, I’d genuinely love to hear about it. Tag me on Pinterest or leave a comment below—I read every single one and it absolutely makes my day to see your creations.
📌 These frozen chocolate covered strawberry bites are the perfect healthy-ish summer dessert—save this pin for your next hot day when you need a cold, sweet treat!
Frozen Chocolate Covered Strawberry Bites That Taste Like Pure Summer (3 Ingredients, No Oven)
Equipment
- Mixing Bowl
- Fork
- Parchment Paper
- Freezer-safe baking sheet
Ingredients
Ingredients
- 16 oz fresh strawberries The heart of the whole operation. Please don’t use frozen berries here—they release too much water when they thaw, which makes the filling icy and bland. You want ripe, fragrant, sweet berries. If they don’t smell like strawberries at the store, they won’t taste like them at home. If your berries are a bit tart, add an extra half tablespoon of sugar to balance them out.
- 1 tablespoon sugar This tiny amount makes a huge difference. It’s not just about sweetness—sugar actually lowers the freezing point of the berries, giving you that creamy, scoopable texture instead of a hard, crunchy ice cube. Trust me on this one, don’t skip it. Your freezer will thank you.
- 16 oz chocolate candy coating I use almond bark or Candiquik for convenience. It melts smoothly and hardens with a beautiful snap without needing to be tempered, which is a huge time-saver. If you want to use real chocolate, you’ll need to temper it properly or it may bloom in the freezer. I’ve done it, but candy coating is the foolproof route for busy home cooks.
Instructions
- Mash the berries: Toss your 16 oz of fresh strawberries and 1 tablespoon of sugar into a medium bowl. Use a fork to mash them until they form a chunky puree. I like to leave a few small chunks for texture—it feels more like eating real fruit when there’s a little something to bite into. You’re looking for a consistency similar to a loose, rustic jam.
- Scoop and shape: Spoon 2-tablespoon-sized piles of the strawberry mixture onto your parchment-lined baking sheet. You should get exactly 6 even piles. Use the back of the spoon to gently shape them into round, flat-ish discs. A flat shape means a much better chocolate coating later, so take an extra second here to flatten them out a bit.
- Freeze until solid: Pop the baking sheet into your freezer (set to 0°F or below) and let them freeze for 3-4 hours. Don’t rush this step. They need to be completely frozen solid all the way through. If you try to dip semi-frozen berries, the chocolate will slide right off into a puddle, and you’ll be right back where I started with my first batch.
- Melt the chocolate: When your berries are rock-solid, it’s time to melt your chocolate candy coating. Follow the package directions, but generally, this means microwaving in 30-second bursts at 50% power, stirring well between each burst. Patience here is absolutely key. Overheating the chocolate will make it thick and gloppy and impossible to work with.
- Dip and coat: Working one at a time, drop a frozen strawberry cluster into the melted chocolate. Use a fork to gently turn it and coat it completely. Lift it out, letting the excess chocolate drip back into the bowl, then place it back on the parchment paper. Don’t worry if it’s not perfect—the rustic look is part of the charm.
- Harden and enjoy: Once all 6 clusters are dipped, return the baking sheet to the freezer. Let the chocolate harden completely, which usually takes about 15-20 minutes. They’re ready to eat immediately, or you can transfer them to an airtight container for long-term storage. I won’t judge if you eat one right there over the sink.