
TLDR: This homemade fudge recipe uses sweetened condensed milk instead of a traditional sugar syrup, so you don’t need a candy thermometer. It sets in about 2 hours in the fridge and stays perfectly creamy for up to 2 weeks. The whole process takes about 10 minutes of active work.
I have a confession to make. For years, I was genuinely intimidated by homemade fudge.
I’d watch my grandmother haul out her candy thermometer, mutter darkly about the “soft-ball stage,” and stand guard over a bubbling pot of sugar like it was a bomb that might go off any second.
It felt like a secret society I wasn’t allowed into. So I just let her make it, and I’d happily eat my weight in the results.
Then, a few years ago, I stumbled onto this method—using sweetened condensed milk—and it completely changed the game. Suddenly, fudge wasn’t a high-stakes chemistry experiment. It was a Tuesday night project I could do with my kids hovering at my elbows.
This homemade fudge recipe is the one that turned me into a fudge-making convert. If you can melt chocolate in a microwave and stir it around, you can absolutely make this fudge. No PhD in sugar science required.
This creamy, dreamy fudge has become my little secret weapon for last-minute gifts, holiday dessert trays, and quiet evenings with a mug of tea. I really hope you make it and fall in love with how easy and rewarding it is.
- Serves: 24 as 1-inch squares (makes a full 8×8 pan)
- Hands-On Time: 10 min | Total Time: 2 hrs 10 min
- Difficulty: Easy enough for a beginner, reliable enough for a holiday baker
- Cost per serving: Approximately $0.35
- Nutrition Estimate: 150 Calories, 2g Protein, 22g Carbs, 7g Fat, 4g Saturated Fat, 1g Fiber, 35mg Sodium per serving
- Dietary Notes: Naturally gluten-free and vegetarian. Easily adaptable for dairy-free diets.
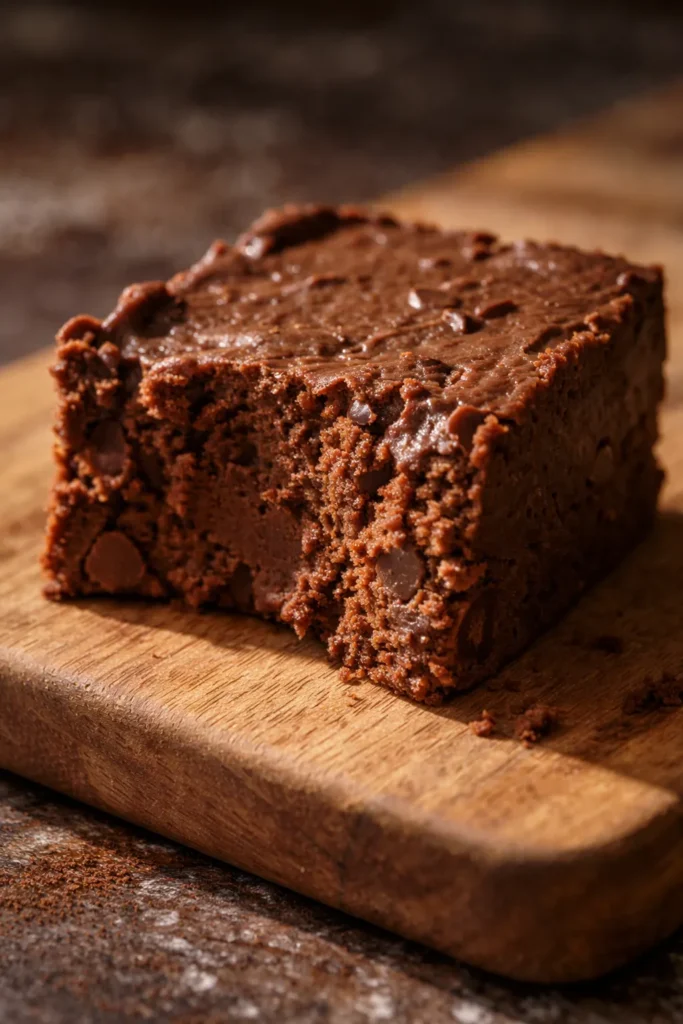
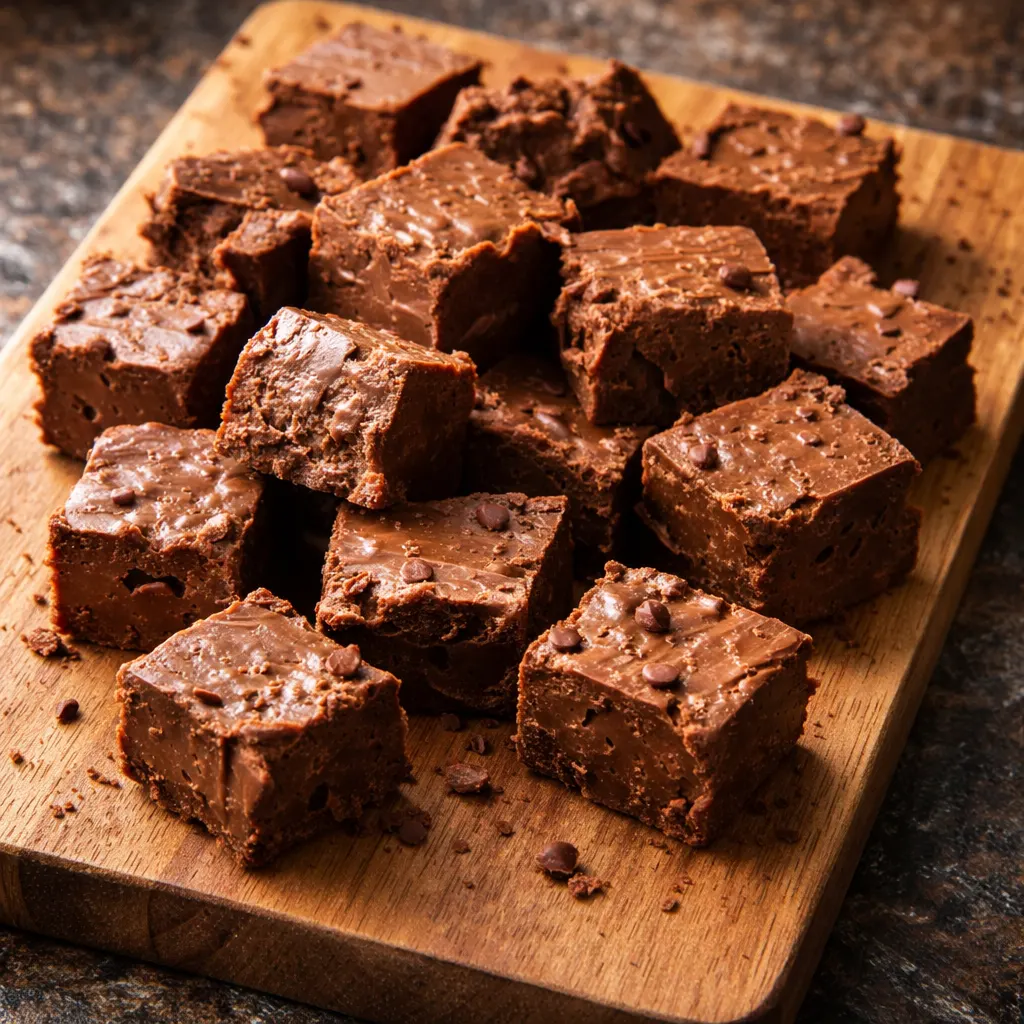
(Photo above: An overhead shot of perfect, glossy chocolate fudge squares cut into neat 1-inch pieces on a white marble slab. A few pieces are stacked, and one is broken in half to show the creamy, smooth interior. A light dusting of flaky sea salt catches the natural light, hinting at the sweet-salty flavor.)
Testing Narrative: When I Got Impatient
The first time I tested this recipe, I got impatient. I only microwaved the mixture for about 45 seconds, figuring the residual heat would do the rest.
Big mistake. My “fudge” was more of a very thick, very delicious hot chocolate sauce. It never set up properly.
Batch two, I committed to the full 90 seconds, stirring furiously at the 30-second marks. The difference was night and day. The mixture turned glossy, thick, and perfectly smooth. It set into a firm, sliceable block of fudge that literally melted on my tongue.
My grandmother, the original fudge queen, asked me for the recipe. That’s the moment I knew I’d truly cracked the code on easy fudge.
Why Sweetened Condensed Milk Makes Perfect Fudge (No Thermometer Needed)
Traditional fudge requires you to babysit a pot of sugar, corn syrup, and cream until it hits exactly 234°F—the “soft-ball stage.” Go one degree over, and you get dry, crumbly fudge. Miss it by a few degrees, and you have a sugary puddle. It’s stressful, and honestly, it’s why so many people buy store-bought fudge.
Sweetened condensed milk is the cheat code for this homemade fudge recipe. It’s already been cooked down to a thick, concentrated syrup with just the right amount of sugar. When you melt it with chocolate chips, the sugar and milk solids create a perfectly stable emulsion.
This means the cocoa butter stays suspended in the mixture instead of separating out and making your fudge greasy or grainy. According to USDA nutritional data, this method also retains a lovely creamy texture without the need for extra butter or heavy cream.
The result is a fudge that’s dense, smooth, and has that satisfying little “snap” when you bite into it. A standard one-inch square of this fudge contains roughly 150 calories, making it a perfectly portioned rich treat. You get all the luxury of traditional fudge with none of the anxiety. That’s a win in my book.
The 3 Ingredients That Make This Fudge Happen
- 14 ounces sweetened condensed milk: This is your non-negotiable hero. Please, please don’t grab evaporated milk by accident—they look almost identical on the shelf! The added sugar and thick consistency are what allow the fudge to set properly. I always keep an extra can in my pantry for emergency fudge cravings.
- 2 cups semi-sweet chocolate chips: The quality of your chips directly affects the final flavor. Use a brand you genuinely enjoy eating out of the bag, like Ghirardelli or Guittard. I usually skip the store-brand chips for this, as they often contain different stabilizers that can prevent the mixture from getting perfectly smooth.
- 1 teaspoon vanilla extract: It rounds out the deep chocolate flavor and adds that classic “fudge” warmth. I always use pure vanilla extract here, but a high-quality imitation will work just fine. I add it right at the beginning so the flavor infuses, but you can stir it in at the very end if you prefer a stronger vanilla note.
What You Need (Your Fudge Toolkit)
- 8×8-inch baking pan: Metal pans work best for even chilling, but glass is fine too.
- Parchment paper: Don’t skip this! The overhang on the sides is literally your handle for lifting the entire block of fudge out cleanly.
- Microwave-safe bowl: Make sure it’s big enough to stir vigorously without sloshing molten chocolate everywhere.
- Rubber spatula: The only tool for the job. It gets every last drop of fudge into the pan, and it’s great for smoothing the top.
- Sharp knife: For clean, professional-looking cuts. A bench scraper works great too.
How to Make This Homemade Fudge (Start to Finish)
This is the part where you realize making fudge at home is almost too easy. Here’s my exact process, step by step.
Prep and Melt:
- Line the pan: Tear off a sheet of parchment paper and press it into your 8×8 baking pan, leaving a generous overhang on two opposite sides. This is your “fudge sling.”
- Combine ingredients: In a large microwave-safe bowl, dump in the 14 ounces of sweetened condensed milk, 2 cups of semi-sweet chocolate chips, and 1 teaspoon of vanilla extract.
- Microwave in bursts: Pop the bowl in the microwave and heat it for 30 seconds. Take it out and stir it very well with your rubber spatula. Even if it doesn’t look melted yet, stir it! Put it back in for another 30 seconds. This usually takes 1 to 2 minutes total. I always err on the side of 2 minutes, stirring well after each interval, until the mixture is completely smooth and glossy.
- Scrape and spread: Pour the molten chocolate mixture into your prepared pan. Use the rubber spatula to spread it evenly into the corners and smooth out the top. Give the pan a gentle tap on the counter to release any air bubbles.
Set and Serve:
- Patience is a virtue: Place the pan in the refrigerator. Let it chill for about 2 hours, or until it is completely firm and set. Don’t rush this step! A soft center means it wasn’t cold enough.
- Lift and cut: Once it’s fully firm, grab the overhanging parchment paper and lift the entire slab of fudge out of the pan. Place it on a cutting board. Use a sharp knife to cut it into small 1-inch squares. Pro tip: Run your knife under hot water and dry it off before each cut for the cleanest edges.
Making Fudge Ahead (Because the Holidays Are Coming)
Fudge is the ultimate make-ahead treat. It actually gets better after a day or two in the fridge as it sets up perfectly and the flavors meld together. I love making a double batch and stashing it away for when company pops over.
- Fridge: Store your fudge in an airtight container, layered between sheets of wax paper. It will stay perfect for up to 2 weeks.
- Freezer: Fudge freezes like a dream. Wrap the whole slab or individual pieces tightly in plastic wrap, then again in a layer of aluminum foil. Freeze for up to 3 months.
- Reheat/Thaw: To thaw, just move the wrapped fudge from the freezer to the fridge overnight. It will be ready to serve the next day with its full creamy texture intact.
My Best Advice for Foolproof Fudge
- Stir until it hurts (well, for 30 seconds): Even after the chips look mostly melted, keep stirring. The residual heat from the bowl and the condensed milk will finish the job. A smooth, homogenous mixture is the secret to a perfectly creamy, non-grainy texture.
- Hot knife, clean cuts: Your fudge will look so much more professional if you take the extra 10 seconds to run your knife under hot water and dry it between cuts. It glides through the cold fudge instead of pulling and cracking it.
- Toast your add-ins: If you’re making a variation with nuts (like walnuts or pecans), toast them in a dry pan over medium heat for 3-5 minutes until they smell fragrant. This deepens their flavor and keeps them from getting soft inside the fudge.
- Don’t be afraid of flaky salt: A light sprinkle of flaky sea salt on top of the fudge right after you pour it into the pan takes the flavor from “great” to “gourmet.” It cuts the sweetness and makes the chocolate taste even more chocolatey.
4 Ways to Make This Fudge Your Own
- Peanut Butter Swirl Fudge: Before pouring the chocolate mixture into the pan, drop 4-5 spoonfuls of creamy peanut butter on top. Use a knife to gently swirl it into the chocolate. You get a perfect peanut butter ribbon in every bite.
- Mint Chocolate Chip Fudge: Add 1/2 teaspoon of pure peppermint extract along with the vanilla. Once the fudge is in the pan, sprinkle crushed candy canes or mini chocolate chips on top for a festive crunch.
- Rocky Road Fudge: Just before the fudge is fully set (after about 45 minutes in the fridge), press 1 cup of mini marshmallows and 1/2 cup of toasted, chopped almonds into the top. Let it finish setting. It’s a cookie tray superstar.
- Dairy-Free Fudge: This recipe adapts beautifully. Use a high-quality vegan sweetened condensed milk (like Nature’s Charm or Let’s Do Organic) and dairy-free dark chocolate chips. The process is exactly the same, and the result is just as creamy and delicious.
Troubleshooting Your Fudge
Q: Why is my fudge grainy?
A: Graininess usually means the mixture wasn’t emulsified properly. This happens if you under-microwave the ingredients or don’t stir them well enough. Make sure you’re microwaving in full 30-second bursts and stirring very thoroughly until the mixture looks completely smooth and glossy before you pour it into the pan. I’ve been there—it’s fixable next time!
Q: Can I use milk chocolate or dark chocolate instead of semi-sweet?
A: Yes, but be prepared for a different texture. Milk chocolate has more milk fat and sugar, so it will make a much softer, sweeter fudge that might need an extra hour to set. Dark chocolate (60% or higher) will make a firmer, more intensely chocolatey, and less sweet fudge.
Q: My fudge is still very soft after 2 hours in the fridge. What’s wrong?
A: First, give it another 30 minutes to an hour—some fridges run warmer than others. If it’s still soft after 3 hours, it’s likely an ingredient issue.
Different brands of chocolate chips have different amounts of cocoa butter. Some “chocolatey chips” are designed to stay soft. Using a standard bag of semi-sweet chips (like Ghirardelli) is your best bet for a firm set.
Q: Can I make this with white chocolate chips?
A: Absolutely. Use 2 cups of high-quality white chocolate chips. White chocolate is naturally softer, so the fudge will be very creamy, almost like a soft truffle. It will take longer to set—plan for at least 3-4 hours in the fridge.
How Should I Store Homemade Fudge?
Q: How long does this fudge last?
A: In an airtight container in the refrigerator, it stays fresh and creamy for up to 2 weeks. I honestly think it tastes even better on day two or three.
Q: Can I freeze it?
A: Yes! It freezes beautifully. Wrap the whole block or individual pieces tightly in plastic wrap, then again in foil. Freeze for up to 3 months.
Q: What’s the best way to reheat it?
A: You don’t really need to! But if you want that ultra-melting, gooey experience, pop a square in the microwave for about 10 seconds. For serving a chilled plate, let the pieces sit at room temperature for 5-10 minutes—it takes the hard chill off and makes it melt-in-your-mouth soft.
Q: What do you serve with this fudge?
A: I love serving it on a cookie tray with other classics, or simply with a hot cup of black coffee. It’s also unbelievable crumbled over vanilla ice cream, or tucked into a gift box with some homemade caramels. Honestly, I’m just as happy eating it straight from the fridge in a quiet moment after the kids are in bed.
If you try it, drop a comment below or tag me on Pinterest—I genuinely love seeing your creations and hearing how it went for you!
📌 This 10-minute homemade fudge recipe sets perfectly every time without a candy thermometer—save it for your next holiday cookie swap or movie night! 🎬
Homemade Fudge That’s Creamy, Set, and Ready in 10 Minutes
Equipment
- 8×8-inch baking pan
- Parchment Paper
- Microwave-safe bowl
- Rubber spatula
- Sharp knife
Ingredients
- 14 ounces sweetened condensed milk
- 2 cups semi-sweet chocolate chips
- 1 teaspoon vanilla extract
Instructions
- Prep and Melt:
- Line the pan: Tear off a sheet of parchment paper and press it into your 8×8 baking pan, leaving a generous overhang on two opposite sides. This is your “fudge sling.”
- Combine ingredients: In a large microwave-safe bowl, dump in the 14 ounces of sweetened condensed milk, 2 cups of semi-sweet chocolate chips, and 1 teaspoon of vanilla extract.
- Microwave in bursts: Pop the bowl in the microwave and heat it for 30 seconds. Take it out and stir it very well with your rubber spatula. Even if it doesn’t look melted yet, stir it! Put it back in for another 30 seconds. This usually takes 1 to 2 minutes total. I always err on the side of 2 minutes, stirring well after each interval, until the mixture is completely smooth and glossy.
- Scrape and spread: Pour the molten chocolate mixture into your prepared pan. Use the rubber spatula to spread it evenly into the corners and smooth out the top. Give the pan a gentle tap on the counter to release any air bubbles.
- Patience is a virtue: Place the pan in the refrigerator. Let it chill for about 2 hours, or until it is completely firm and set. Don’t rush this step! A soft center means it wasn’t cold enough.
- Lift and cut: Once it’s fully firm, grab the overhanging parchment paper and lift the entire slab of fudge out of the pan. Place it on a cutting board. Use a sharp knife to cut it into small 1-inch squares. Pro tip: Run your knife under hot water and dry it off before each cut for the cleanest edges.
Notes
Related posts:
 Homemade Kit Kat Bars: The No-Bake Version That Actually Tastes Like the Real Thing
 Frozen Chocolate Covered Strawberry Bites That Taste Like Pure Summer (3 Ingredients, No Oven)
 Lemon Bars with a Buttery Shortbread Crust That’s Actually Easy to Make
 Ninja Creami Salted Caramel Ice Cream That’s Creamy, Dreamy, and Ready in 24 Hours