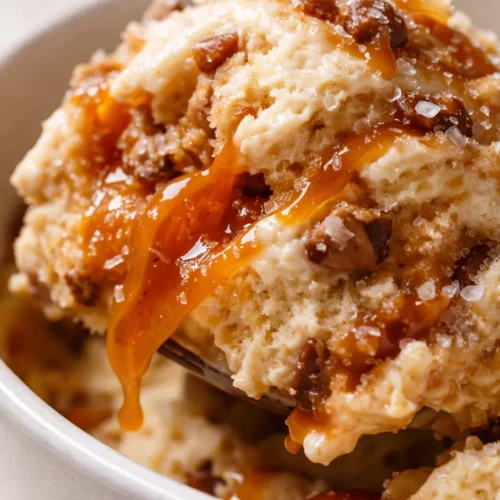
Ninja Creami Salted Caramel Ice Cream
This creamy, dreamy salted caramel ice cream made in the Ninja Creami delivers a perfectly balanced sweet-and-salty flavor with a velvety texture. Ready in 24 hours with minimal hands-on time.
Equipment
- Mixing bowl or large measuring cup
- Whisk
- Ninja Creami pint container
- Ninja Creami machine
Ingredients
Ingredients
- 1 cup whole milk
- 1 cup heavy cream
- 1/2 cup sweetened condensed milk
- 1/4 cup caramel sauce
- caramel sauce extra for drizzling, optional
- 1/2 teaspoon sea salt adjust to taste
- 1 teaspoon vanilla extract
- 1/4 cup mix-ins optional - crushed toffee bits or chocolate chips
Instructions
- Whisk together: In your mixing bowl or large measuring cup, combine the whole milk, heavy cream, sweetened condensed milk, caramel sauce, sea salt, and vanilla extract. Whisk vigorously for about 30 seconds until everything is fully combined and smooth. You shouldn't see any streaks of condensed milk or caramel — it should look like a uniform tan liquid.
- Pour into the pint: Carefully pour the mixture into the Ninja Creami pint container. Stop before you hit the max fill line — the mixture expands slightly as it freezes. Secure the lid tightly and place the pint on a level surface in your freezer.
- Freeze for 24 hours: This is the part you can't rush. A full 24 hours at 0°F ensures the base is completely solid from center to edge. Less time and you'll end up with a partially frozen mess that won't process properly.
- Spin it: Remove the frozen pint from the freezer, take off the lid, and install it into the Ninja Creami machine. Select the 'Ice Cream' function and let it run the full cycle.
- Check the texture: If the ice cream looks crumbly or powdery after the first spin, don't panic. Use the 'Re-Spin' function. For extra creaminess, add 1–2 tablespoons of milk or cream before re-spinning.
- Add mix-ins (if using): Using a spoon, create a small well in the center of the ice cream. Add your crushed toffee bits or chocolate chips, then select the 'Mix-In' function. The machine will fold them through evenly.
- Serve or store: Eat immediately for the softest, creamiest texture — this is my favorite way. Or return the pint to the freezer for a firmer, scoopable consistency later. When serving, drizzle extra caramel sauce and a pinch of flaky salt on top.