
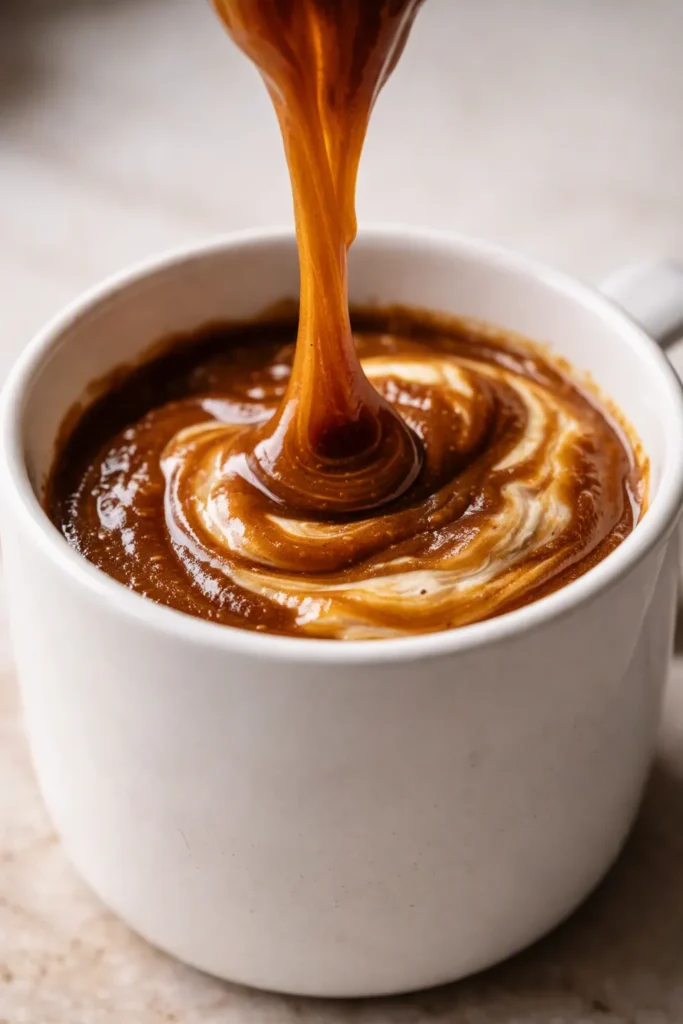
TLDR: This Fall Pumpkin Marshmallow Coffee Syrup comes together in about 10 minutes of hands-on time using brown sugar, pumpkin purée, and marshmallow cream. The trick is keeping the pot below a boil so the sugar dissolves cleanly, then stirring in the marshmallow cream off the heat. You’ll get a smooth, rich syrup that makes every cup of coffee taste like a pumpkin pastry.
That first sip — when the toasted marshmallow sweetness hits your nose before the pumpkin spice even reaches your tongue — is honestly why I started making coffee at home again. This Fall Pumpkin Marshmallow Coffee Syrup tastes like a PSL and a s’mores latte had a cozy little baby, and it’s stupidly simple to make. I’ve tested this syrup four times this season already, tweaking the simmer time and the order of ingredients so you don’t have to. The final version is smooth, never grainy, and it keeps in the fridge for up to 10 days — which means your morning coffee just got a serious upgrade for about 30 cents per serving.
How I Tested This Syrup (Four Batches, Three Lessons)
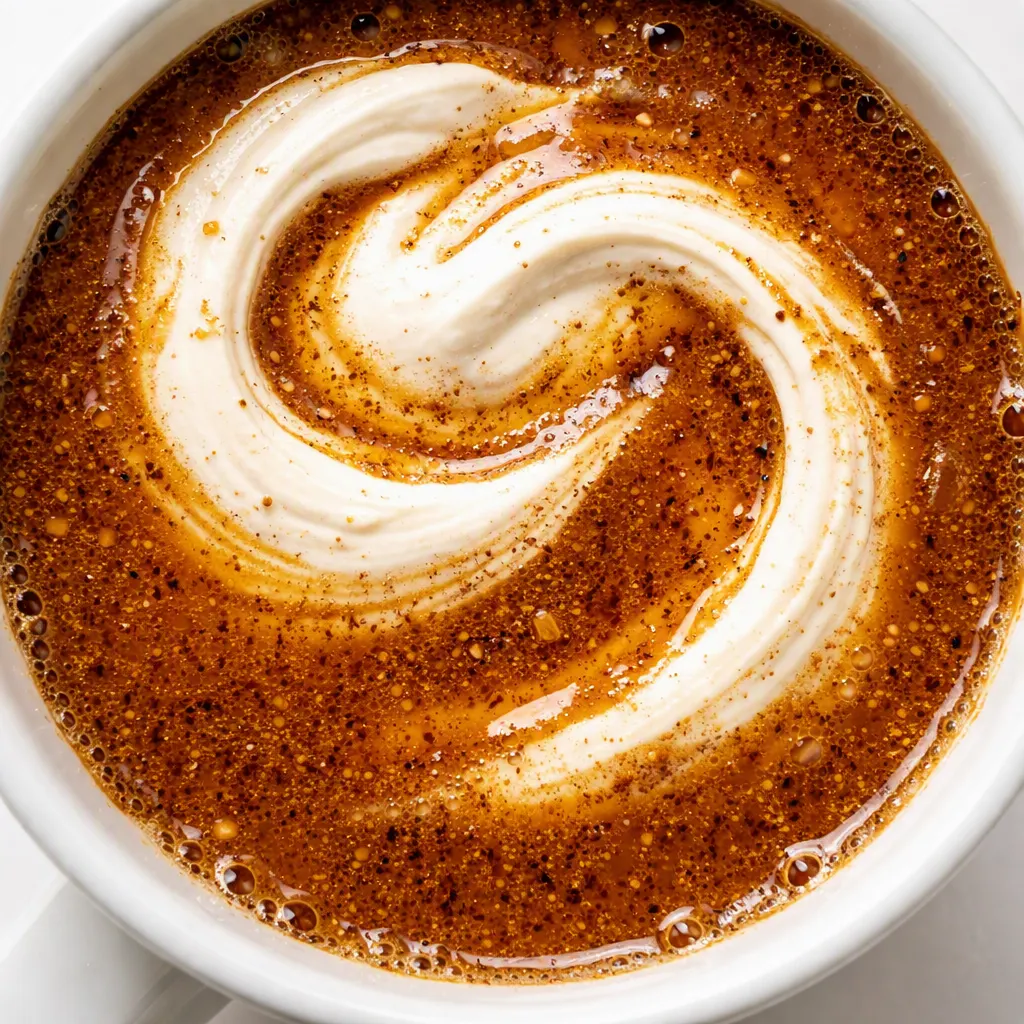
Batch one was a grainy disaster. I cranked the heat to medium-high, let the syrup reach a full rolling boil, and stirred in the marshmallow cream while the pot was still on the burner. The sugar re-crystallized into tiny grits that crunched between my teeth, and the marshmallow separated into white streaks instead of melting in. It tasted fine, but the texture was like sand dissolved in coffee.
Batch two taught me to pull the pot off the heat before adding the marshmallow cream. The marshmallow melted more evenly, but the base had still boiled, so the sugar recrystallized again. The syrup was better, but still not smooth. That’s when I realized the boil itself was the problem, not just the marshmallow moment.
Batch three is the one you’re getting here. I kept the heat at medium, held the syrup at a gentle simmer around 190–200°F for six minutes, then pulled the pan completely off the burner and waited 30 seconds before whisking in the marshmallow cream and vanilla. The result is this gorgeous, glossy amber syrup that pours like warm honey and tastes like a pumpkin pastry in liquid form.
Don’t skip the off-heat step — it’s the whole game.
- Serves: About 16 (1 tablespoon per cup of coffee)
- Hands-On Time: 10 min | Total Time: 25 min
- Difficulty: Easy enough for a weekday morning, fancy enough for company
- Cost per serving: Roughly $0.30
- Nutrition Estimate: 60 Calories, 0g Protein, 15g Carbs, 0g Fat, 0g Saturated Fat, 0g Fiber, 20mg Sodium per serving
- Dietary Notes: Vegetarian and naturally gluten-free (check your marshmallow cream label — most brands are gluten-free, but it’s worth a quick glance)
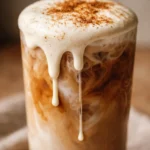
(Photo above: overhead shot of a glass jar filled with amber-brown pumpkin syrup on a rustic wooden counter, a steaming mug of coffee beside it topped with whipped cream and a cinnamon stick, scattered mini marshmallows and a small pumpkin nearby, soft golden autumn light streaming in from a window on the left.)
Why Simmering (Not Boiling) Makes Syrup That Actually Pours Smooth
The single most important thing in this recipe is keeping the pot below a boil. Water boils at 212°F, but sugar dissolves beautifully at a gentle simmer around 190–200°F. When you let it actually boil, the sugar can re-crystallize as it cools — that’s the grainy texture you’ve probably gotten from homemade syrups before.
It’s not you. It’s the boil. Keep the heat at medium and the whisk moving, and you’ll land in that sweet spot every time.
The other non-negotiable move is adding the marshmallow cream after you pull the pot off the heat. Marshmallow cream is temperature-sensitive — if it gets too hot too fast, it separates into that weird streaky mess and never fully emulsifies. Off the heat, the residual warmth of the syrup is just right to melt it into a silky, uniform texture.
I know it feels counterintuitive to remove the pan right when you’re almost done, but trust me on this one. I ruined a batch so you don’t have to.
Per USDA nutritional data, brown sugar carries trace amounts of calcium and potassium, so you’re not getting zero nutrition from this syrup — but let’s be real, the draw here is flavor, and this one delivers it in spades. The pumpkin purée also sneaks in some actual vegetable content, which is my favorite kind of technicality.
Everything You Need (And a Few Notes From Me)
- 240 ml water: Plain tap water is fine. The water is the base that carries all the flavor — no need to overthink it.
- 200 g brown sugar: This gives the syrup its deep, almost caramel-like sweetness. Light or dark brown both work; dark brown will take you even deeper into that molasses territory. Don’t swap in white sugar thinking it’s the same — the molasses in brown sugar is what makes this taste like a bakery, not a candy shop.
- 3 tbsp pumpkin purée (not pumpkin pie filling): This is the real pumpkin flavor — not the spiced, sweetened stuff in the pie filling can. If you use pie filling, your syrup will be too sweet and the spice ratio will be all wrong. Make sure you grab the 100% pumpkin purée — they look identical in the store, and I’ve grabbed the wrong can more than once.
- 0.5 tsp pumpkin pie spice: The cozy backbone of this whole thing. Cinnamon, nutmeg, ginger, allspice — it’s already balanced for you. If you want to make your own blend, use ¼ tsp cinnamon, ⅛ tsp nutmeg, and a tiny pinch of ginger and cloves.
- 1 pinch salt: Just a pinch. Salt doesn’t make it salty — it makes everything else taste more like itself and keeps the sweetness from being flat.
- 2 tbsp marshmallow cream: This is what gives the syrup that soft, toasty, s’mores-adjacent sweetness. It melts right in when you add it off the heat. If you don’t have marshmallow cream, a handful of mini marshmallows works perfectly — the instructions below cover both.
- 1 tsp vanilla extract: Vanilla rounds out all the edges and makes the flavor feel complete. Use the real stuff if you have it — the flavor difference in a syrup like this is actually noticeable.
What to Pull Out Before You Start
- Small saucepan: A 1.5 to 2-quart pan is perfect. You need enough room to whisk without sloshing, but not so much that the syrup spreads into a thin layer.
- Whisk: You’ll be whisking nearly the whole time, so grab the one you like holding. A flat spatula works too, but the whisk is better at breaking up pumpkin purée lumps.
- Clean jar or bottle: A pint-size mason jar or a 12-ounce squeeze bottle both work great. Make sure it’s clean and dry before the syrup goes in.
Let’s Make It (Step by Step)
This takes about 10 minutes of actual work, plus a little cooling time before you pour it into the jar. Here’s exactly how I do it.
Get set up: Grab your small saucepan, whisk, and measure everything out before you turn on the stove. The whisking is almost constant once you start, so you don’t want to be digging through the pantry mid-step.
- Combine: In a small saucepan over medium heat, whisk together the water, brown sugar, pumpkin purée, pumpkin pie spice, and salt. Whisk until the brown sugar starts dissolving and the pumpkin purée breaks up — you should see a smooth, dark amber liquid with no big lumps floating around. This usually takes about a minute.
- Simmer: Keep stirring continuously for 5 to 7 minutes, until the sugar fully dissolves and the syrup thickens just slightly. You’ll notice it start to coat the back of your spoon and smell deeply of pumpkin and spice. Do not let it boil — little wisps of steam and tiny bubbles around the edges are perfect, but if you see rolling bubbles, drop the heat immediately.
- Add the flavor: Remove the pan from the heat and immediately stir in the marshmallow cream and vanilla extract. Keep stirring until the marshmallow cream is fully melted and the syrup is smooth and glossy — about 30 to 45 seconds. The residual heat of the syrup is exactly what you want here, so work quickly while it’s still warm.
- Cool and store: Let the syrup cool in the pan for 10 to 15 minutes. It will thicken a little more as it cools, which is totally normal. Transfer it to a clean jar or bottle and pop it in the refrigerator. Store for up to 10 days — and always shake it well before using, because the good stuff settles at the bottom.
Make-Ahead Notes (Because We’re All Busy)
This syrup is honestly made for Sunday afternoon meal prep. I’ll whip up a batch while I’m already in the kitchen doing the week’s prep, and then my coffee situation is handled for the next week and a half. It takes less time than a load of laundry, and it makes the weekday mornings feel genuinely special.
- Fridge: Store in a sealed jar or squeeze bottle in the refrigerator for up to 10 days. Give it a good shake before each use — the pumpkin and spice settle as it sits.
- Freezer: Yes, you can freeze it! Pour into an ice cube tray, freeze solid, then pop the cubes into a freezer bag. Each cube is roughly one tablespoon. Thaw overnight in the fridge or toss a cube straight into hot coffee.
- Reheat: If you prefer your syrup warm, give it a quick 10-second zap in the microwave or set the jar in a bowl of hot water. A microwave works fine and won’t hurt the texture as long as you don’t go overboard — 10 seconds is plenty.
Things I Wish I’d Known the First Time
- Keep the heat at medium, not medium-high: I know it’s tempting to crank the heat to speed things up, but that’s exactly how you end up with grainy syrup. A gentle simmer gives the sugar time to dissolve completely. If you see actual boiling, pull the pot off the heat for a few seconds before continuing. Even if you mess this part up a little, it’ll still taste good — I’ve done it.
- Whisk the pumpkin purée in thoroughly at the start: Pumpkin purée likes to clump, and those little clumps will stick to the bottom of the pan and scorch if you don’t break them up early. Spend a full minute at the beginning making sure everything is smooth before the heat really gets going.
- Use a glass jar, not plastic: The syrup is still warm when it goes into the jar, and hot sugar can warp or stain plastic. A glass mason jar or a glass syrup bottle is easier to clean, doesn’t hold onto odors, and makes the syrup look pretty on the counter.
- Double the batch if you’re already dirtying a pan: It takes the exact same amount of effort to make one batch as two, and the syrup keeps for 10 days anyway. I always make a double batch now and gift a jar to my neighbor — it makes you look like an incredibly thoughtful person for very little work.
Swaps That Actually Work
- Maple syrup version: Swap the brown sugar for 200 g of maple syrup and reduce the water to 120 ml. The flavor goes deeper and more woodsy — like a pumpkin pancake in a mug. The syrup will be slightly thinner, so that’s fine.
- Mini marshmallows instead of marshmallow cream: If you don’t have marshmallow cream, grab a generous handful of mini marshmallows (about 25 to 30) and stir them in off the heat. They melt almost as smoothly and give the syrup the same toasty flavor.
- Extra pumpkin spice: If you’re a spice-forward person like me, bump the pumpkin pie spice up to a full teaspoon. It makes the syrup noticeably warmer and more aromatic — almost like a chai-pumpkin hybrid.
- Dairy-free adaptation: Good news — marshmallow cream is typically dairy-free (check the label), and the rest of the ingredients are naturally dairy-free too. For a vegan version, look for a vegan marshmallow cream or vegan mini marshmallows; the texture will be nearly identical.
- Iced coffee version: This syrup is fantastic in iced coffee. Stir a generous tablespoon into your cold brew, and since the syrup is already cool, it won’t melt your ice. It’s basically a fall frappé situation without the blender.
Troubleshooting Your Pumpkin Marshmallow Coffee Syrup
Q: Why did my syrup turn out grainy or gritty?
A: That’s the classic boiled-syrup problem. If the mixture actually boils, the sugar re-crystallizes as it cools, leaving a gritty texture that never quite smooths out. The fix is keeping the heat at medium and stirring continuously so the syrup barely simmers — tiny bubbles around the edges are fine, rolling bubbles are not.
If you catch it boiling, pull the pan off the heat for a few seconds and stir gently before continuing. The syrup is still usable — it’ll just have a slightly sandy texture that some people honestly don’t mind.
Q: Can I use pumpkin pie filling instead of pumpkin purée?
A: Technically yes, but I wouldn’t recommend it. Pumpkin pie filling is already sweetened and spiced, so it’ll throw off the whole balance — you’ll end up with a syrup that’s overly sweet and has the wrong spice profile. If you’re in a pinch and pie filling is all you have, use 2 tablespoons instead of 3 and cut the brown sugar to 170 g. It won’t taste exactly the same, but it’ll be close enough for a desperate Tuesday morning.
Q: How do I know when the syrup is done?
A: Look for two things. First, the texture — after 5 to 7 minutes of simmering, the syrup should coat the back of your spoon lightly, like a thin maple syrup. Second, the smell — when it shifts from “sugary water heating up” to “pumpkin spice candle but delicious,” it’s basically there. Keep in mind it will thicken more as it cools, so you want to pull it off the heat just before it looks fully thick.
Q: Can I make this syrup vegan?
A: Yes, with one swap. Most marshmallow cream contains egg whites, so look for a vegan marshmallow cream or vegan mini marshmallows — they’re available at most larger grocery stores now. The rest of the ingredients (water, brown sugar, pumpkin purée, pumpkin pie spice, salt, and vanilla extract) are all naturally vegan. The flavor and texture will be nearly identical, so you won’t feel like you’re settling.
How Do You Store Fall Pumpkin Marshmallow Coffee Syrup?
Q: How long does this syrup last, and how should I store it?
A: Store it in a sealed jar or squeeze bottle in the refrigerator for up to 10 days. Because it’s a sugar-based syrup, it’s naturally fairly shelf-stable, but the pumpkin purée means you should keep it cold. You’ll notice the pumpkin and spice settle at the bottom after a day or so — that’s completely normal, just give it a good shake before each use.
Q: Can I make this coffee syrup ahead of time or freeze it?
A: Absolutely. It’s actually a perfect make-ahead recipe — the flavor gets even better after a day in the fridge as everything melds together. For freezing, pour the cooled syrup into an ice cube tray and freeze solid, then transfer the cubes to a freezer bag; they’ll keep for up to 3 months.
Each cube is about a tablespoon, which is the perfect amount for one cup of coffee.
Q: What’s the best way to reheat this syrup?
A: If you want it warm, the microwave is your friend — about 10 seconds for a single serving right in your coffee mug. For the whole jar, set it in a bowl of hot water for a few minutes. Honestly, though, the syrup stirs into hot coffee perfectly well straight from the fridge, so reheating is entirely optional. I rarely bother.
Q: What do you serve with this pumpkin marshmallow coffee syrup?
A: Obviously it’s a coffee syrup, so hot coffee, iced coffee, cold brew, or even a splash in your latte. But don’t stop there — it’s incredible drizzled over vanilla ice cream, stirred into oatmeal, brushed on pancakes, or mixed into a bourbon cocktail if you’re feeling fancy. My favorite unexpected pairing is a spoonful in warm apple cider. It tastes like the whole season in one mug.
Make a batch this weekend, pour yourself a cup, and send me a mental high-five when you take that first sip. It’s the kind of small ritual that makes ordinary mornings feel like something worth lingering over.
If you try this Fall Pumpkin Marshmallow Coffee Syrup, drop a comment below and let me know how it turned out — I genuinely love hearing about your coffee experiments. And if you’re on Pinterest, tag me when you save it so I can see your cozy fall setup!
📌 This homemade pumpkin marshmallow coffee syrup recipe tastes like a $7 café drink for pennies — save it for your fall morning coffee ritual.
Fall Pumpkin Marshmallow Coffee Syrup That Beats the Coffee Shop — in 10 Minutes
Equipment
- Small saucepan (1.5 to 2-quart)
- Whisk
- Glass jar or bottle
Ingredients
- 240 ml water Plain tap water is fine.
- 200 g brown sugar Light or dark brown both work; dark brown will take you even deeper into molasses territory. Don’t swap in white sugar.
- 3 tbsp pumpkin purée Not pumpkin pie filling — use 100% pumpkin purée.
- 0.5 tsp pumpkin pie spice If making your own: ¼ tsp cinnamon, ⅛ tsp nutmeg, and a tiny pinch of ginger and cloves.
- 1 pinch salt
- 2 tbsp marshmallow cream If you don’t have it, a generous handful of mini marshmallows works perfectly.
- 1 tsp vanilla extract Use the real stuff if you have it.
Instructions
- In a small saucepan over medium heat, whisk together the water, brown sugar, pumpkin purée, pumpkin pie spice, and salt. Whisk until the brown sugar starts dissolving and the pumpkin purée breaks up — you should see a smooth, dark amber liquid with no big lumps floating around. This usually takes about a minute.
- Keep stirring continuously for 5 to 7 minutes, until the sugar fully dissolves and the syrup thickens just slightly. You’ll notice it start to coat the back of your spoon and smell deeply of pumpkin and spice. Do not let it boil — little wisps of steam and tiny bubbles around the edges are perfect, but if you see rolling bubbles, drop the heat immediately.
- Remove the pan from the heat and immediately stir in the marshmallow cream and vanilla extract. Keep stirring until the marshmallow cream is fully melted and the syrup is smooth and glossy — about 30 to 45 seconds. The residual heat of the syrup is exactly what you want here, so work quickly while it’s still warm.
- Let the syrup cool in the pan for 10 to 15 minutes. It will thicken a little more as it cools, which is totally normal. Transfer it to a clean jar or bottle and pop it in the refrigerator. Store for up to 10 days — and always shake it well before using, because the good stuff settles at the bottom.
Notes
Related posts:
 Frozen Chocolate Covered Strawberry Bites That Taste Like Pure Summer (3 Ingredients, No Oven)
 Summer Berry Trifle for a Crowd: Creamy, Tangy, and Completely No-Bake
 Ninja Creami Salted Caramel Ice Cream That’s Creamy, Dreamy, and Ready in 24 Hours
 The Iced Apple Crisp Nondairy Cream Chai Latte (Starbucks Copycat) That’s Better in 5 Minutes