
TLDR: These fluffy buttermilk pancakes use a careful balance of baking soda and baking powder for maximum lift, plus melted butter folded in gently to avoid tough gluten. The key is a hot griddle and a light hand with the mixing. They come out golden, tender, and stay soft for days in the fridge.
Golden, tender, and piled high on a plate with butter melting into the warm craters — these are the kind of pancakes that make a Saturday morning feel like a holiday. The secret isn’t a special mix or a secret ingredient. It’s how you handle the batter. I’ve tested this easy pancake recipe half a dozen times to figure out exactly what makes them rise tall and stay soft instead of turning into sad, flat discs. The answer, it turns out, is pretty simple: don’t overthink it, and don’t overmix it.
The first time I made a batch after deciding to perfect my recipe, I ended up with something closer to hockey pucks than pancakes. They were flat, tough, and dense — everything you don’t want a homemade pancake from scratch to be. I’d been whisking the batter way too long, trying to get it perfectly smooth like cake batter. The fix was immediate: stop whisking the second the flour disappears, lumps and all. The very next batch I made rose beautifully on the griddle, each one light and airy with those signature soft centers and crispy edges I was after.
- Serves: 6 as breakfast or brunch
- Hands-On Time: 15 min | Total Time: 30 min
- Difficulty: Easy, even on a sleepy weekend morning
- Cost per serving: ~$0.85
- Nutrition Estimate: 310 Calories, 9g Protein, 40g Carbs, 13g Fat, 7g Saturated Fat, 1g Fiber, 480mg Sodium per serving
- Dietary Notes: Naturally vegetarian. Easy to adapt for whole wheat (see variations).
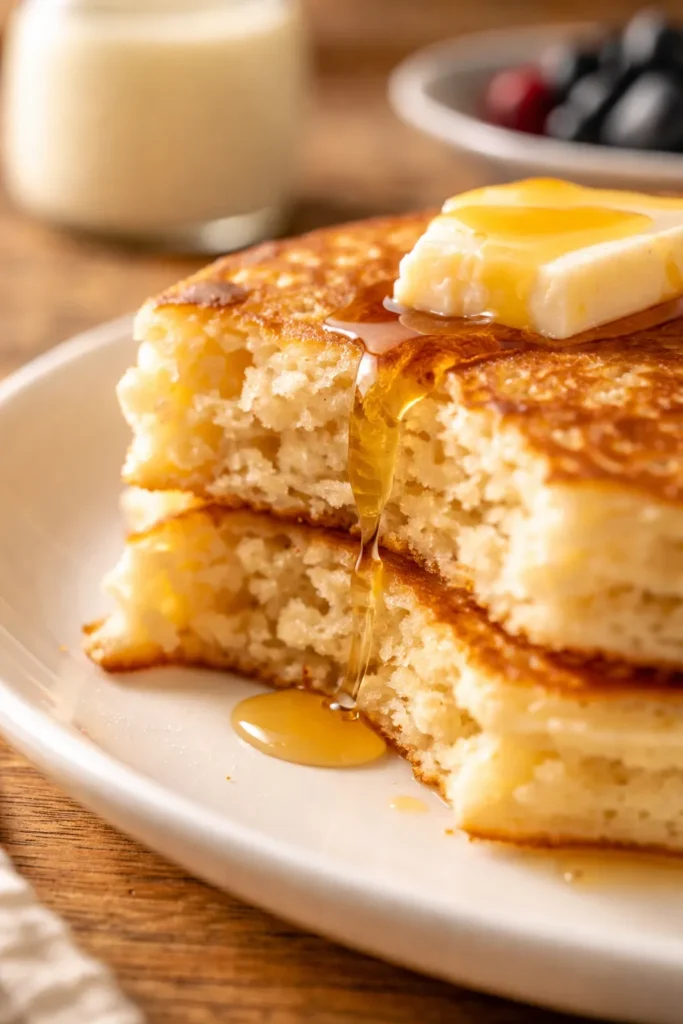
(Photo above: overhead shot of a stack of five golden-brown pancakes on a white porcelain plate, a pat of melting butter on the top pancake, warm maple syrup pooling around the base of the stack, and a scattering of fresh blueberries and raspberries on the side. The lighting is soft natural morning light coming from the top left, giving the whole scene a cozy, weekend-morning feel.)
Why Buttermilk Is the Secret to Fluffy Buttermilk Pancakes
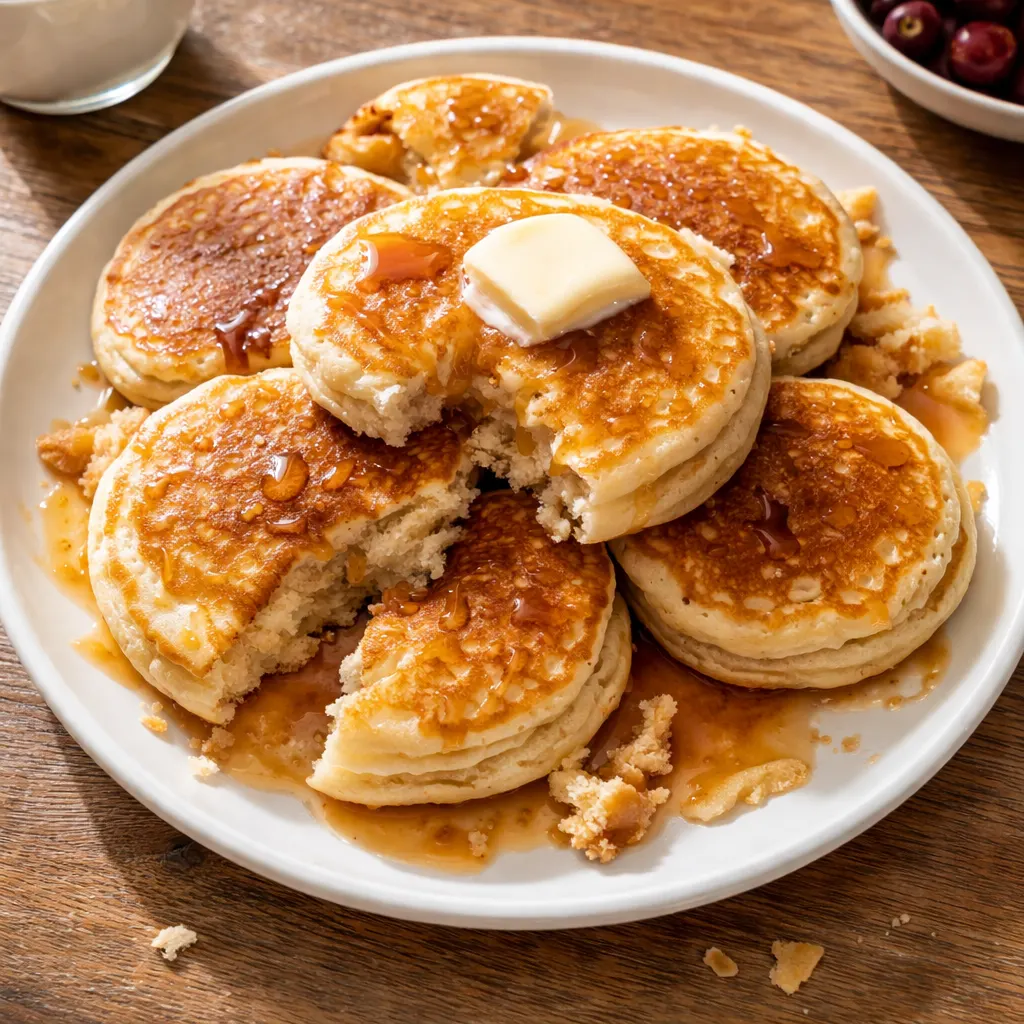
Buttermilk is thicker than regular milk, which adds richness to the batter without making it watery. More importantly, the acid in buttermilk reacts with the baking soda to create carbon dioxide bubbles that lift the pancakes from the inside, giving them that tall, diner-style fluff. That reaction starts the second the wet and dry ingredients touch, which is why you don’t want to let the batter sit around for too long before cooking. One serving of these pancakes provides about 9g of protein, largely from the buttermilk and eggs, which contributes to a satisfying breakfast that keeps you full longer.
The melted butter does double duty here: it adds moisture and tenderness to the crumb, and the fat coats the flour proteins as you mix, which inhibits gluten formation. Less gluten means softer, more tender pancakes that don’t end up tough or rubbery. It’s the same trick good biscuit recipes use, and it works beautifully for pancakes too.
Everything You Need for Fluffy Buttermilk Pancakes
- 6 tablespoons (85g) unsalted butter, melted & slightly cooled: Using melted butter instead of cold, cubed butter ensures even distribution through the batter without over-mixing. Let it cool for a couple minutes before adding it to the eggs so it doesn’t scramble them.
- 2 1/4 cups (281g) all-purpose flour, spooned & leveled: Spooning and leveling is crucial here — scooping directly with the measuring cup can pack in up to 25% more flour, which instantly makes your pancakes dense instead of fluffy.
- 1/3 cup (67g) granulated sugar: Adds just enough sweetness. Too much sugar makes the pancakes brown too quickly on the outside before the middle is cooked through.
- 1 1/4 teaspoons baking powder & 1/2 teaspoon baking soda: This is the double-leavening combo that gives you all the lift. Baking powder works immediately and again when it hits the heat of the griddle. Baking soda neutralizes the buttermilk and helps the pancakes develop a deep, beautiful golden color.
- 1/4 teaspoon salt: Don’t skip it — salt balances the sweetness and makes the butter and buttermilk flavors pop.
- 2 large eggs: They provide structure and richness. Room-temperature eggs will emulsify more evenly with the buttermilk and melted butter.
- 2 cups (480ml) buttermilk: Full-fat buttermilk gives the richest flavor and texture, but low-fat works just fine. If you don’t have buttermilk on hand, check the variations section below.
- 1 teaspoon pure vanilla extract: Rounds out the flavor beautifully. Even a small amount makes a big difference in how “bakery-style” these taste.
- Your choice of toppings: Maple syrup, whipped cream, strawberry sauce, blueberry sauce, lemon curd, or fresh berries — use whatever you love.
The Setup (It’s Minimal, I Promise)
- A large bowl with a pour spout — realizing I could buy one of these changed my pancake game completely. It makes pouring batter onto the griddle so much cleaner.
- Another large bowl for whisking the dry ingredients together.
- A sturdy whisk. It makes quick, even work of both the wet and dry ingredients.
- A griddle or large non-stick skillet. A 12-inch cast iron griddle is my go-to, but a good non-stick pan will serve you perfectly here.
- A microwave or small saucepan for melting the butter.
- A preheated oven at 200°F (93°C) — this keeps the cooked pancakes warm and steamy without drying them out while you finish the rest of the batch.
- A storage container for leftovers.
The Method — No Fancy Skills Required
This is the method I follow every single time, and it always works.
Prep & Melt: First, go ahead and preheat your oven to 200°F (93°C) so it’s ready to keep things warm. Melt your 6 tablespoons (85g) of unsalted butter. I usually do this in the microwave in 20-second bursts, but the stovetop is fine too. Set it aside to cool a little while you do the next step.
- Whisk: In your large bowl (grab the one with the pour spout if you have it), whisk together the 2 1/4 cups (281g) all-purpose flour, 1/3 cup (67g) sugar, 1 1/4 teaspoons baking powder, 1/2 teaspoon baking soda, and 1/4 teaspoon salt until everything is evenly combined.
- Combine: In your other large bowl, whisk the 2 large eggs, the 2 cups (480ml) buttermilk, and 1 teaspoon vanilla extract until smooth. Pour in the slightly cooled melted butter and whisk again until it’s fully incorporated.
- Mix: Pour the wet mixture into the dry mixture. Now here’s the important part: gently whisk until they’re just combined. Stop as soon as you can’t see any more big patches of dry flour. The batter should be thick, and a few small lumps are not just okay — they’re what you’re aiming for. Over-mixing right now will develop the gluten and make your pancakes tough.
- Heat: Place your griddle or large skillet over medium heat. Let it get hot for about 2 minutes. Drop a tiny bit of water on it; if it sizzles and dances across the surface, you’re ready to go. Generously coat the surface with butter or nonstick spray.
- Cook: Drop or pour a heaping 1/4 cup of batter onto the hot griddle for each pancake. Let them cook undisturbed until you see the edges look set and little bubbles start forming and popping on the surface, about 2 minutes. Flip them carefully and cook the other side until it’s golden brown and cooked through, about 1 to 2 more minutes.
- Keep Warm: Transfer the finished pancakes to a baking sheet in your preheated 200°F (93°C) oven to stay warm while you cook the remaining batter. Add more butter to the griddle between batches as needed.
- Serve & Store: Serve your pancakes immediately with all your favorite toppings. Cover and store any leftovers in the refrigerator for up to 5 days.
Sunday Prep = Stress-Free Breakfasts All Week
These pancakes were made for meal prep. When I know we have a busy week coming up, I’ll purposely make a double batch on Sunday so there’s a stack of ready-to-go breakfasts in the freezer. It’s genuinely one of my favorite time-savers.
- Fridge: Store them in a sealed container for up to 5 days. Make sure they’re completely cool before you put the lid on to keep them from getting soggy.
- Freezer: Yes, absolutely. Flash freeze the pancakes in a single layer on a baking sheet for about an hour, then transfer them to a freezer-safe bag. They’ll keep beautifully for up to 3 months.
- Reheat: My favorite way to reheat is in the toaster — it crisps the edges back up perfectly. You can also warm them in a 350°F oven for 5-6 minutes if you’re doing a whole batch at once.
Things I Wish I’d Known the First Time
- Let the batter rest for 5 minutes. I know you’re hungry, but trust me on this one. Giving the batter just 5 minutes on the counter after mixing lets the gluten relax and the flour fully hydrate. The result is a noticeably more tender pancake. You’ll even see a few more bubbles develop in the batter while it rests — that’s the leavening doing its job.
- Manage your heat carefully. Medium heat is almost always the sweet spot. If your pancakes are getting dark spots immediately after hitting the pan or the edges are browning before the middle sets, your heat is too high. Turn it down a notch and give the pan a minute to adjust.
- Don’t press down on the pancakes. I know it’s tempting to give them a little squish with the spatula after flipping, but you’re just pressing out all the air bubbles that make them fluffy. Let them rise on their own — I promise they will.
Make It Yours: Easy Variations
- Whole Wheat: You can swap up to half of the all-purpose flour with whole wheat flour. The batter will be a bit thicker, so let it rest for 10 minutes after mixing to give the whole wheat time to soften. The result is a slightly nuttier, denser pancake that still tastes great.
- Blueberry or Chocolate Chip: Gently fold 1 cup of fresh blueberries (frozen works too, don’t thaw them) or chocolate chips into the batter just after you’ve combined the wet and dry. A couple folds is all it takes — you don’t want to overwork the batter.
- Lemon-Ricotta: Reduce the buttermilk to 1 1/2 cups. Add 1/2 cup of whole-milk ricotta cheese and the zest of 1 lemon to the wet ingredients. These turn out incredibly light, almost soufflé-like, and they’re incredible with a drizzle of honey.
- No Buttermilk? No problem. Add 2 tablespoons of lemon juice or white vinegar to a liquid measuring cup, then fill it up with regular milk until you reach 2 cups. Let it sit for 5 minutes until it curdles and thickens, and you’ve got a perfect DIY buttermilk substitute.
Why Are My Buttermilk Pancakes Flat?
Q: Why did my pancakes turn out flat and dense instead of fluffy?
A: I’ve been there. The most common reason is over-mixing the batter. You absolutely want to stop mixing the second the flour is incorporated — lumps are your friend here. Another common culprit is expired leavening agents. Check the dates on your baking powder and baking soda before you start; they lose their potency over time, and you need that chemical reaction to get the lift.
Q: Can I use gluten-free flour?
A: Yes, but with a note. A good quality 1-to-1 gluten-free baking blend (like Bob’s Red Mill or King Arthur’s) will work well in this recipe. The batter might be slightly thicker, and the pancakes will be a little more delicate, so be gentle when you flip them.
Q: Why did my pancakes burn on the outside but stay raw in the middle?
A: Your pan was simply too hot. Turn the heat down to medium-low or even low. Pancakes need gentle, consistent heat to cook through evenly. If the first batch burns, wipe out the pan, turn down the heat, and let it come back to temperature before you try again.
Q: Can I make these dairy-free?
A: Yes. Use your favorite unsweetened dairy-free milk (oat or almond works great) mixed with lemon juice or vinegar to create a dairy-free buttermilk. Swap the melted butter for a neutral oil like avocado oil or melted vegan butter. They won’t be quite as rich, but they’ll still be fluffy and delicious.
Can I Freeze Buttermilk Pancakes?
Q: How long do these pancakes last, and how should I store them?
A: They’ll keep for up to 5 days in the refrigerator in an airtight container. The key is letting them cool completely before you seal them up so condensation doesn’t make them soggy.
Q: Can I make the pancake batter ahead of time?
A: I don’t recommend it. The chemical reaction between the buttermilk, baking soda, and baking powder starts the second they touch, and the batter will deflate if it sits too long. Your best bet is to cook the pancakes immediately after mixing the batter.
Q: What’s the best way to reheat leftover pancakes?
A: For the best texture, use a toaster or a toaster oven. It crisps up the edges while warming the middle through perfectly. A 350°F oven for about 5 minutes works great for a whole batch. The microwave is the fastest option, but the pancakes will be much softer and a little chewy.
Q: What do you serve with these fluffy buttermilk pancakes?
A: A pat of salted butter and warm maple syrup is the classic, and for good reason. For something extra special, a dollop of whipped cream, a spoonful of lemon curd, or a generous handful of fresh berries is incredible. And in my opinion, a side of crispy bacon or savory sausage is never optional — it’s essential.
This recipe has become our Saturday morning tradition, and I have a feeling it’s about to become yours too. There’s just something about making a stack of homemade pancakes from scratch that makes the whole weekend feel better, even before you’ve poured the syrup.
If you try these fluffy buttermilk pancakes, I’d love to hear how they turn out for you. Drop a comment below — I really do read every single one!
This recipe stays light and tender for days — save it for your next lazy weekend breakfast or holiday brunch.
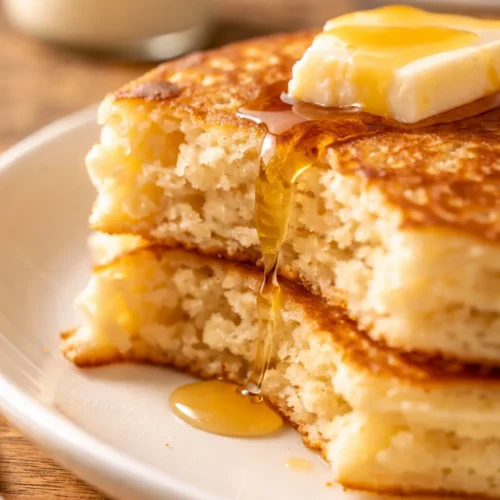
Fluffy Buttermilk Pancakes: The Technique That Keeps Them Light for Days
Equipment
- Large Mixing Bowl
- Mixing Bowl
- Whisk
- Griddle
- Non-stick skillet
- Microwave
- Saucepan
- Storage container
Ingredients
For the Pancakes
- 6 tablespoons unsalted butter melted & slightly cooled
- 2.25 cups all-purpose flour spooned & leveled
- 0.333 cup granulated sugar
- 1.25 teaspoons baking powder
- 0.5 teaspoon baking soda
- 0.25 teaspoon salt
- 2 large eggs
- 2 cups buttermilk full-fat preferred
- 1 teaspoon vanilla extract
Instructions
- Preheat oven to 200°F (93°C). Melt 6 tablespoons unsalted butter and set aside to cool slightly.
- In a large bowl, whisk together 2 1/4 cups all-purpose flour, 1/3 cup sugar, 1 1/4 teaspoons baking powder, 1/2 teaspoon baking soda, and 1/4 teaspoon salt until evenly combined.
- In another large bowl, whisk together 2 large eggs, 2 cups buttermilk, and 1 teaspoon vanilla extract until smooth. Pour in the slightly cooled melted butter and whisk until fully incorporated.
- Pour the wet mixture into the dry mixture. Gently whisk until just combined. Stop as soon as no large patches of dry flour remain. The batter should be thick with a few small lumps. Do not over-mix.
- Place a griddle or large skillet over medium heat and let it heat for about 2 minutes. Test with a drop of water; if it sizzles and dances, it’s ready. Generously coat with butter or nonstick spray.
- Drop or pour a heaping 1/4 cup of batter onto the hot griddle for each pancake. Cook undisturbed until edges are set and bubbles appear on surface, about 2 minutes. Flip carefully and cook until golden brown and cooked through, about 1 to 2 more minutes.
- Transfer finished pancakes to a baking sheet in preheated 200°F oven to keep warm while cooking remaining batter. Add more butter to griddle between batches as needed.
- Serve immediately with favorite toppings. Cover and store leftovers in refrigerator for up to 5 days.
Notes
Related posts:
 Low Calorie Banana Bread That Doesn’t Taste Like a Compromise — Finally
 Soft, Pillowy White Chocolate Pumpkin Snickerdoodles with a Cinnamon-Sugar Crunch
 White Chocolate Pumpkin Snickerdoodles: The Soft, Bakery-Style Version That Actually Works
 Fluffy Banana Pancakes: The Overripe Banana Version That Actually Stays Fluffy