
The first time I tested this, Marcus took a bite, chewed for a second, and just looked at me. “I don’t believe that’s vegan,” he said. That’s the energy you want from a breakfast that used to be a soggy, eggy disappointment. This version has edges that actually crisp up, a center that’s soft and custardy without being gummy, and zero weird aftertaste. It uses one ingredient you might not expect to stand in for the eggs — chickpea flour — and it works better than any flax egg or commercial mix I’ve ever tried.
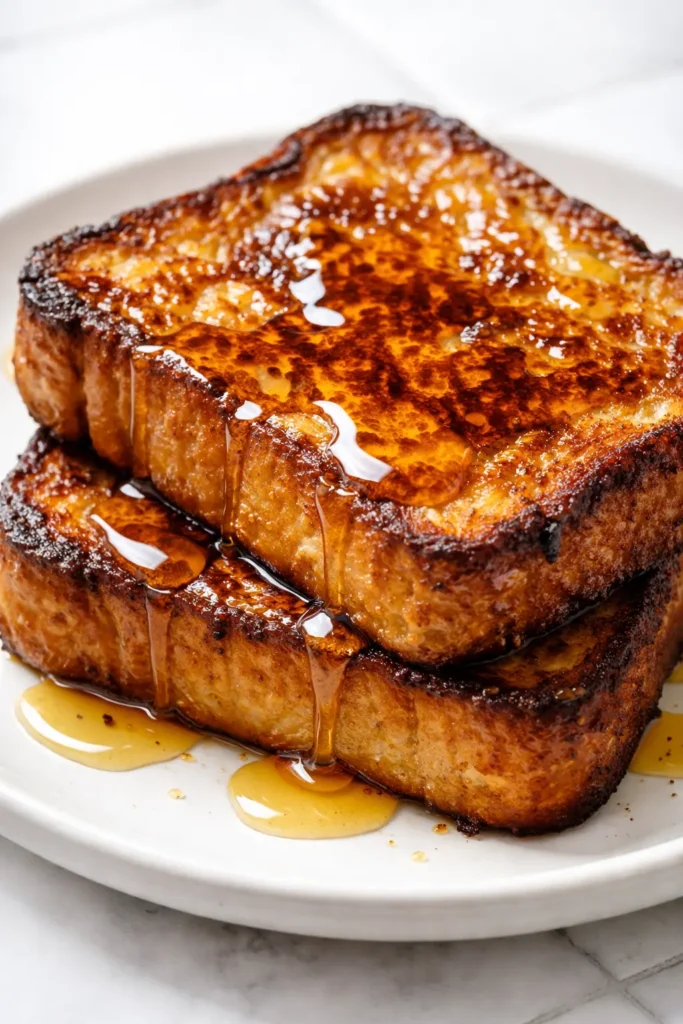
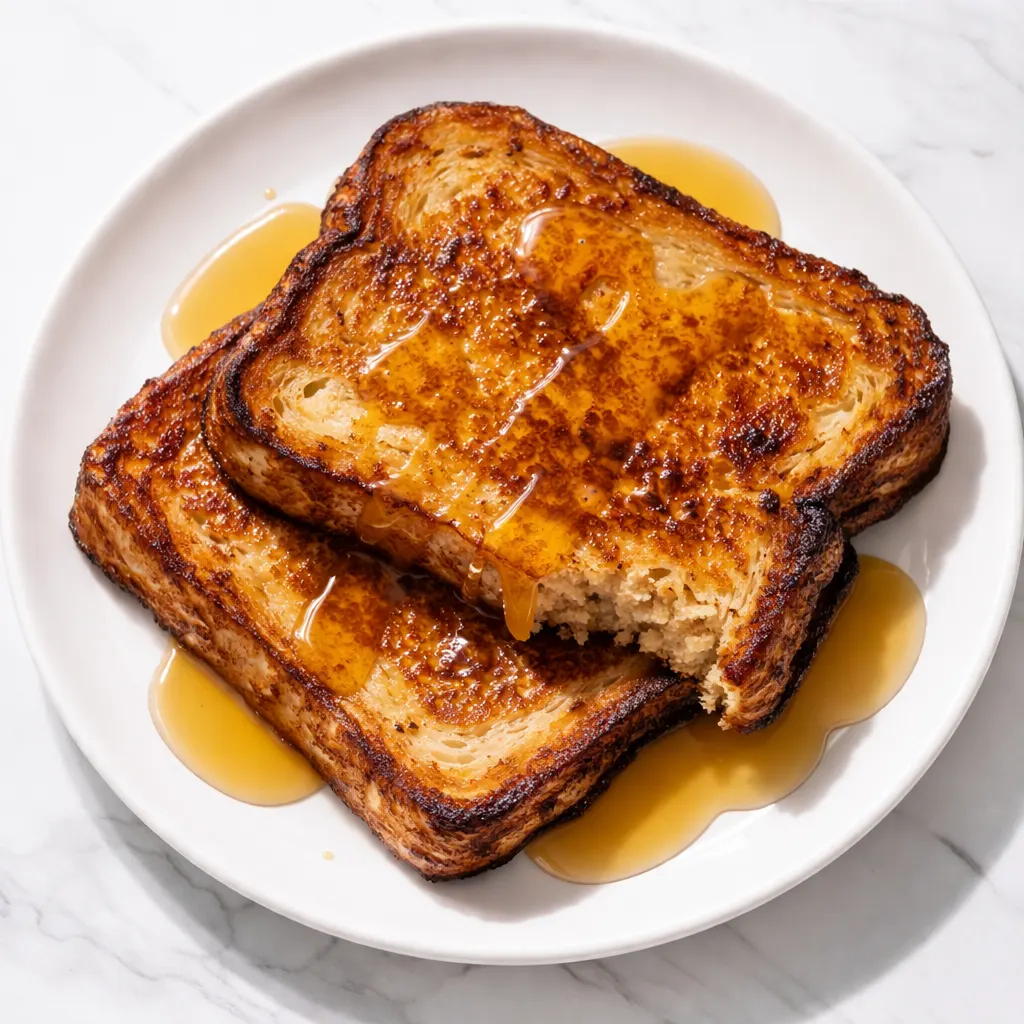
The short version: Golden, custardy centers, lacy crispy edges, and a set texture that holds up to maple syrup without turning into mush.
After about ten tries (and more than a few slices that went straight to the compost), I landed on this method. Simone gave it her highest praise: “Can we have this again tomorrow?” That is the review that matters most in my kitchen.
- Serves: 4 (2 slices each) as a main breakfast
- Hands-On Time: 15 min | Total Time: 25 min
- Difficulty: Easy — the only trick is using the right bread
- Cost per serving: ~$1.50
- Calories: ~320 per serving
- Dietary Notes: Naturally vegan, egg-free, dairy-free. Can be gluten-free with the right bread.
(Photo above: Overhead shot of a stack of golden-brown French toast on a wooden board, a pat of butter melting on the top slice, steam rising, with a small pitcher of maple syrup and a pile of fresh berries alongside.)
The Secret to a Custard That Actually Sets (Without Eggs)
Most vegan French toast ends up either tasting like a banana pancake or a science experiment. I wanted neither. The trick is chickpea flour. It has a naturally high protein content that sets up the way eggs do when they cook — forming a custard that’s soft and tender, not dense or gummy. Cornstarch helps the outside get that signature crispy, lacy edge. And ground flaxseed? It’s not trying to be the star — it just helps everything stay together while the bread soaks up the liquid.
Bread is essentially a sponge made of flour, water, and yeast. When it’s fresh, the water is evenly distributed and the structure is soft. As it dries out, the water evaporates, leaving behind tiny air pockets. These air pockets are exactly what you want — they soak up the custard evenly without the bread collapsing into a dense, gummy mess. It’s not just about preventing sogginess; it’s about creating a light, custardy interior that holds its shape when you cut into it.
Skip the chickpea flour and you’ll end up with a slice that’s wet in the middle. I know this because I made that mistake more than once.
The Ingredients That Matter Here
- 8 thick slices of stale French bread or vegan brioche: Fresh bread soaks up the custard and collapses into a soggy mess. Leave it out overnight, or dry it in a 300°F oven for 5 minutes per side. This is the single most important step — don’t skip it.
- 1/2 cup chickpea flour: The protein backbone. It creates a set custard without eggs. I know it’s not a standard pantry item for everyone, but it’s worth tracking down for this recipe. Look in the gluten-free or international aisle.
- 1 1/2 cups unsweetened oat milk or soy milk: Higher protein milk gives the best structure. Almond milk works in a pinch, but the texture will be slightly less rich and the custard may not set as firmly.
- 2 tablespoons maple syrup: A touch of sweetness in the batter. Most of the sweetness comes from the topping, so don’t go overboard here.
- 1 tablespoon ground flaxseed: Helps bind the liquid and adds a subtle nuttiness that works perfectly with the cinnamon and nutmeg. My kids have no idea it’s in there, and I’m not planning to tell them.
- 1 teaspoon ground cinnamon
- 1/2 teaspoon ground nutmeg Go easy — it’s potent. Simone can spot an over-nutmegged slice from across the table.
- 1 teaspoon vanilla extract
- Vegan butter or coconut oil for frying: Butter gives the best flavor. Coconut oil works if you’re avoiding soy. Do not use olive oil — the flavor is too strong for this dish.
What You’ll Need (It’s Probably in Your Kitchen Already)
- A shallow dish or pie plate (for the batter)
- A non-stick skillet or well-seasoned cast iron pan
- A thin, flexible spatula
- A wire rack (for resting — this prevents the dreaded soggy bottom)
Making the French Toast: My Exact Process
This comes together fast, so read through the steps once before you start. The rhythm is: dip, fry, rest, serve.
Prep the bread: If your bread is fresh, slice it 1-inch thick and toast it in a 300°F oven for 5-7 minutes per side. Let it cool completely. This dries it out enough to absorb the custard without falling apart.
- Make the custard: In the shallow dish, whisk together the chickpea flour, flaxseed meal, cinnamon, and nutmeg. Slowly pour in the oat milk, maple syrup, and vanilla, whisking until completely smooth. No lumps. Lumps mean dry patches of flour that won’t cook properly, leaving you with a chalky texture.
- Soak the bread: Dip each slice into the custard for 15-20 seconds per side. Let the excess drip off. (📸 Photo tip: The bread should be fully saturated but still firm enough to hold its shape when you lift it. If it starts falling apart, your bread is too fresh or you soaked it too long.)
- Fry: Heat your skillet over medium heat. Add 1 tablespoon of vegan butter. Once it’s melted and bubbling, carefully place the soaked bread in the pan. Don’t crowd the pan — work in batches if needed. Cook for 3-4 minutes per side, until deep golden brown and the edges look lacy and caramelized. (📸 Photo tip: That lacy edge is the cornstarch and chickpea flour doing their job — it’s the sign of a perfect fry.)
- Rest: Transfer the cooked slices to a wire rack. Rest for 2 minutes. This lets the steam escape instead of getting trapped, which keeps the outside crisp and the inside tender. Do not skip this step — it’s the difference between crispy and soggy.
- Serve: Serve immediately with a drizzle of maple syrup, a pat of vegan butter, fresh berries, and a dusting of cinnamon.
How I Make This Work for Busy Mornings
Sunday prep is my secret weapon. I slice the bread and let it dry out overnight on a baking sheet. The custard can be mixed and refrigerated for up to 3 days. When I’m ready to cook, I just dip and fry. It makes weekday mornings feel like a weekend.
- Fridge: Cooked French toast keeps in an airtight container in the fridge for 3-4 days. Reheat in a toaster or oven at 350°F for 5 minutes.
- Freezer: Yes! Freeze the cooked, cooled slices in a single layer on a baking sheet, then transfer to a zip-top bag. Toast straight from frozen — no thawing needed.
- Reheat: The microwave makes it soft and sad. Trust me — use the toaster or oven. You’ll get that crispy edge back every time.
Things I Wish I’d Known Before I Started
- The Bread is Non-Negotiable: I know it sounds fussy, but stale bread is the foundation. Fresh bread absorbs too much liquid and collapses into a soggy, custard-soaked mess in the pan. Day-old bakery bread is ideal. If you only have fresh bread, dry it out in the oven — it makes all the difference.
- Medium Heat is Your Friend: High heat burns the outside and leaves the inside raw and gooey. Low heat makes it dense and oily. Medium heat gives you that golden, crisp crust and a perfectly cooked center. I keep the heat right at the midpoint and adjust slightly if it starts smoking.
- Don’t Overcrowd the Pan: Each slice needs room to cook evenly. If the pan is too full, the temperature drops and the slices steam instead of fry. Give them space. If you’re cooking for a crowd, keep the finished slices warm on a baking sheet in a 200°F oven while you finish the rest.
- The Rest Isn’t Optional: That 2-minute rest on a wire rack changes everything. It lets the custard set fully, so the texture is firm and custardy rather than wet and gummy. I learned this the hard way after too many sad, soggy breakfasts. The wire rack is key — don’t rest them on a plate or the steam will soften the bottom.
Make It Yours — The Versions We Love at Our Table
- Gluten-Free: Use a sturdy gluten-free bread, like a rustic sourdough. Dry it out well in the oven. The custard works exactly the same. Avoid soft, sandwich-style gluten-free bread — it falls apart too easily.
- Kid-Friendly: Cut the nutmeg in half. Add a tablespoon of creamy peanut butter to the custard for extra protein and a hint of flavor. Simone calls these “the special ones.” My nephew, who can’t do dairy, loves this version.
- Fancy Guest Version: Use thick-cut vegan brioche. Add a splash of bourbon or dark rum to the custard. Top with caramelized bananas and a dollop of coconut whip. This is what I make for brunch when I want to impress without spending all morning in the kitchen.
- PB&J French Toast: Swirl a tablespoon of peanut butter into the custard. Slather a thin layer of your favorite jam between two slices of the cooked French toast, and press gently. It’s like a grilled PB&J, but with a custardy, golden exterior. My kids request this constantly.
- Savory Twist: Omit the cinnamon, nutmeg, and maple syrup. Add 1/2 teaspoon of black salt (kala namak — for an eggy flavor), 1/4 teaspoon of garlic powder, and a pinch of smoked paprika. Serve with avocado, hot sauce, and fresh herbs. This is my go-to when I want breakfast for dinner.
Questions I Get About This Recipe All The Time
Q: Why did my French toast turn out soggy in the middle?
A: Ugh, I’ve been there. It’s almost always one of two things — your bread was too fresh, or your pan wasn’t hot enough. Make sure your bread is stale and your pan is at a solid medium heat before you add the slices. If the center is still wet after the outside is golden, finish it in a 350°F oven for 5 minutes. That usually fixes it.
Q: Can I make this without chickpea flour?
A: You can try using all-purpose flour or cornstarch, but the texture will be noticeably less custardy. Chickpea flour is really the star here — it provides the protein structure that eggs usually do. If you can find it (look in the gluten-free or international aisle), it’s worth it. I haven’t tested it with other flours and gotten the same result.
Q: How long does this last? Can I freeze it?
A: Yes! It keeps in an airtight container in the fridge for 3-4 days. For longer storage, freeze the cooked slices in a single layer on a baking sheet, then transfer to a freezer bag. Toast them straight from frozen — no thawing needed. The toaster brings back the crispy edge beautifully.
Q: What do you serve with this for a full breakfast?
A: We love it with a side of crispy vegan sausage, a fresh fruit salad, and extra maple syrup. For a brunch spread, I’ll make a tofu scramble and a big pot of coffee. It’s simple enough for a weekday but fancy enough for guests. My kids love it with a side of fresh berries and a dollop of coconut whip.
More Breakfast Recipes My Family Loves
If this one’s a hit at your table, here are a few others I make on repeat:
- [INTERNAL LINK PLACEHOLDER: Fluffy Vegan Pancakes] — These don’t fall flat. Seriously. My kids request them every weekend.
- [INTERNAL LINK PLACEHOLDER: Easy Tofu Scramble] — My go-to for a high-protein, savory breakfast that comes together in 10 minutes.
- [INTERNAL LINK PLACEHOLDER: Baked Oatmeal with Berries] — The make-ahead hero of my busy mornings.
This is the breakfast I make when I want something that feels indulgent but doesn’t require a trip to the store for mystery ingredients. It’s simple, it works, and it passes the Marcus taste test every single time. The custard sets up perfectly, the edges get that lacy crispness I used to think was impossible without eggs, and it holds up to a generous pour of maple syrup without turning into a sad, wet mess.
If you try it, drop a comment below — I love hearing how it goes for your family. And if you share it on social media, tag me so I can see your beautiful golden slices!
📌 Pin this perfectly golden vegan French toast recipe — it has a crispy edge that holds up to maple syrup, making it the perfect save for your next lazy Sunday morning.

Perfectly Golden Vegan French Toast with a Crispy Edge That Holds Up to Syrup
Equipment
- Shallow dish or pie plate
- Non-stick skillet or cast iron pan
- Thin, flexible spatula
- Wire rack
Ingredients
- 8 slices stale French bread or vegan brioche
- 1/2 cup chickpea flour
- 1 1/2 cups unsweetened oat milk or soy milk
- 2 tablespoons maple syrup
- 1 tablespoon ground flaxseed
- 1 teaspoon ground cinnamon
- 1/2 teaspoon ground nutmeg
- 1 teaspoon vanilla extract
- as needed vegan butter or coconut oil for frying
Instructions
- If your bread is fresh, slice it 1-inch thick and toast in a 300°F oven for 5-7 minutes per side. Let cool completely. This dries it out to absorb the custard without falling apart.
- In a shallow dish, whisk together the chickpea flour, ground flaxseed, cinnamon, and nutmeg. Slowly pour in the oat milk, maple syrup, and vanilla, whisking until completely smooth and no lumps remain.
- Dip each bread slice into the custard for 15-20 seconds per side. Let the excess drip off. The bread should be fully saturated but still firm enough to hold its shape when lifted.
- Heat a skillet over medium heat. Add 1 tablespoon of vegan butter. Once melted and bubbling, place the soaked bread in the pan (work in batches if needed). Cook for 3-4 minutes per side, until deep golden brown with lacy, caramelized edges.
- Transfer the cooked slices to a wire rack. Rest for 2 minutes. This lets steam escape, keeping the outside crisp and the inside tender. Do not skip this step.
- Serve immediately with a drizzle of maple syrup, a pat of vegan butter, fresh berries, and a dusting of cinnamon.