
The first time I tested this, I used a chunky apple butter thinking it would be more flavorful. It was a mess — slid right off the crispy treat like a mudslide.
Batch two, I tried a homemade pie filling that I didn’t cook down enough, and it made the Rice Krispies Treat soggy within ten minutes.
The fix was dead simple: a good-quality, canned apple pie filling that’s already thick and glossy. It stays put, it holds its shape, and it gives you that perfect soft apple bite against the crispy marshmallow treat.
Now I don’t overthink it. It just works.
- Serves: 8 as dessert
- Hands-On Time: 5 min | Total Time: 5 min
- Difficulty: Easiest thing you’ll make this week — no joke
- Cost per serving: ~$1.25
- Nutrition Estimate: 290 Calories, 2g Protein, 48g Carbs, 10g Fat, 4g Saturated Fat, 1g Fiber, 240mg Sodium per serving
- Dietary Notes: Vegetarian. Easily adaptable for gluten-free (use gluten-free Rice Krispies Treats).
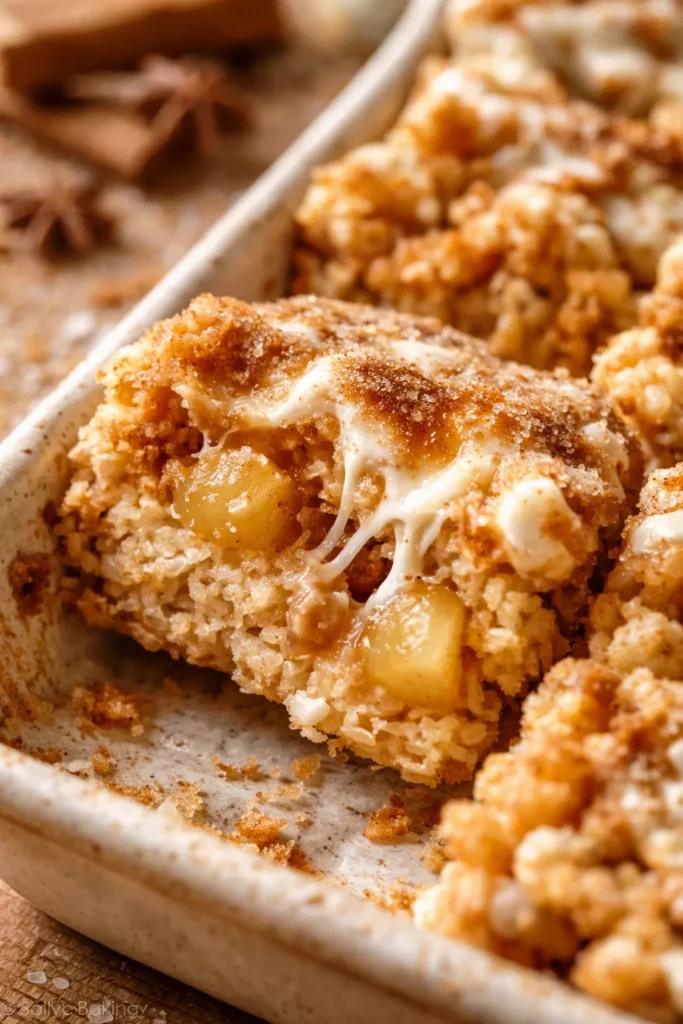
(Photo above: Overhead shot of four Apple Pie Rice Krispie Treats on a rustic wooden board. One is cut in half to show the layers — crispy treat on the bottom, glossy apple pie filling in the middle, a perfect dollop of whipped cream on top, all dusted with cinnamon and drizzled with caramel. Warm, golden fall light from the side.)
Why Canned Pie Filling Is the Secret to This 5-Minute Dessert
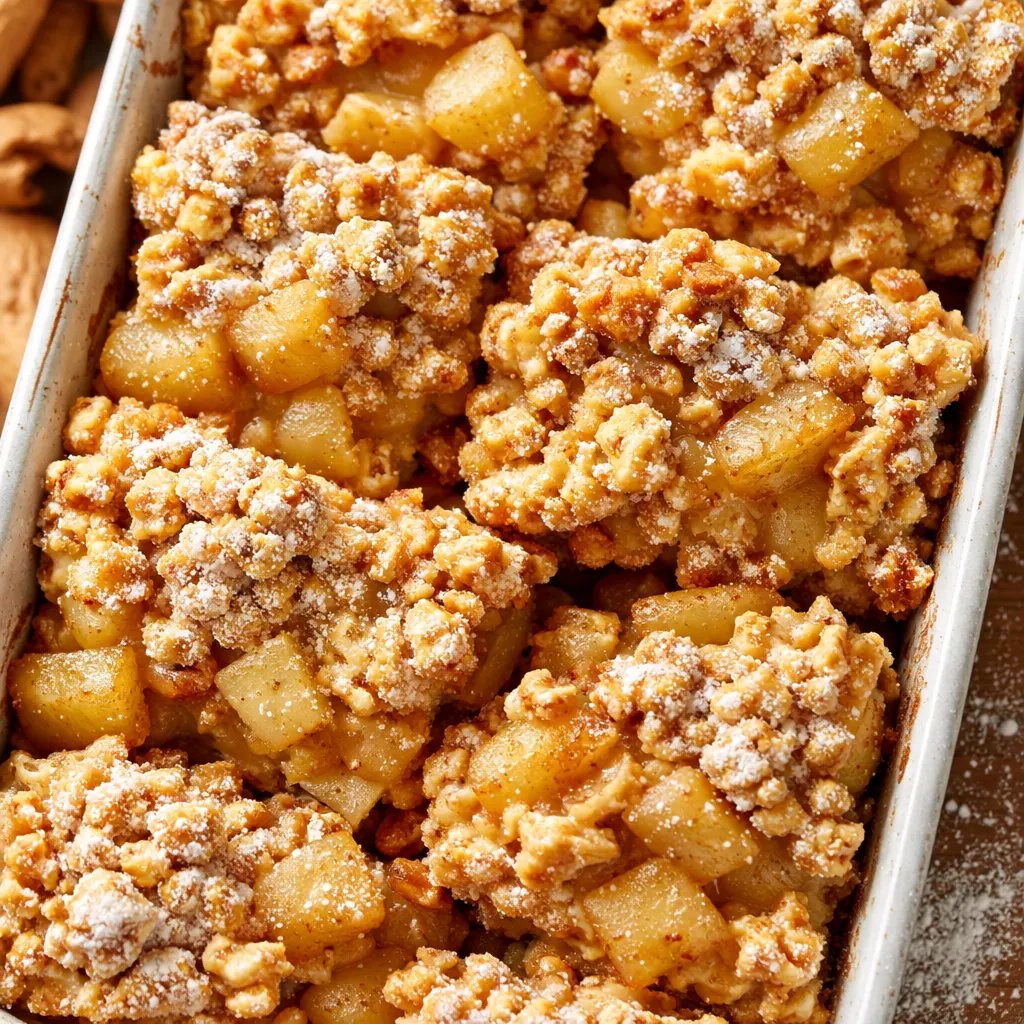
Here’s the thing about no-bake desserts: they usually fall apart or take too many shortcuts that leave you disappointed. These don’t. The canned apple pie filling does all the heavy lifting.
It’s already spiced, sweetened, and thickened with cornstarch. That cornstarch is the unsung hero here — it creates a glossy, stable filling that clings to the Rice Krispies Treat without making it soggy.
A typical homemade apple filling needs 15–20 minutes on the stove to reduce properly. This skips all of that.
The contrast between the soft, warm cinnamon apples and the chewy, marshmallow-crisp base is the whole point. And because the base is already perfectly formed and sealed, it doesn’t absorb moisture the way a fresh-baked crust might.
According to USDA nutritional data, one serving of this dessert provides a small amount of fiber from the apples, but more importantly, it delivers that cozy, nostalgic flavor we all crave in the fall without any complicated techniques.
What Goes In — Plus My Honest Notes
- 8 Rice Krispies Treats (store-bought or homemade): The stable, sturdy base. You need the pre-made bars here for the right texture and structure. Homemade can work, but they must be fully set and slightly stale — 24 hours old is ideal, or toast them in the oven for 5 minutes to dry them out. Trust me on this one or you’ll end up with a gooey mess.
- 1 can (21 oz) Apple Pie Filling: The star of the show. Don’t drain it! The thick gel is what keeps the treat from getting soggy. I prefer the kind with visible apple chunks. Look for a brand with a high fruit-to-gel ratio, but honestly, any standard can will work beautifully.
- Whipped Topping (Cool Whip or homemade): The cool, creamy element that balances the warm apples. Thaw it completely so it’s light and fluffy. You can substitute a dollop of vanilla ice cream or creme fraiche for a tangier twist.
- Cinnamon (for garnish): The warm, spicy aroma that tricks everyone into thinking you baked all day. Use a heavy hand here — it makes all the difference visually and flavor-wise.
- Caramel Sauce (for drizzling): Optional but highly recommended. It adds a buttery, salty sweetness that ties the whole thing together. Warm it up for 10 seconds in the microwave so it drizzles beautifully.
What to Pull Out Before You Start
- Sharp knife (a serrated knife works best for cutting the treats cleanly without squishing them).
- Cutting board.
- Small saucepan or microwave-safe bowl (to warm the apple pie filling and caramel).
- Small serving platter or wooden board.
Let’s Make It (Step by Step)
This is less of a recipe and more of an assembly, but there are a few tiny tricks that make the difference between a soggy mess and a perfect bite. Here’s how I do it.
- Cut: Unwrap each Rice Krispies Treat carefully. Using a sharp serrated knife, cut each one horizontally through the middle. A serrated knife glides through the marshmallow without squishing it, keeping your layers tidy and beautiful.
- Warm: Empty the can of apple pie filling into a small saucepan. Warm it over medium-low heat for 2–3 minutes, stirring occasionally, just until it’s loose and glossy. You can also microwave it in 30-second bursts. You’re looking for it to be steamy, not bubbling hot.
- Spoon: Place the bottom halves of the Rice Krispies Treats on your serving board. Spoon a generous spoonful of warm apple pie filling onto each one. Let the filling come all the way to the edges, but don’t drown it — two or three apple chunks per treat is the sweet spot.
- Top: Place the top half of the Rice Krispies Treat back on. Don’t press down — just let it rest gently on top of the apples. Pressing will squeeze the filling out the sides.
- Garnish: Add a generous dollop of whipped topping. Use a fine-mesh sieve or a small spoon to dust cinnamon over the top. Drizzle with warm caramel sauce in a back-and-forth motion for that gorgeous bakery look.
- Serve: Serve immediately while the apples are still warm and the Rice Krispies Treats are firm. The contrast in textures — the crunch of the marshmallow treat, the soft warmth of the apples, the cool creaminess of the topping — is everything.
Sunday Prep = Stress-Free Weekday Treats
This is a best-assembled-fresh situation, but you can absolutely prep the parts so that assembly takes about 90 seconds. Here’s how I handle it when I’m getting ready for a busy week or a party.
- Fridge: Not recommended for the assembled treats. The Rice Krispies will get soggy in the fridge as the moisture from the apples and cream settles in.
- Freezer: No. The apples and whipped topping don’t freeze well — they’ll break down into a watery mess when they thaw.
- Reheat: If it’s a few hours later, you can pop the assembled treat in a 350°F oven for 5 minutes to warm the apples and re-crisp the base slightly. Add fresh whipped topping after reheating. It won’t be quite as perfect as fresh, but it’s still delicious.
My Honest Advice After Making These Dozens of Times
- Don’t oversoak the base: Spoon the apple filling on gently. If you use too much, it will spill down the sides and make the bottom of the treat mushy. Two or three apple chunks per treat is plenty. I know it’s tempting to pile it on, but less is genuinely more here.
- A serrated knife is worth it: A regular chef’s knife will squish the marshmallow treat. A serrated knife glides through it cleanly, keeping your layers tidy and beautiful. Even if you mess this part up a little, it’ll still taste good — I’ve done it.
- Warm the caramel: Cold caramel is too thick to drizzle nicely. Ten seconds in the microwave makes it loose enough to create that gorgeous, salon-finished look. It makes the whole thing feel fancy with almost zero effort.
- Make it a full pie: For a showstopper, arrange all the treats in a circle on a large platter to look like a pie, then pile the apple filling and whipped topping in the center. Your guests will lose their minds. It looks like you spent an hour on it.
Make It Yours: Easy Variations
- Gluten-Free: This is the easiest win — just use certified gluten-free Rice Krispies Treats. The rest of the ingredients are naturally gluten-free.
- Use Fresh Apples: If you have time and want to go the extra mile, sauté 4 cups of diced Honeycrisp or Granny Smith apples with 2 tbsp butter, 1/4 cup brown sugar, 1 tsp cinnamon, and 1 tbsp cornstarch until thickened. It takes about 15 minutes and adds a wonderful fresh tartness.
- Extra Crunchy: Sprinkle a handful of toasted pecans or walnuts over the caramel. The nutty crunch is incredible against the soft apples.
- For the Grown-Ups: Add a teaspoon of bourbon or dark rum to the apple pie filling as it warms. It adds an incredible depth of flavor without overwhelming the dessert.
Troubleshooting: Why Did My Apple Pie Rice Krispie Treats Get Soggy So Fast?
Q: Why did my treat get soggy almost immediately?
A: The most likely culprit is the apple pie filling was too thin or applied too heavily. Make sure you’re using a thick, canned pie filling (not a compote or syrup). Spoon it on gently — you don’t need to drown the treat.
Letting the treat sit out for a few minutes after assembly can actually help it stay crispier as it adjusts to the moisture. I’ve been there, and it’s a quick fix.
Q: Can I use homemade Rice Krispies Treats for the base?
A: Yes, but with one critical note: they need to be fully set and slightly dry. Fresh, gooey homemade treats will turn into a wet mess. Make them the day before, or bake them on a sheet pan at 300°F for 5 minutes to dry them out slightly. This gives you the best of both worlds — that homemade marshmallow flavor with the sturdy texture you need.
Q: How do I know when the apple pie filling is warm enough?
A: You’re just looking for it to be loose and steamy — not bubbling hot. About 2 minutes on the stove or 45 seconds in the microwave is plenty. If it’s too hot, it will melt the whipped topping instantly and create a puddle on your plate.
Q: Can I make this dairy-free?
A: Absolutely. Use a dairy-free whipped topping (like CocoWhip) and a dairy-free caramel sauce. The Rice Krispies Treats and apple pie filling are already dairy-free. It’s one of those rare recipes that adapts beautifully without any fuss.
How Do You Store These Apple Pie Rice Krispie Treats?
Q: How long do these last, and how should I store them?
A: They are truly best eaten fresh, within the first hour of assembly. If you have leftovers, store them uncovered (or loosely tented) at room temperature. Do NOT seal them in an airtight container — the trapped moisture will turn the treats into soggy, puffy lumps.
Q: Can I make these ahead of time for a party?
A: I highly recommend assembling them just before serving. It takes 5 minutes. However, you can prep all the parts: cut the treats, warm the filling, and have your garnishes ready.
Assemble right before guests arrive. It honestly takes less time than it takes most people to find parking.
Q: What’s the best way to reheat leftovers?
A: If they’re a few hours old and the base has softened, place them on a baking sheet in a 350°F oven for 3–5 minutes. This will re-crisp the marshmallow treat and warm the apples back up. Add fresh whipped topping after reheating. The microwave will make the marshmallow tough, so avoid it if you can.
Q: What do you serve with these?
A: These are a standalone star, but they pair beautifully with a scoop of vanilla bean ice cream, a cup of hot apple cider, or a strong black coffee to cut the sweetness. I sometimes serve them on a platter with fresh apple slices and a bowl of extra caramel for dipping. It makes the whole thing feel like a dessert board, and people love it.
These Apple Pie Rice Krispie Treats are the kind of recipe that looks like you spent way more effort than you actually did — and honestly, that’s my favorite kind of dessert. I hope they become your go-to fall treat, too.
If you make them, tag me on Pinterest so I can see your beautiful creations!
📌 Save this easy no-bake apple dessert recipe for your next fall gathering or Thanksgiving potluck — it disappears in minutes!
Apple Pie Rice Krispie Treats for Last-Minute Fall Desserts: 5 Minutes, No Oven, All the Flavor
Equipment
- Sharp serrated knife
- Cutting Board
- Small saucepan or microwave-safe bowl
- Small serving platter or wooden board
Ingredients
Ingredients
- 8 Rice Krispies Treats store-bought or homemade
- 1 can Apple Pie Filling 21 oz
- Whipped Topping Cool Whip or homemade
- Cinnamon for garnish
- Caramel Sauce optional, for drizzling
Instructions
- Cut: Unwrap each Rice Krispies Treat carefully. Using a sharp serrated knife, cut each one horizontally through the middle. A serrated knife glides through the marshmallow without squishing it, keeping your layers tidy and beautiful.
- Warm: Empty the can of apple pie filling into a small saucepan. Warm it over medium-low heat for 2–3 minutes, stirring occasionally, just until it’s loose and glossy. You can also microwave it in 30-second bursts. You’re looking for it to be steamy, not bubbling hot.
- Spoon: Place the bottom halves of the Rice Krispies Treats on your serving board. Spoon a generous spoonful of warm apple pie filling onto each one. Let the filling come all the way to the edges, but don’t drown it — two or three apple chunks per treat is the sweet spot.
- Top: Place the top half of the Rice Krispies Treat back on. Don’t press down — just let it rest gently on top of the apples. Pressing will squeeze the filling out the sides.
- Garnish: Add a generous dollop of whipped topping. Use a fine-mesh sieve or a small spoon to dust cinnamon over the top. Drizzle with warm caramel sauce in a back-and-forth motion for that gorgeous bakery look.
- Serve: Serve immediately while the apples are still warm and the Rice Krispies Treats are firm. The contrast in textures — the crunch of the marshmallow treat, the soft warmth of the apples, the cool creaminess of the topping — is everything.
Notes
- Don’t oversoak the base: Spoon the apple filling on gently. If you use too much, it will spill down the sides and make the bottom of the treat mushy. Two or three apple chunks per treat is plenty.
- A serrated knife is worth it: A regular chef’s knife will squish the marshmallow treat. A serrated knife glides through it cleanly.
- Warm the caramel: Cold caramel is too thick to drizzle nicely. Ten seconds in the microwave makes it loose enough.
- Make it a full pie: For a showstopper, arrange all the treats in a circle on a large platter to look like a pie.
Related posts:
 Frozen Chocolate Covered Strawberry Bites That Taste Like Pure Summer (3 Ingredients, No Oven)
 Cherry Rice Krispie Treats That Taste Like a Chocolate-Covered Cherry — in 20 Minutes Flat
 The Homemade Pumpkin Spice Latte That Costs a Fraction of the Drive-Through (And Tastes Better)
 Almond Flour Granola That’s Perfectly Clustered (Not Soggy) — Finally