
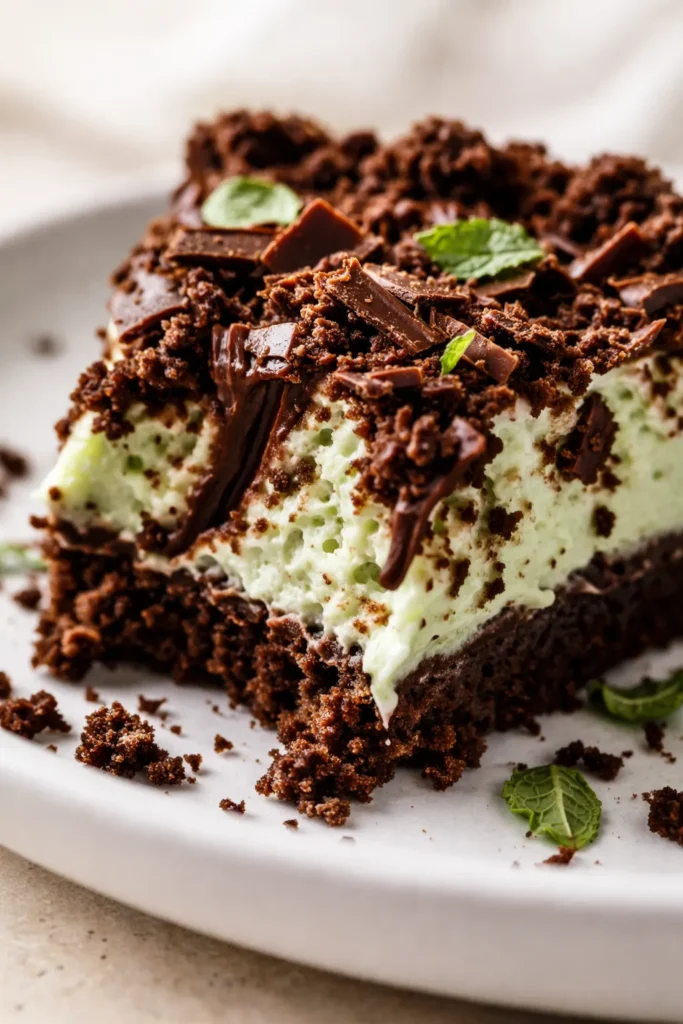
TLDR: This no bake Grasshopper Pie layers a creamy mint-chocolate filling over a crunchy Oreo crust. The secret is folding the whipped cream gently to keep it light, and chilling it for a full 4 hours. It sets up perfectly, slices cleanly, and tastes like a fancy ice cream parlor dessert without turning on the oven.
The first time I made this no bake Grasshopper Pie, my husband ate three slices before I could even get it back to the fridge. Something about that cool, minty cream against the dark chocolate crust just hits different. It reminds me of the grasshopper pies from the old-school diners my grandma used to take me to. This version comes together in about twenty minutes of actual work — no oven, no complicated steps, just a food processor, a mixing bowl, and a whole lot of folding.
My first attempt at this pie was a soupy, deflated mess. I still ate it with a spoon (because waste not), but it was a far cry from the stately dessert I’d imagined. I didn’t whip the cream stiff enough, and I poured the chocolate-mint mixture directly into it while it was still warm. The cream deflated instantly, and I ended up with a runny, sad puddle in a pie dish.
Batch two, I chilled the cream cheese and chocolate base for about fifteen minutes before folding. I also made sure my heavy cream was straight out of the fridge. The difference was immediate: thick, sliceable, and impossibly light, with that perfect minty freshness.
- Serves: 8 as a dessert
- Hands-On Time: 20 min | Total Time: 4 hr 20 min (includes chilling)
- Difficulty: Easy enough for a Tuesday night treat
- Cost per serving: ~$2.50
- Nutrition Estimate: 468 Calories, 6g Protein, 38g Carbs, 33g Fat, 18g Saturated Fat, 2g Fiber, 280mg Sodium per serving
- Dietary Notes: Contains gluten and dairy. Easily adaptable for gluten-free with GF Oreos.
(Photo above: Slightly angled shot of the finished Grasshopper Pie on a vintage cake stand, one generous slice removed to reveal the three distinct layers — dark Oreo crust, creamy mint-green center, and a pile of dark chocolate curls on top. Soft natural light, white linen napkin underneath.)
Why This No Bake Grasshopper Pie Beats the Diner Version Every Time
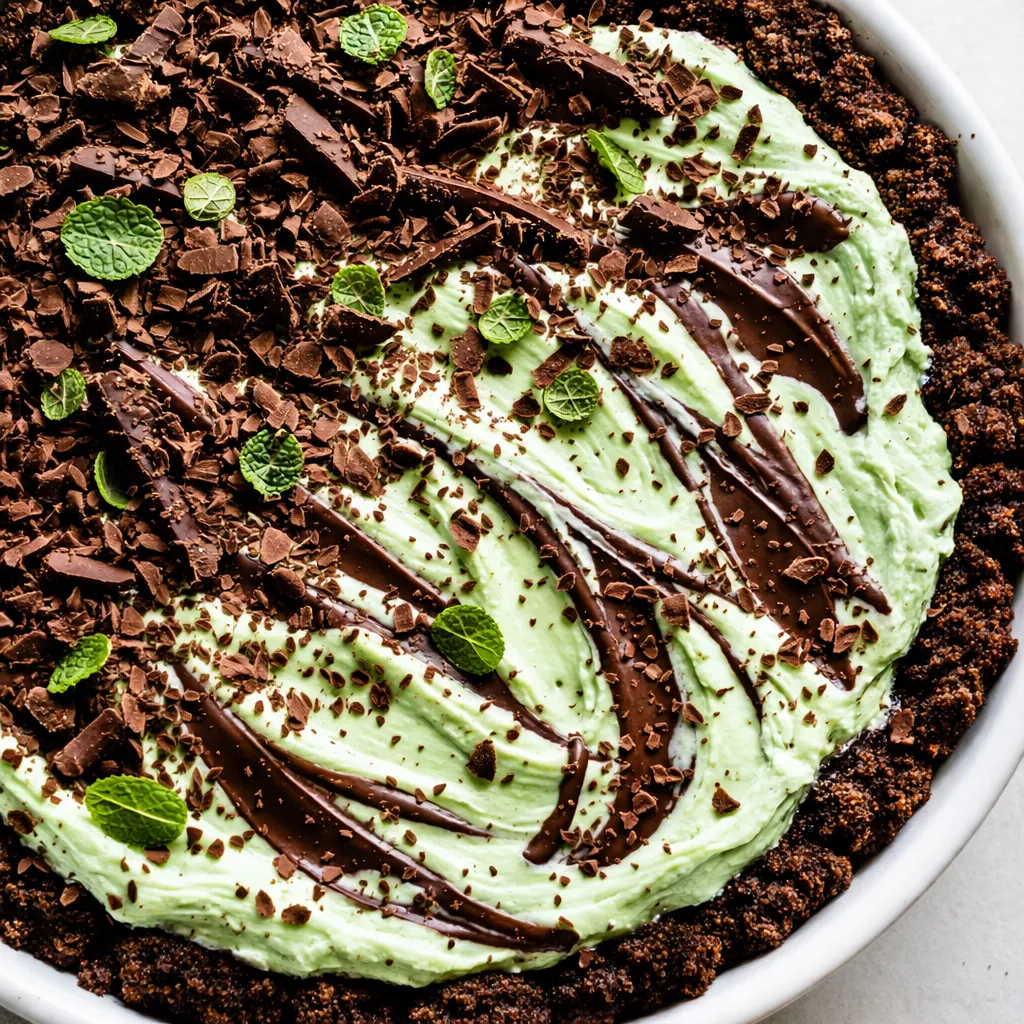
The magic here is all in the texture. A classic Grasshopper Pie can sometimes be dense or overly gelatinous. This version relies on a cream cheese base that gets light and fluffy when whipped, giving the pie structure without making it heavy. When you gently fold in freshly whipped heavy cream, you get that airy, melt-in-your-mouth quality that a baked custard just can’t match.
The other game-changer is letting the pie rest in the fridge for a full four hours. Most no-bake pies claim two hours, but I’ve found that the extra time allows the crème de menthe and crème de cacao to really meld with the dairy. At the two-hour mark, it’s firm enough to eat, but at four hours, it slices like a dream — clean edges, no drag marks, and that perfect creamy bite.
Plus, the Oreo crust isn’t just a placeholder. The deep, bittersweet char of the cookie crumbs catches the cool mint on your tongue and grounds it. One bite and you get that crunch, that cream, and that refreshing mint finish. It’s the kind of dessert that disappears fast, and honestly, I’m okay with that.
My Recipe Testing Journey: Getting the Perfect Set
I hate wasting ingredients, so after my first soupy fail, I got methodical. I tested this recipe six times to nail the texture. The biggest lesson I learned? Temperature is everything. Not just important — everything.
The cream cheese must be fully softened, but the whipped cream must be ice cold. I also discovered that folding the whipped cream in two stages — first a spoonful to lighten the base, then the rest — prevents deflation. That one tweak turned a flat, dense filling into one that puffs up in the fridge. Every batch after that sliced like a dream.
Another breakthrough came when I started chilling the cream cheese mixture for 15 minutes before folding. That short window lets the alcohol from the liqueurs calm down, so the fat in the cream doesn’t break. Trust me, every minute of that extra chill matters.
Everything You Need (And a Few Notes From Me)
- 25 Oreo cookies (regular, not double stuff): You want that slightly bitter chocolate to balance the sweet filling. The cream in the Oreo helps bind the crust.
- 5 tablespoons unsalted butter, melted: This is your crust glue. Make sure it’s melted but not piping hot, or it’ll make the cookies greasy.
- 8 ounces cream cheese, softened to room temperature: This is non-negotiable for a smooth filling. Cold cream cheese will leave you with lumps. I know it’s tempting to skip the softening step, but don’t — it makes the filling gritty instead of silky.
- 1 cup powdered sugar: Sifts in smooth and dissolves completely, so you don’t get that grainy sugar texture.
- 1/4 cup green crème de menthe: This is what gives the pie its signature mint flavor and that lovely pastel green color. You can use white crème de menthe plus green food coloring, but the green version is easier.
- 1/4 cup white crème de cacao: Adds a subtle chocolate-velvet background note that rounds out the mint.
- 1 teaspoon vanilla extract: Deepens the flavor and makes the mint pop.
- 2 cups heavy whipping cream, cold: Make sure it’s been in the fridge overnight. Warm cream won’t whip up stiff, and you’ll end up with a loose pie.
- Green food coloring (optional): If you want that classic St. Patrick’s Day look, add a couple drops. I often leave it out, and it’s still beautiful.
- Chocolate shavings or curls, for garnish: A must for that diner-style finish. A vegetable peeler and a good chocolate bar are all you need.
What to Pull Out Before You Start
- 9-inch pie dish (deep dish recommended): A standard one works, but deep dish lets you pile the filling higher.
- Food processor or rolling pin: For crushing Oreos into fine crumbs. A sealed ziplock bag and a rolling pin work great in a pinch.
- Electric mixer (hand or stand): You’ll get a much fluffier filling than mixing by hand.
- Rubber spatula: For gentle folding — this is your most important tool for keeping the pie light.
- Vegetable peeler: For making those gorgeous chocolate curls.
Let’s Make It (Step by Step)
This is one of those recipes where the steps feel almost too easy. Trust the process — the fridge does the hard work. Pop the bowl and beaters in the freezer for 10 minutes before you start. Cold equipment makes for fluffier whipped cream.
- Make the crust: Crush the Oreos in a food processor until they’re fine crumbs. Add the melted butter and pulse until it looks like wet sand. Press the mixture firmly into the bottom and up the sides of your pie dish. I use the flat bottom of a measuring cup to get it really compact. Pop it in the fridge to set while you make the filling.
- Start the filling: In a large bowl, beat the softened cream cheese with the powdered sugar until it’s smooth and completely lump-free. This takes about 2 minutes. Scrape down the sides halfway through.
- Add the flavor: Mix in the crème de menthe, crème de cacao, and vanilla extract until combined. If you’re using food coloring, add it now. The mixture will be thin — don’t worry, it’ll thicken up.
- Whip the cream: In your chilled bowl, whip the heavy cream on medium-high speed until stiff peaks form. You’re looking for peaks that stand straight up when you lift the beater. Be careful not to over-whip, or you’ll end up with butter. One time I got distracted and ended up with sweet butter. It still tasted good, but the pie was dense.
- Fold gently: Take a big spoonful of whipped cream and stir it into the cream cheese mixture to lighten it up. Then, add the rest of the whipped cream. Use your spatula to fold it in — cut down through the center, scrape along the bottom, and bring it up and over. Turn the bowl as you go. Stop as soon as you don’t see white streaks. Over-mixing deflates the air you just whipped in.
- Fill the crust: Spoon the filling into the chilled Oreo crust. Spread it out evenly with your spatula. Give the dish a couple of gentle taps on the counter to settle any air pockets.
- Chill and set: Cover the pie lightly with plastic wrap and refrigerate for at least 4 hours, or overnight. Overnight is genuinely better — the flavors meld and the texture gets creamier.
- Garnish and serve: Before serving, scatter chocolate shavings over the top. I use a vegetable peeler on a dark chocolate bar to get those pretty curls. Slice with a sharp knife dipped in hot water and wiped dry for clean cuts.
How I Meal Prep This for the Week
This pie is my secret weapon for spring gatherings. I usually make the crust and filling the night before, then just add the chocolate curls right before serving. It actually tastes better on day two — the mint flavor gets deeper and more integrated.
- Fridge: Store covered in the pie dish for up to 4 days. The crust stays firm, and the filling holds its texture beautifully.
- Freezer: Yes! Wrap the fully set pie (without garnish) tightly in plastic wrap, then foil. Freeze for up to 2 months. Thaw in the fridge overnight before serving.
- Reheat: None needed. If frozen, let it sit in the fridge overnight. If you’re impatient, let it sit on the counter for 15 minutes before slicing.
Things I Wish I’d Known the First Time
- Don’t skip cooling the base: If your cream cheese mixture is warm when you add the whipped cream, it will deflate instantly. I know it’s an extra step, but popping the mixture in the fridge for 15 minutes while you wash the dishes saves the whole pie.
- Use a deep dish pie plate: This filling is generous. A standard shallow pie dish might leave you with leftover filling. A deep dish gives you those towering, bakery-style slices.
- Dip your knife in hot water: This is the number one trick for clean slices. Run your knife under hot water, dry it off, make one cut, then repeat. The slice comes out perfectly intact every time.
- Taste the filling before adding the food coloring: The crème de menthe gives a natural pale green tint. I often skip the extra coloring entirely, and it looks lovely and natural.
Swaps That Actually Work
- Alcohol-Free Version: Replace the crème de menthe and crème de cacao with 1 teaspoon mint extract and 2 tablespoons milk. Add a drop of green food coloring. The mint flavor will be a bit brighter, so start with less.
- Gluten-Free: Use gluten-free chocolate sandwich cookies. The filling and crust are naturally gluten-free otherwise. Just make sure your extract and liqueurs are certified GF.
- Dairy-Free: Use a dairy-free cream cheese alternative and a full-fat coconut cream (chilled, whipped) instead of heavy cream. Use a vegan butter stick for the crust. It works, but the texture is slightly less stable — freeze it for a firmer slice.
- Kid-Friendly Version: Omit the alcohol entirely. Use 3/4 cup cold whole milk with 1 1/2 teaspoons mint extract and 1 teaspoon vanilla. It’s creamy, minty, and the kids will devour it.
- Fancy Guest Version: Add a layer of hot fudge sauce between the crust and the filling. It creates a gorgeous chocolate ribbon effect when you slice it.
Troubleshooting Your Grasshopper Pie
Why did my pie turn out runny?
This usually happens for two reasons: either the whipped cream wasn’t stiff enough, or the cream cheese mixture was too warm when you combined them. Make sure your heavy cream is very cold and you whip it to stiff peaks. If in doubt, whip it a little longer — you want it to hold its shape completely. Also, chill the cream cheese mixture for 15 minutes before folding. It makes a huge difference.
Can I use mint extract instead of crème de menthe?
Yes, but be careful. Mint extract is much more concentrated than liqueur. Start with 1/2 teaspoon and taste it. You can always add more, but you can’t take it out. I’d also add a tablespoon of milk or cream to replace the liquid volume you lost from the liqueur.
How do I know when my pie is done setting?
Give the pie dish a gentle jiggle after 4 hours. The center should be mostly set with just a slight wobble, like a firm cheesecake. The edges should look solid and not ripple at all. If the center looks liquid, give it another hour.
Can I make this without cream cheese?
You can, but the texture changes. Cream cheese gives the pie structure and that classic tangy richness. If you skip it, you’ll end up with a mousse-like pie that’s much softer. For a similar stability, you can use a can of cold sweetened condensed milk, but the sweetness level will go way up.
How to Store and Serve Grasshopper Pie
How long does this pie last, and how should I store it?
It lasts up to 4 days in the fridge. Keep it loosely covered with plastic wrap so the crust doesn’t get soggy but the filling doesn’t pick up fridge smells. The texture is best on days 1 through 3.
Can I make this pie ahead of time and freeze it?
Absolutely. Make it completely, let it set in the fridge for 4 hours, then wrap it tightly in plastic wrap and a layer of foil. Freeze for up to 2 months. Thaw it overnight in the fridge. I love doing this for parties — it’s one less thing to worry about.
What’s the best way to reheat this pie?
You don’t reheat Grasshopper Pie — it’s meant to be served cold. If it’s been in the freezer, let it sit in the fridge overnight. If you’re in a hurry, let a slice sit on the counter for 10 minutes to take the chill off. The texture gets creamier as it warms slightly.
What do you serve with Grasshopper Pie?
A cup of strong black coffee is my favorite pairing — it cuts through the richness. For a real treat, serve it with a scoop of vanilla bean ice cream. And if you want to get really fancy, a drizzle of warm hot fudge sauce takes it over the top. One time I served it at a book club with a side of fresh raspberries, and the tartness was a perfect contrast.
This pie is honestly the easiest thing you’ll make this spring, and it always gets the biggest reaction. I’ve brought it to Easter dinners, St. Patrick’s Day parties, and random Tuesday night gatherings, and every single time someone asks for the recipe.
If you try it, drop a comment below — I love hearing how it goes for you! And tag me on Pinterest so I can see your beautiful slices.
📌 This no bake Grasshopper Pie recipe that sets perfectly and slices cleanly — save it for your next spring gathering or St. Patrick’s Day celebration.
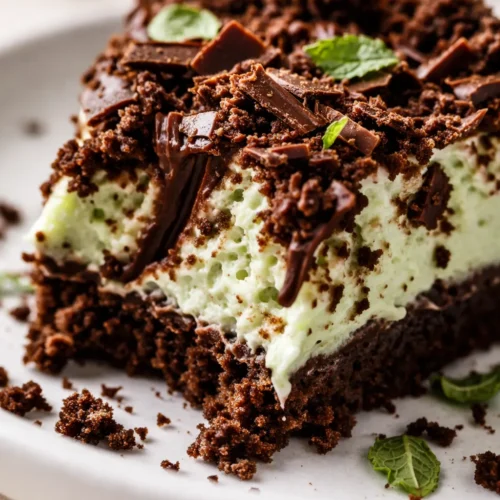
No Bake Grasshopper Pie That’s Cooler and Creamier Than the Diner Version — in 20 Minutes
Equipment
- 9-inch pie dish (deep dish recommended)
- Food processor
- Electric Mixer
- Rubber spatula
- Vegetable peeler
Ingredients
Crust
- 25 cookies Oreo cookies regular, not double stuff
- 5 tablespoons unsalted butter melted
Filling
- 8 ounces cream cheese softened to room temperature
- 1 cup powdered sugar
- 1/4 cup green crème de menthe
- 1/4 cup white crème de cacao
- 1 teaspoon vanilla extract
- 2 cups heavy whipping cream cold
- green food coloring optional
Garnish
- chocolate shavings or curls for garnish
Instructions
- Make the crust: Crush the Oreos in a food processor until they’re fine crumbs. Add the melted butter and pulse until it looks like wet sand. Press the mixture firmly into the bottom and up the sides of your pie dish. I use the flat bottom of a measuring cup to get it really compact. Pop it in the fridge to set while you make the filling.
- Start the filling: In a large bowl, beat the softened cream cheese with the powdered sugar until it’s smooth and completely lump-free. This takes about 2 minutes. Scrape down the sides halfway through.
- Add the flavor: Mix in the crème de menthe, crème de cacao, and vanilla extract until combined. If you’re using food coloring, add it now. The mixture will be thin — don’t worry, it’ll thicken up.
- Whip the cream: In your chilled bowl, whip the heavy cream on medium-high speed until stiff peaks form. You’re looking for peaks that stand straight up when you lift the beater. Be careful not to over-whip, or you’ll end up with butter. One time I got distracted and ended up with sweet butter. It still tasted good, but the pie was dense.
- Fold gently: Take a big spoonful of whipped cream and stir it into the cream cheese mixture to lighten it up. Then, add the rest of the whipped cream. Use your spatula to fold it in — cut down through the center, scrape along the bottom, and bring it up and over. Turn the bowl as you go. Stop as soon as you don’t see white streaks. Over-mixing deflates the air you just whipped in.
- Fill the crust: Spoon the filling into the chilled Oreo crust. Spread it out evenly with your spatula. Give the dish a couple of gentle taps on the counter to settle any air pockets.
- Chill and set: Cover the pie lightly with plastic wrap and refrigerate for at least 4 hours, or overnight. Overnight is genuinely better — the flavors meld and the texture gets creamier.
- Garnish and serve: Before serving, scatter chocolate shavings over the top. I use a vegetable peeler on a dark chocolate bar to get those pretty curls. Slice with a sharp knife dipped in hot water and wiped dry for clean cuts.
Notes
- Don’t skip cooling the base: If your cream cheese mixture is warm when you add the whipped cream, it will deflate instantly. I know it’s an extra step, but popping the mixture in the fridge for 15 minutes while you wash the dishes saves the whole pie.
- Use a deep dish pie plate: This filling is generous. A standard shallow pie dish might leave you with leftover filling. A deep dish gives you those towering, bakery-style slices.
- Dip your knife in hot water: This is the number one trick for clean slices. Run your knife under hot water, dry it off, make one cut, then repeat. The slice comes out perfectly intact every time.
- Taste the filling before adding the food coloring: The crème de menthe gives a natural pale green tint. I often skip the extra coloring entirely, and it looks lovely and natural.
Related posts:
 Low Calorie Banana Bread That Doesn’t Taste Like a Compromise — Finally
 Peach Cobbler That Bakes Its Own Crust (Golden, Juicy, 40 Minutes)
 Apple Pie Rice Krispie Treats for Last-Minute Fall Desserts: 5 Minutes, No Oven, All the Flavor
 No-Bake Butterfinger Pie That’s Creamy, Crunchy, and Ready in 20 Minutes