
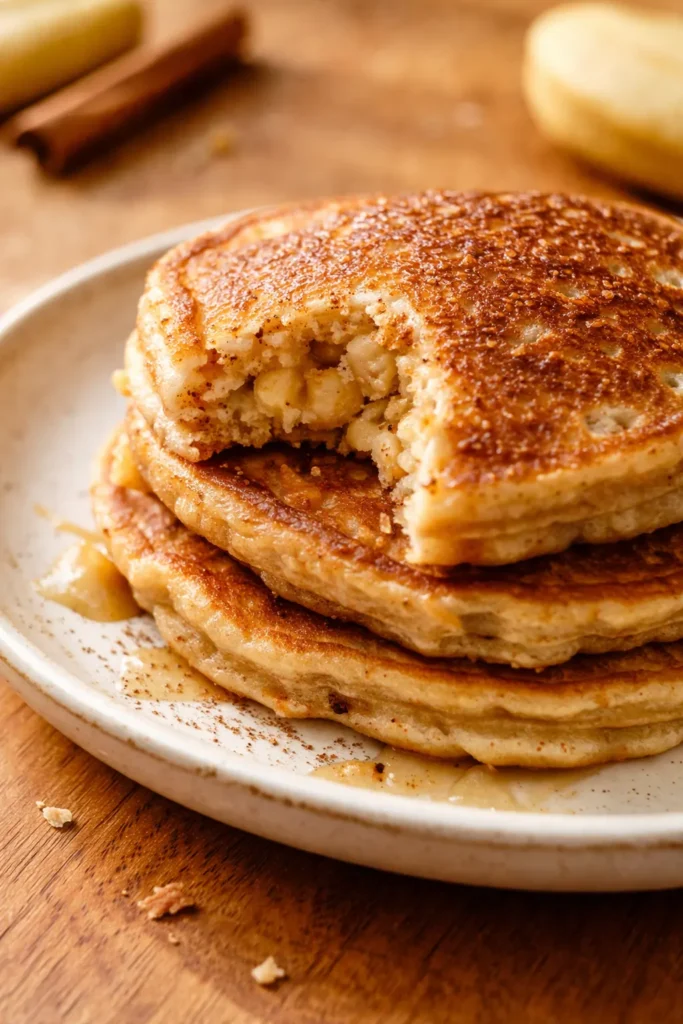
I made six batches in one weekend. The first was too dense. The second was too flat. By batch four, I realized the heat was the issue—my pan was too hot, giving me burnt bottoms and raw centers. Batch five was overmixed, tough, and sad. Batch six? That batch produced banana pancakes so tall and tender that my neighbor texted me asking for the recipe before I even finished eating.
Here’s what I learned: You need spotty bananas (the browner the better), a light hand when mixing, and a medium-low pan that’s preheated for a full minute. Once I nailed those three things, these banana pancakes came out consistent every single time. No more bricks.
The Temperature Trick That Changes Everything
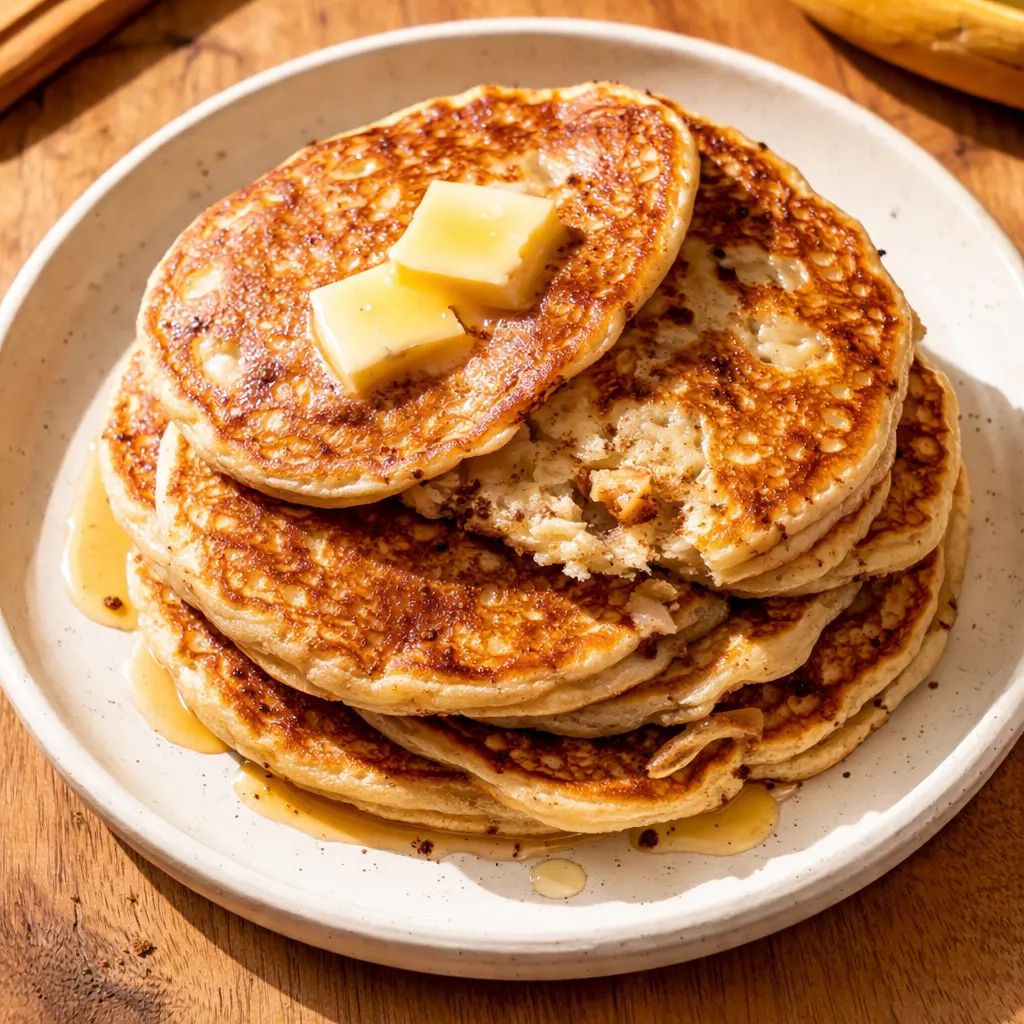
Getting the heat right is the single most important step for fluffy banana pancakes. Medium heat — around 300°F to 325°F on an electric griddle — allows the inside to cook through without burning the outside. If the pan is too hot, you get a dark brown exterior and a raw, doughy center. I once used high heat out of impatience, and the pancakes looked gorgeous on the surface but tasted like raw batter inside.
The reaction between the milk and the baking powder does the heavy lifting for lift. Overmixing breaks those air bubbles and makes the pancakes tough. Bananas add moisture but also density, so mashing them well but not overworking the gluten once the flour hits is key. I like to mash the banana with a fork until it’s mostly smooth with a few tiny lumps—those little bits of banana melt into the pancake as it cooks, giving you pockets of sweetness.
The result is banana pancakes that are tall, light, and taste like the best banana bread you’ve ever had, but in pancake form.
Ingredients Worth Talking About — Plus My Honest Notes
- 1 cup all-purpose flour: Spoon it into the measuring cup and level it off with a knife. Scooping packs the flour and can make the batter too thick—I learned that the hard way when my first batch turned out like rubber discs.
- 1 tablespoon baking powder (aluminum-free): Aluminum-free baking powder leaves no metallic aftertaste. This is the main source of lift, so make sure it’s fresh. If your baking powder is more than six months old, it’s time to buy new.
- ½ teaspoon cinnamon: Adds warmth and makes the pancakes smell incredible. The scent of cinnamon hitting a hot pan is one of my favorite kitchen smells—it fills the room and tells everyone breakfast is coming.
- ¼ teaspoon salt: Balances the sweetness and rounds out the flavors. Don’t skip it — it makes everything taste more like itself.
- ¾ cup mashed overripe banana (about 1 ½ large): The browner, the better. Very ripe bananas are sweeter and easier to mash. I like to weigh my bananas to be precise—about 170 grams (6 ounces) of mashed banana is the sweet spot. According to USDA nutritional data, a medium banana provides about 3 grams of fiber, which gives these pancakes a bit of staying power.
- 1 large egg: Binds everything and adds structure. Let it come to room temperature so it mixes smoothly with the milk—cold egg can seize the batter and make it lumpy.
- ¾ cup milk: Whole milk makes them richer, but 2% works fine. For dairy-free, oat milk or unsweetened almond milk work well. I’ve used oat milk several times and the texture stays nearly identical.
- Cooking spray: For greasing the pan. Butter tastes better but burns faster over medium heat. If you want that buttery flavor, use a little butter after spray to add flavor without burning.
- Banana (sliced, for serving): Fresh slices on top add texture and a pop of sweetness. I like to slice them right before serving so they don’t brown.
- Maple syrup (for serving): Pure maple syrup is ideal. Warm it up slightly so it pours easily over the pancakes—cold syrup can make the pancakes soggy.
What to Pull Out Before You Start
- Medium bowl (for dry ingredients)
- Larger bowl (for wet ingredients)
- Whisk
- Large nonstick skillet or flat griddle
- ⅓-cup measuring cup
- Spatula — a thin, flexible one is best for flipping
Let’s Make Them (Step by Step)
This comes together in two bowls and takes about 15 minutes from start to finish. Quick enough for a weekday, special enough for the weekend. The first time I made these banana pancakes for my family, the kids watched them puff up in the pan and gasped. That’s the kind of reaction that makes cooking worth it.
Mix the dry ingredients: In a medium bowl, whisk together the flour, baking powder, cinnamon, and salt until combined.
- Mash and combine: In a larger bowl, mash the banana well with a fork until it’s mostly smooth with a few tiny lumps. Add the egg and beat until blended. Whisk in the milk until smooth. The mixture will be pale and slightly frothy.
- Combine wet and dry: Pour the dry ingredients into the wet. Whisk gently until just combined. A few lumps are totally fine — overmixing makes them tough. I count to ten with the whisk and stop, even if there are streaks of flour. Those streaks disappear as the batter rests for a minute.
- Heat the pan: Place the nonstick pan over medium heat. Let it warm up for a full minute. Give it a quick spray of cooking spray. To test, flick a drop of water onto the pan—if it sizzles and evaporates immediately, it’s ready.
- Pour the batter: Use the ⅓-cup measuring cup to pour batter into the pan. Cook 3 to 4 circles at a time, leaving space for spreading. The batter should be thick and scoopable, not runny.
- Wait for bubbles: Cook until the edges look set, bubbles form on the surface and pop, and the bottom is golden brown, about 2 to 3 minutes. You’ll see the batter start to dry around the edges—that’s your cue.
- Flip and finish: Slide a spatula under the pancake and flip confidently. Cook for another 1 to 2 minutes, until puffed and cooked through and golden on the bottom.
- Keep warm: Set the finished pancakes on a plate in a 200°F oven while you cook the rest. Or just serve them immediately — no judgment here. My family usually eats them straight from the pan.
How I Meal Prep These for the Week
These banana pancakes freeze beautifully, which is great for busy mornings. I make a full batch on Sunday, let them cool completely on a wire rack, and store them so I can grab one or two on the way out the door.
- Fridge: Lay them in a single layer in a zip-top bag or airtight container with parchment between layers. They’ll keep for about 5 days.
- Freezer: Yes! Flash-freeze them on a baking sheet, then transfer to a freezer-safe bag for up to 3 months. The texture remains surprisingly fluffy even after freezing.
- Reheat: Pop them straight from the freezer into the toaster, or microwave for 30 to 40 seconds. The toaster gives a slightly crisper edge—that’s my preferred method.
Little Things That Make a Big Difference
- Don’t overmix the batter: I know it’s tempting to whisk until it’s completely smooth, but that develops the gluten and makes the pancakes dense and rubbery. Stir just until the dry ingredients are moistened. It’s okay if there are a few small lumps — trust me on this one, they’ll cook out. I actually want those lumps—they’re the sign of a tender pancake.
- Let the pan preheat properly: A cold pan soaks up the cooking spray and won’t give you an even sear. Let it sit over medium heat for a full minute before pouring the batter. If you’re using an electric griddle, 325°F is the sweet spot.
- Adjust the heat between batches: The pan will get hotter as you go. If the second batch starts browning too fast, turn the heat down a notch. Wipe the pan clean with a paper towel between batches if it starts looking messy—burnt bits will stick to the next pancakes.
- You can add mix-ins: Fold in ½ cup of blueberries, chocolate chips, or chopped walnuts after mixing the batter. They make the pancakes even better. I love adding mini chocolate chips—the kids think it’s a treat, but they’re still getting fruit.
The Version for Every Situation
- Dairy-Free: Use oat milk or unsweetened almond milk in place of the milk. Use coconut oil or vegan butter to grease the pan. The texture stays the same.
- Gluten-Free: Use a 1:1 gluten-free all-purpose flour blend (like Bob’s Red Mill). The batter might be slightly thicker, so let it rest for 5 minutes after mixing to hydrate the flour.
- Vegan: Replace the egg with a flax egg (1 tablespoon ground flaxseed + 3 tablespoons water, let sit for 5 minutes). Use a dairy-free milk and add 1 extra teaspoon of baking powder for lift.
- Protein-Packed: Swap ¼ cup of the flour for unflavored or vanilla protein powder. You might need to add an extra tablespoon of milk if the batter gets too thick. I’ve done this with vanilla protein powder—it adds a subtle sweetness and boosts the protein to about 12 grams per serving.
Troubleshooting: Why Did My Banana Pancakes Come Out Dense?
Q: Why did my banana pancakes come out dense and heavy?
A: The most common reason is overmixing the batter. Stir just until the dry ingredients are moistened — a few lumps are fine. Another culprit could be too much banana. Make sure you’re using about ¾ cup, which is roughly 1 ½ large bananas. Also check your baking powder—if it’s old, it won’t provide enough lift.
Q: Can I use whole wheat flour instead of all-purpose?
A: You can, but whole wheat flour makes a denser pancake. I’d recommend replacing half the all-purpose flour with whole wheat to start. The texture will be heartier but still fluffy. I tested 100% whole wheat and the pancakes were too heavy for my taste.
Q: How do I know when the pan is hot enough?
A: Flick a drop of water onto the pan. If it sizzles and evaporates immediately, it’s ready. If it doesn’t sizzle at all, it’s too cold. If it smokes, it’s too hot—let it cool down slightly and try again.
Q: Can I make these without eggs?
A: Yes. Use a flax egg (1 tablespoon ground flaxseed + 3 tablespoons water, let sit for 5 minutes) or ¼ cup of unsweetened applesauce. The pancakes might be a bit more delicate, so flip them gently. I’ve used applesauce before and the texture was slightly cakier, but still delicious.
How Do You Store and Reheat Banana Pancakes?
Q: How long do banana pancakes last, and how should I store them?
A: Cooked banana pancakes last about 5 days in the fridge when stored in an airtight container or zip-top bag. Let them cool completely before storing to prevent condensation from making them soggy. I like to put a paper towel in the container to absorb any extra moisture.
Q: Can I freeze banana pancakes?
A: Absolutely. Lay them in a single layer on a baking sheet and freeze until solid, then transfer to a freezer-safe bag. They’ll keep for up to 3 months. I label the bag with the date so I know how long they’ve been in there.
Q: What’s the best way to reheat them?
A: Skip the microwave if you can — it makes them rubbery. Pop them in the toaster for a quick reheat that crisps the edges. The oven works too: 350°F for about 5 minutes. If I’m in a rush, I microwave for 20 seconds and then toast lightly.
Q: What do you serve with banana pancakes?
A: Sliced bananas and warm maple syrup is the classic move. A pat of salted butter melting on top is also fantastic. If I’m feeling fancy, I’ll add a dollop of Greek yogurt or whipped cream and a sprinkle of cinnamon. On weekends, I’ll even add a few crispy bacon strips on the side—the salty-sweet combo is unbeatable.
These banana pancakes have become a weekend staple in my house. They’re the kind of breakfast that makes everyone linger at the table a little longer, laughing and passing the syrup. That’s the real reason I keep making them: they bring people together. I hope they do the same for you.
If you make them, let me know! Drop a comment below or tag me on Pinterest — I love seeing your pancake stacks. And if you have any other questions, I’m here to help.
📌 Fluffy banana pancakes recipe that tastes just like banana bread — save this for your next cozy weekend breakfast!
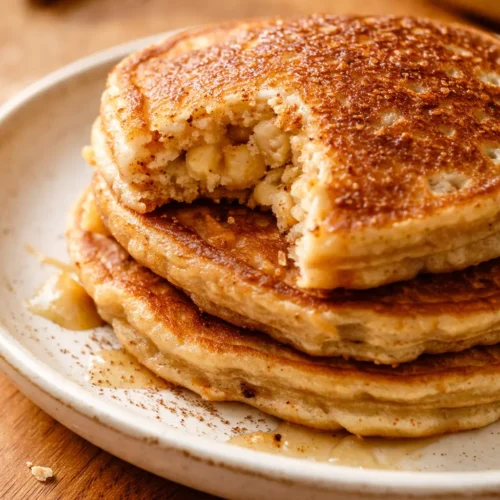
Fluffy Banana Pancakes: The Overripe Banana Version That Actually Stays Fluffy
Equipment
- Medium Bowl
- Large Bowl
- Whisk
- Large nonstick skillet or flat griddle
- ⅓-cup measuring cup
- Spatula
Ingredients
- 1 cup all-purpose flour Spoon it into the measuring cup and level it off with a knife. Scooping packs the flour and can make the batter too thick.
- 1 tablespoon baking powder (aluminum-free) Aluminum-free to avoid metallic aftertaste. Make sure it’s fresh.
- ½ teaspoon cinnamon Adds warmth and aroma.
- ¼ teaspoon salt Balances sweetness and rounds out flavors.
- ¾ cup mashed overripe banana (about 1½ large) The browner, the better. Weigh to 170g (6 oz) for precision. Provides about 3g fiber per medium banana.
- 1 large egg Room temperature for smooth mixing.
- ¾ cup milk Whole milk preferred; 2% works. For dairy-free, use oat or unsweetened almond milk.
- cooking spray For greasing the pan.
- banana, sliced (for serving) Slice right before serving to prevent browning.
- maple syrup (for serving) Use pure maple syrup; warm slightly to avoid making pancakes soggy.
Instructions
- Mix the dry ingredients: In a medium bowl, whisk together the flour, baking powder, cinnamon, and salt until combined.
- Mash and combine: In a larger bowl, mash the banana well with a fork until mostly smooth with a few tiny lumps. Add the egg and beat until blended. Whisk in the milk until smooth.
- Combine wet and dry: Pour the dry ingredients into the wet. Whisk gently until just combined. A few lumps are fine — overmixing makes them tough.
- Heat the pan: Place a nonstick pan over medium heat. Let it warm up for a full minute. Spray with cooking spray. Test: a drop of water should sizzle and evaporate immediately.
- Pour the batter: Use a ⅓-cup measuring cup to pour batter into the pan. Cook 3 to 4 circles at a time, leaving space for spreading.
- Wait for bubbles: Cook until edges look set, bubbles form and pop, and the bottom is golden brown, about 2 to 3 minutes.
- Flip and finish: Slide a spatula under the pancake and flip confidently. Cook for another 1 to 2 minutes, until puffed and cooked through and golden on the bottom.
- Keep warm: Set finished pancakes on a plate in a 200°F oven while cooking the rest, or serve immediately.
Related posts:
 Low Calorie Banana Bread That Doesn’t Taste Like a Compromise — Finally
 Puff Pastry Apple Tarts That Look Like a Bakery Made Them — with Only 15 Minutes of Effort
 Soft, Pillowy White Chocolate Pumpkin Snickerdoodles with a Cinnamon-Sugar Crunch
 White Chocolate Pumpkin Snickerdoodles: The Soft, Bakery-Style Version That Actually Works